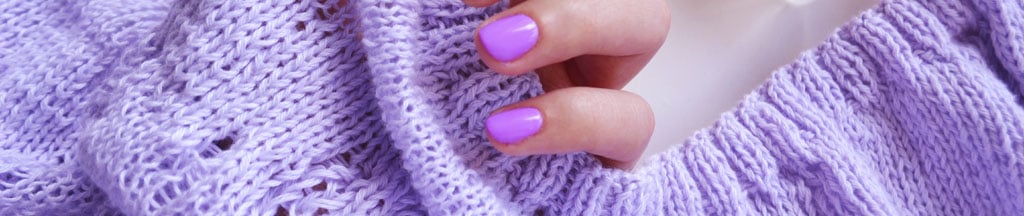
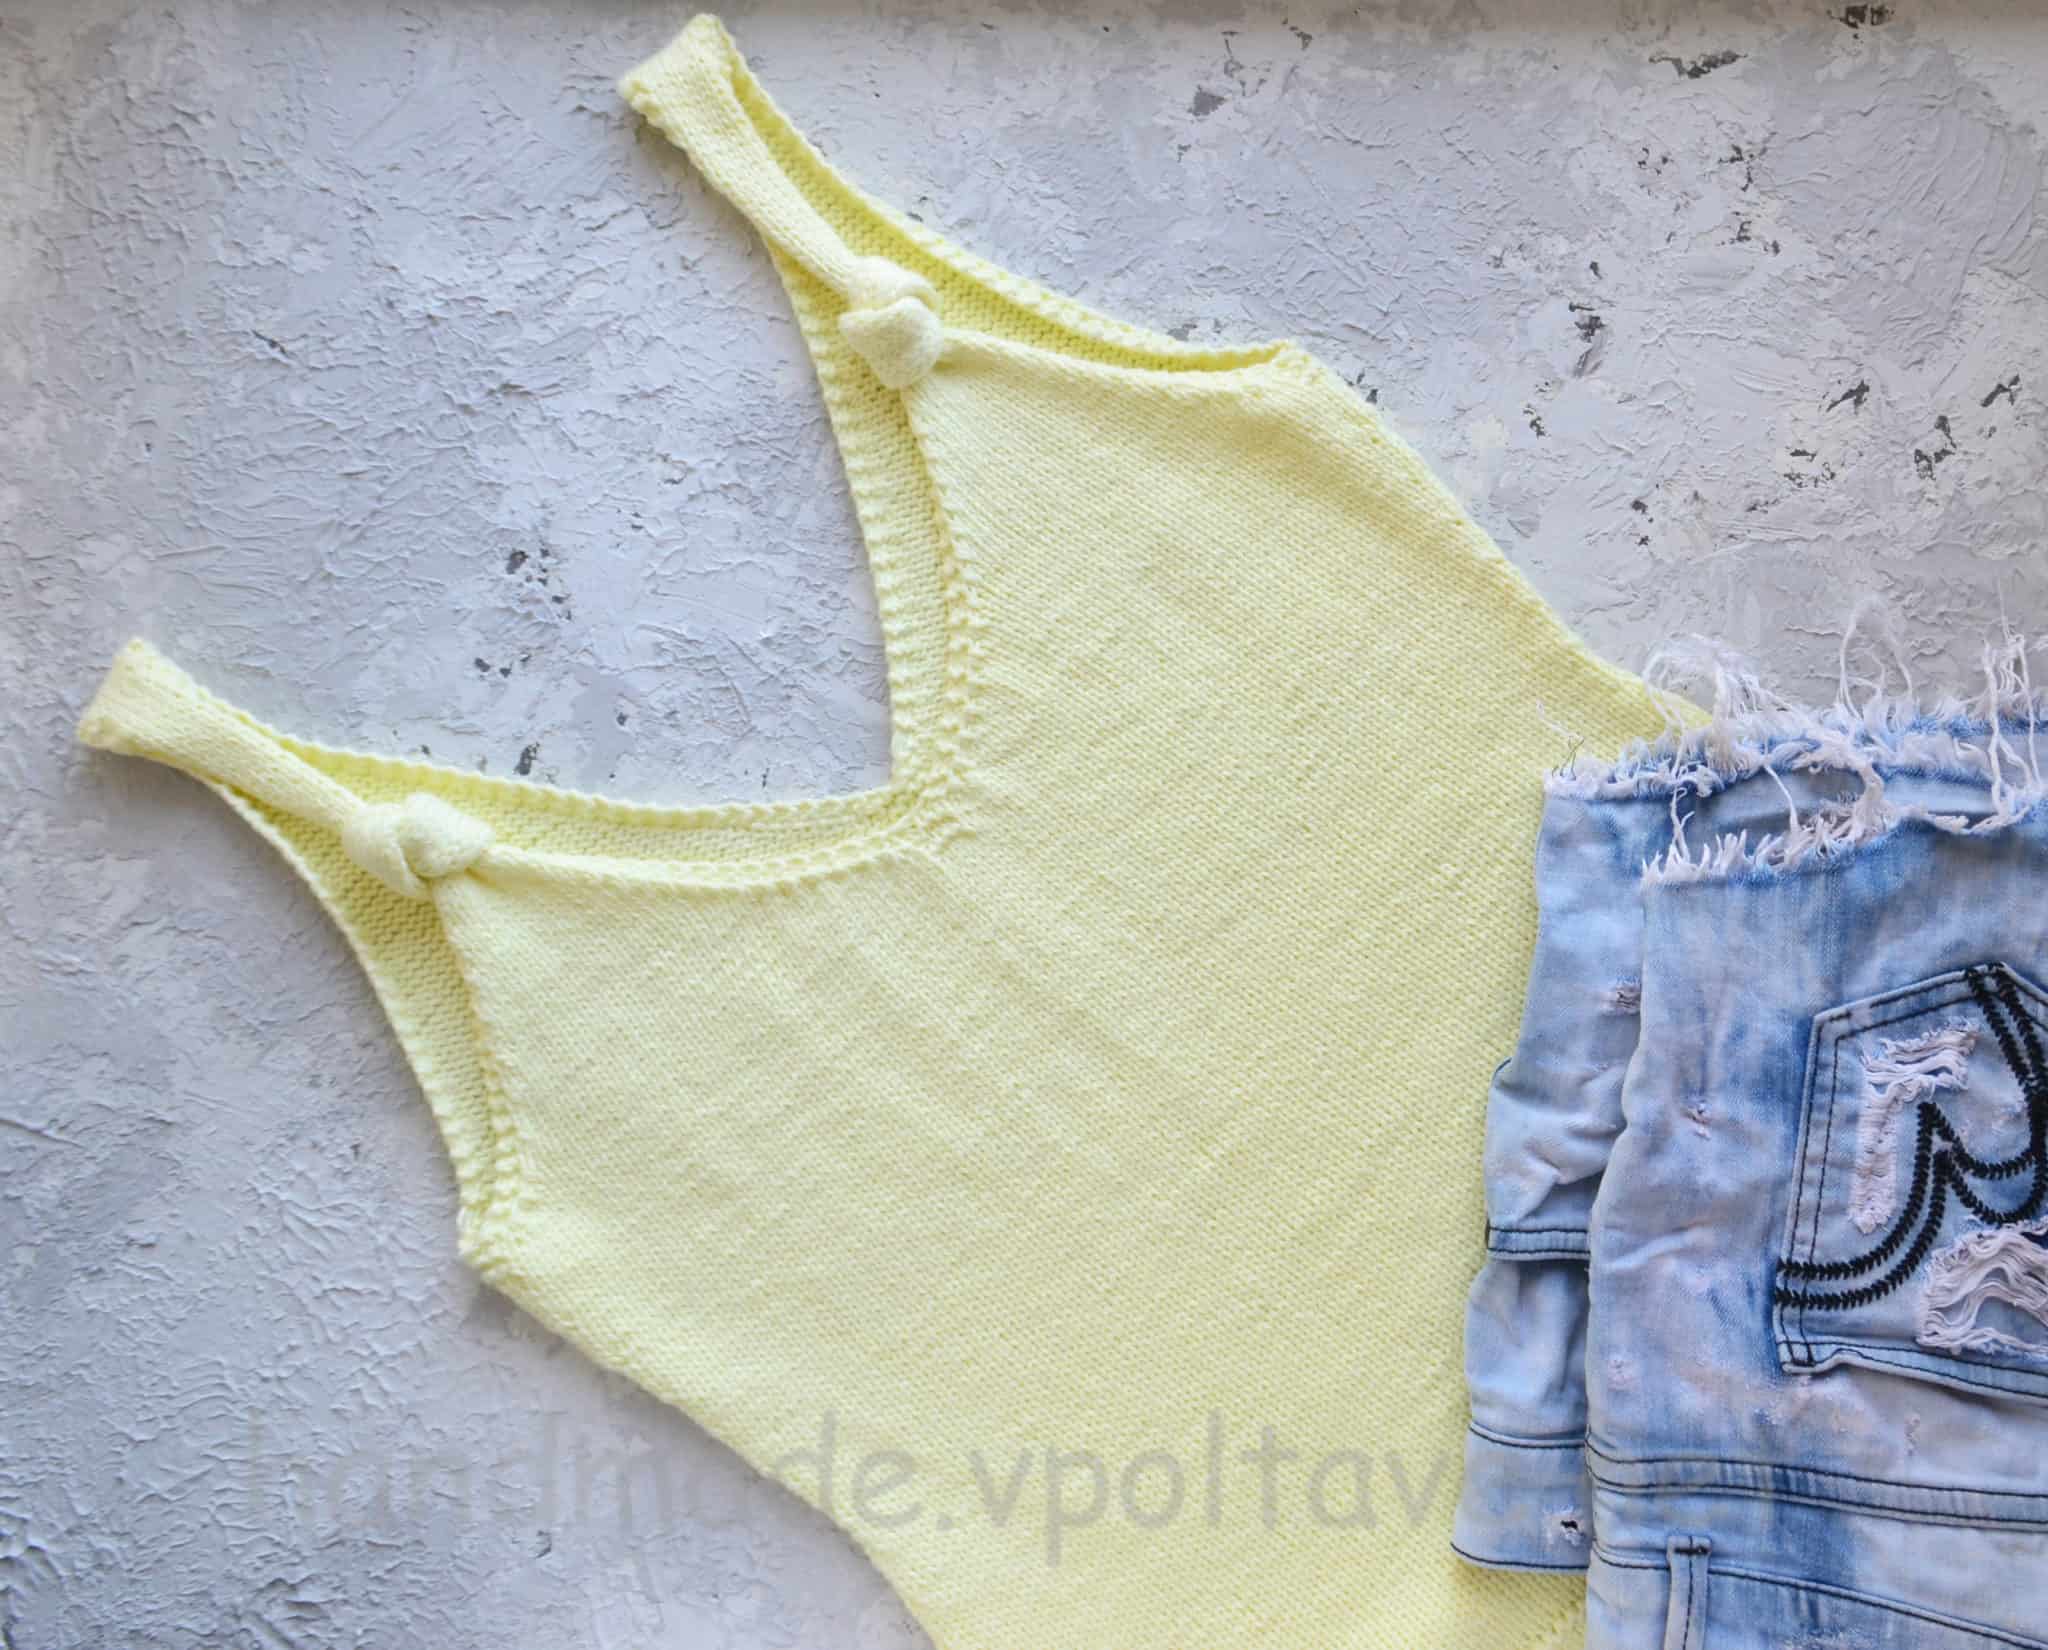
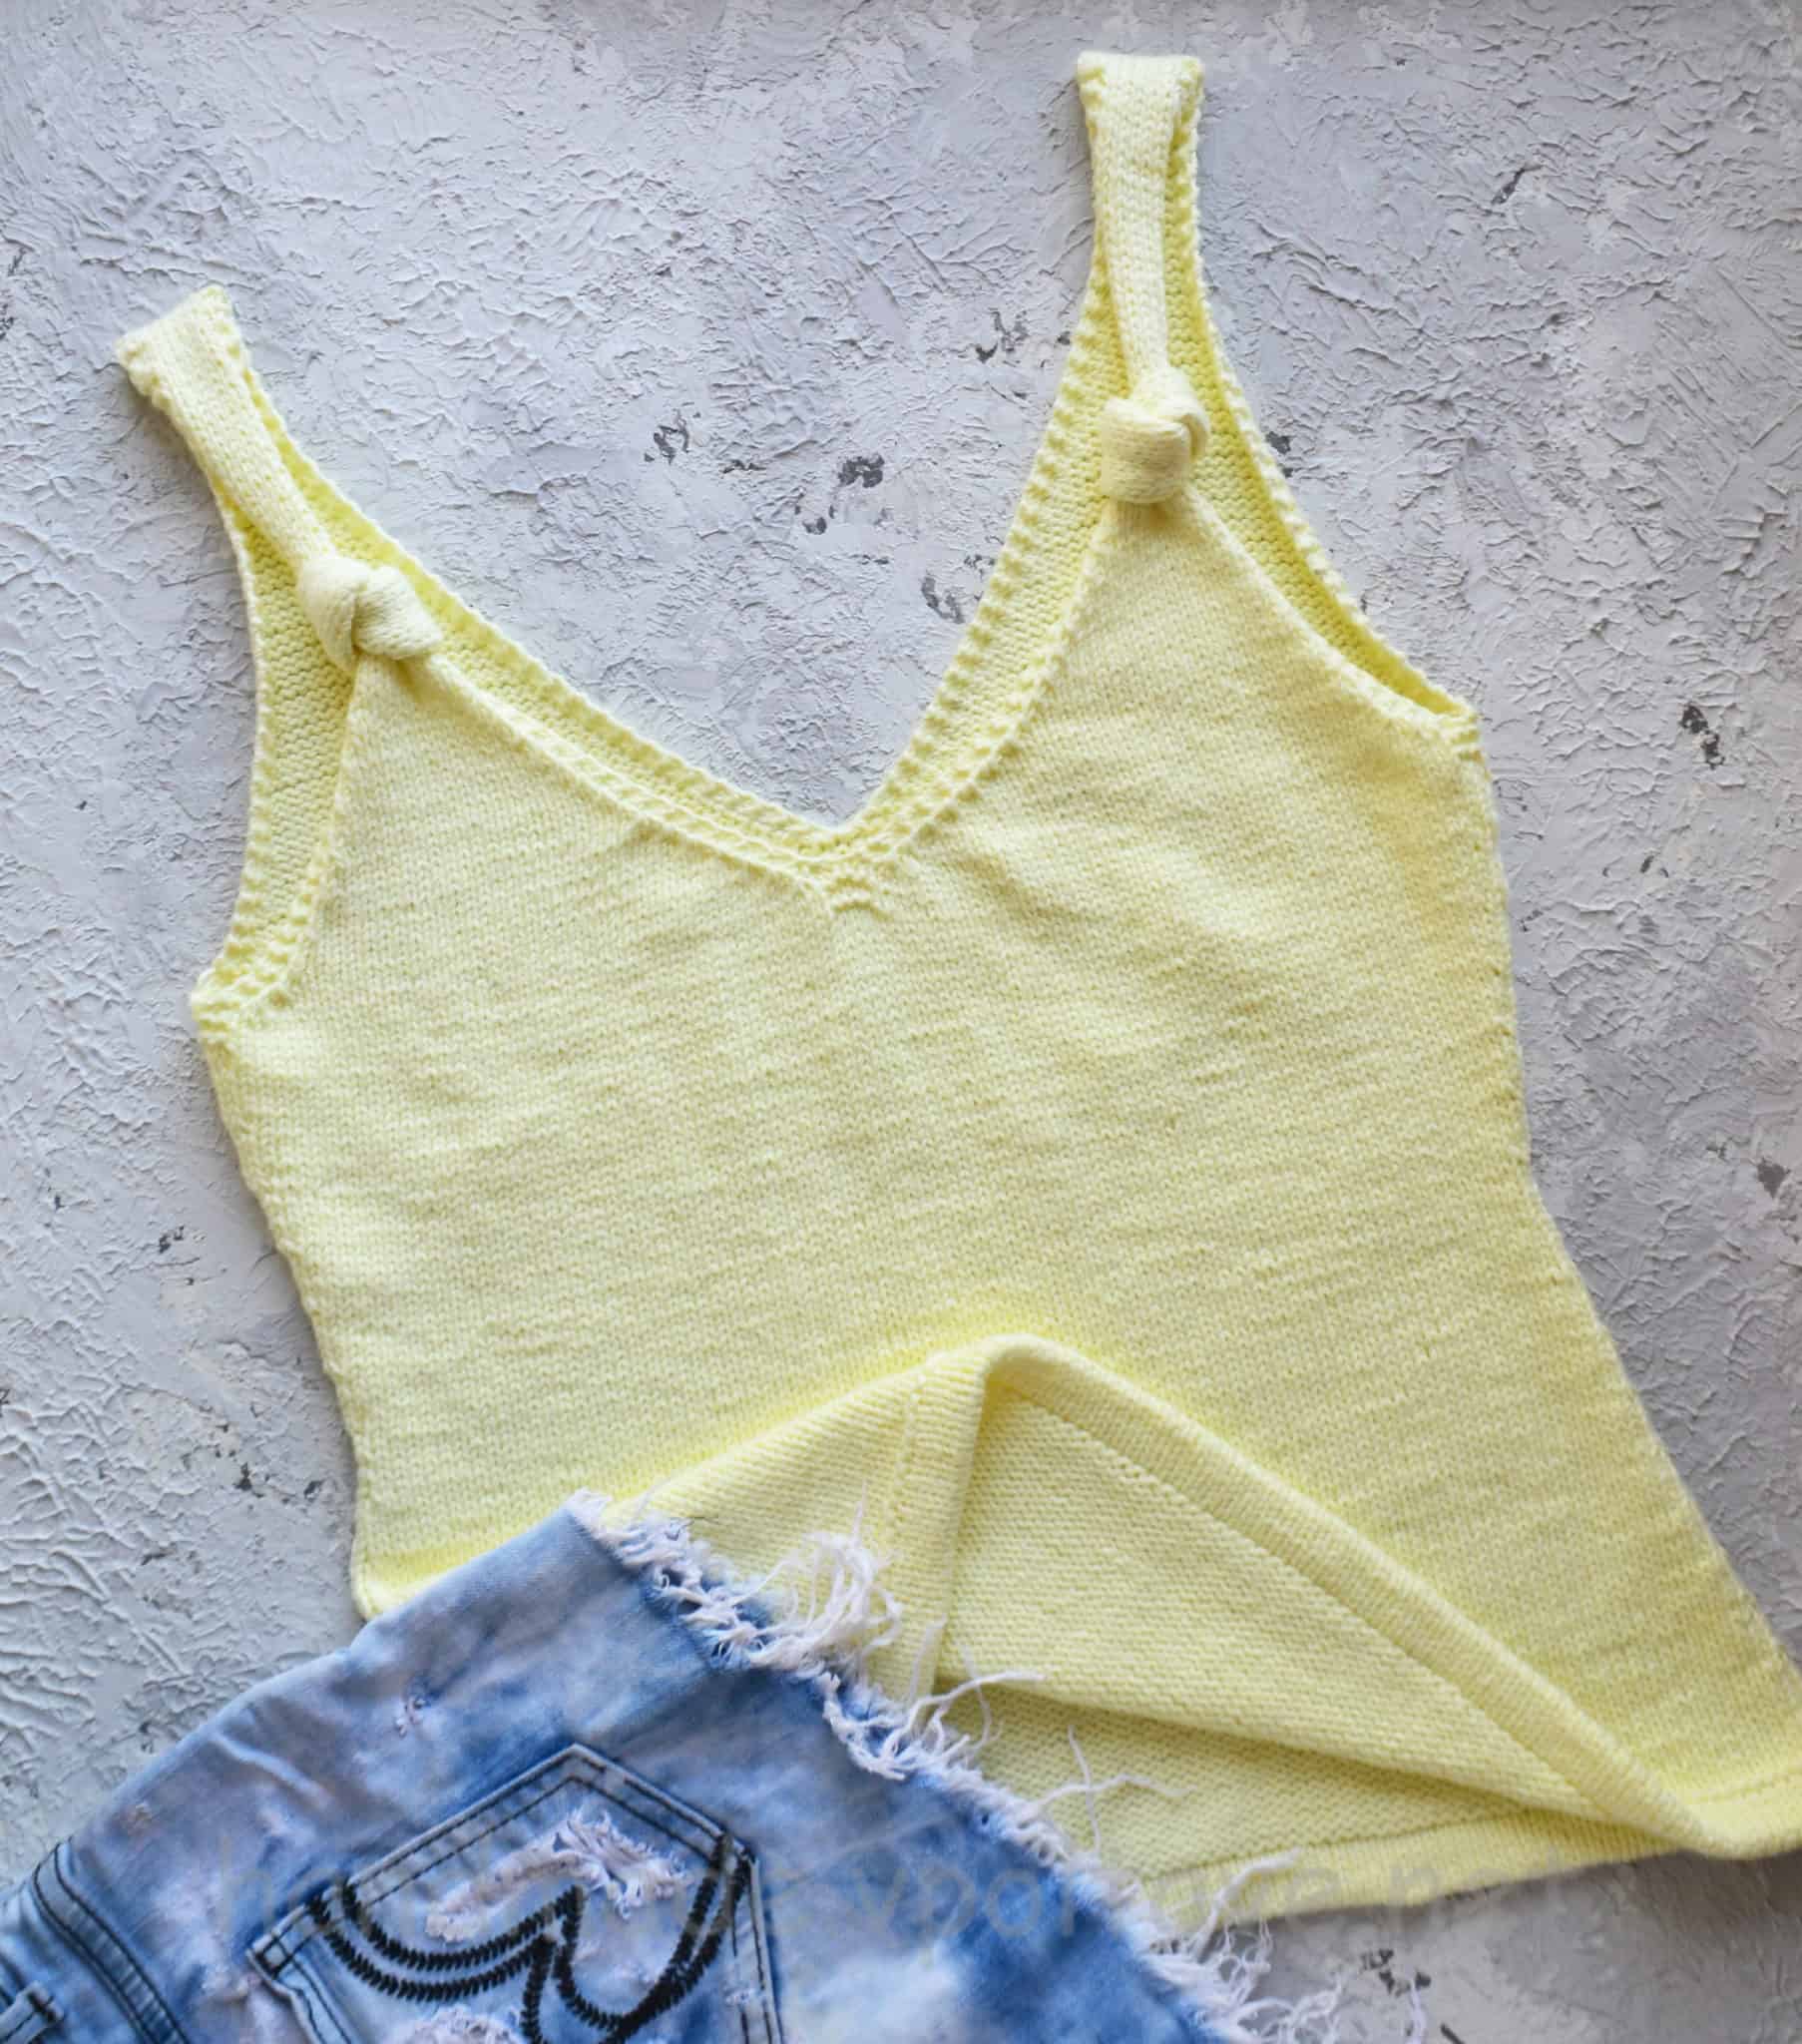
Knitted summer tops, recently, are becoming more popular. And it’s not about the hook, but about the knitting needles. Normal facial surface – looks very beautiful from summer yarn. So I decided to knit a fitted top-shirt. A little “highlight” were the nodules on the front straps. It seems to be nothing unusual – but it looks much more interesting. I invite you to knit such for yourself, in my description.
For work, I used bobbin yarn in 4 additions. I do not know the composition for sure, but I think that it is cotton with polyamide. My yarn is very soft to the touch.
My measurements:
chest girth – 98 cm;
waist circumference – 79 cm;
girth of the lower abdomen – 98 cm.
While I was knitting a T-shirt – I lost a little weight, so she is a little freer than planned.


For knitting you will need:
350 grams of summer yarn, meter 100 – 110 metro in 50 grams;
circular knitting needles No. 4, on a long and short fishing line;
extra knitting needles on a long fishing line;
hook number 3,5;
additional (junk) thread for a set of loops;
needle for stitching and tightening the tips;
scissors.
20 loops wide at 10 centimeters = 2 loops at 1 centimeter;
in height 30 loops in 10 centimeters = 3 loops in 1 centimeter.
To get started, I need to calculate the required number of loops for the set:
2 p. * 98 cm. = 196 loops + 2 cm (for free fitting) = 200 loops.
We collect 200 loops on the waste thread using a hook, and we knit 2.5 centimeters (14 rows) with the front stitch.
Next, dissolve the junk thread, and change the loops on additional circular knitting needles. We knit a connecting, 15 row (two loops together, one from each knitting needle) with the back loops.
From the bottom of the shirt to the waist, after 2.5 cm of the double bottom, I will have 20 cm. And from the waist to the start of the deductions for the armhole and section – 16 cm.
20 cm. * 3 p. = 60 rows.
16 cm. * 3 p. = 48 rows.
So, as my waistline is 79 cm, I need to find out the number of loops that should turn out in this place after decreases, and accordingly the number of loops that need to be reduced:
79 cm. * 2 = 158 loops, for convenience I will have 160.
200 – 160 = 40 loops will need to be reduced over 60 rows.
And so, as we will reduce on both sides of the front and rear of the top (we get 4 loops in one row in total), we divide this number by 4:
40/4 = 10 decreases.
Now we are counting in which series we will decrease:
60 rows / 10 decreases = 6 rows.
So, we will make reductions in each 6 row:
– we knit 5 rows with front loops, and in 6 we make 4 decreases:
(we put on a marker at the beginning of the row) 1 front loop, 2 loops with a right inclination, 94 front loops, 2 loops with a left inclination, 1 front loop (we put on a marker to separate half of the row) 1 front loop, 2 loops with a slope to the right, 94 front loops, 2 loops together with an inclination to the left, 1 front loop;
– then again 5 rows of faces, and in 6 again we make decreases in exactly the same way, only instead of 94 loops we knit already 92;
– so repeat another 8 times until 160 loops remain on the knitting needles.
After 60 rows with decreases, we begin to add loops over 48 rows. Also, I will add in each 6 row, and in total I will make 7 additions (4 loops in one row).
– we knit 5 front rows, after which we begin to add loops in the 6th row:
we make the increase with the help of the yarn overlay, in the same places where the decrease was made.
After all 7 rows with increments, it remains to knit 6 more front rows without increments:
– we knit the first row with facial loops;
– second row: 2 reverse loops, 43 front loops, 4 reverse loops, 43 front loops, 4 reverse loops, 43 front loops, 4 reverse loops, 43 front loops, 2 reverse loops;
– third row: all loops are front;
– repeat the fifth row as the second;
– fifth row: all loops are front;
– sixth: repeat as the second.
In total, 188 stitches should be made on the knitting needles. Next, we knit 4 parts separately, in rotary rows. Reduction will be done at the beginning and end of the front row. At the edges, and in the back and front rows, we knit two front loops, inclusive with an edge loop (garter stitch).
Front, right front:
– front row: 2 loops front (inclusive edge), 3 loops together with an inclination to the right, 37 front, 3 loops together with an inclination to the left, 2 front;
– wrong side: 2 loops of the front (inclusive edge), 39 wrong, 2 loops of the front;
So we will continue to knit: the back rows in the pattern, with the exception of the first two and last loops, which we knit with the front ones. And in the front we will continue to continue to make decreases, at the beginning of the row – for the armhole, at the end of the row – for the cutout.
After the first row with decreases, on the side of the armhole we do more:
– 1 time 3 loops with an inclination to the right;
– 1 time 2 loops with an inclination to the right;
– 6 times, in every second front row (through 1 front row) 2 loops together with a slope to the right.
After the first row with decreases, on the side of the cutout we do more:
– 6 times 3 loops together with a tilt to the left;
– 8 times 2 loops together with a slope to the right.
There must be 14 stitches on the knitting needles. Next, we knit 33 rows without decrease, in rotary rows (in this place we will place the knot).
After that, we make 2 more decreases on each side of 1 loop (in total, 4 loops need to be reduced). Tie a knot.
On the needles there are 10 loops. Next, we knit another 29 rows, in rotary rows. Leave the loops open.
Front, left, front, knit, mirror right.
How to knit a back:
On the back, we reduce the decreases from the armhole in the same way as in front + 2 more decreases of 1 loop in each 3 front row (through 2 front rows) + 3 front rows without decreases.
And for the cutout – we make decreases in each front row of 1 loop (we knit 2 loops together). A total of 24 decreases.
On the needles there are 10 loops. We knit another 19 rows in rotary rows, after which we connect the straps of the front and back with a knitted seam along
open hinges.
It remains only to tighten the tips and hold the WTO.
 (4 оценок, среднее: 5.00 из 5)