")
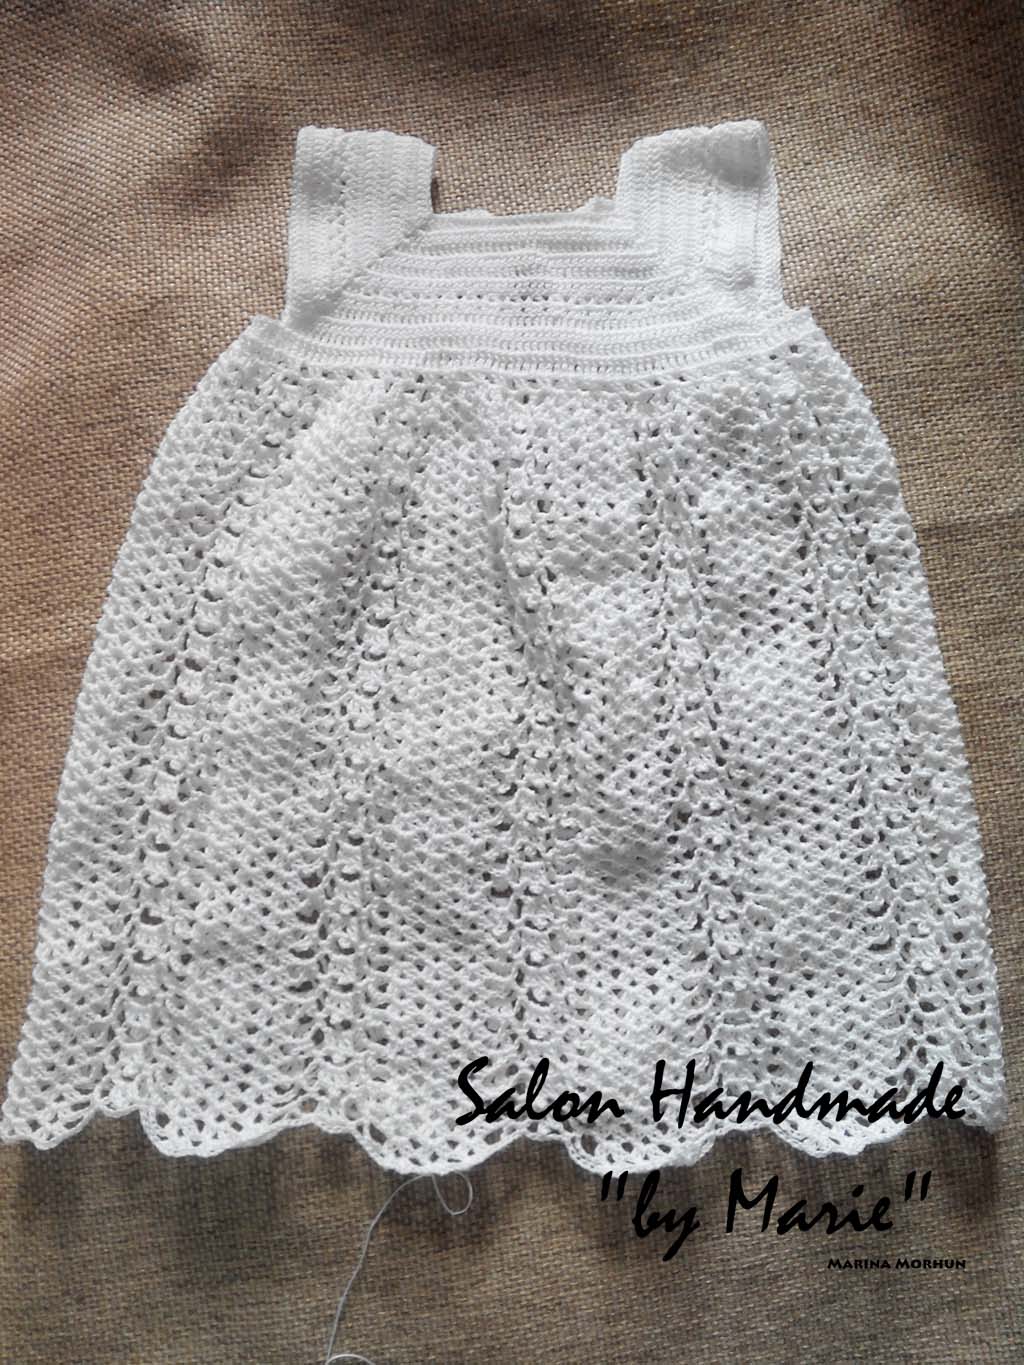
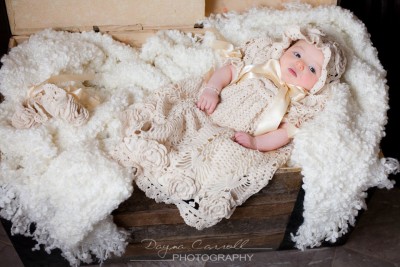 Charming set for baptism, photo I saw on the Internet, and it sunk into my soul. So wanted to tie him, but could not find the reason, it seems to be no one, but the dream about him I did not leave. And now the time has come – and we have a daughter. It is clear that much of a hassle, as a small child – bottles, diapers … But between all these worries, I still found the time to dream a little)) to knit the photo, this turned out not all at once. So I decided to make a detailed step by step workshop to facilitate the robot girls who also want to tie him up. I think it would greatly facilitate your work;)
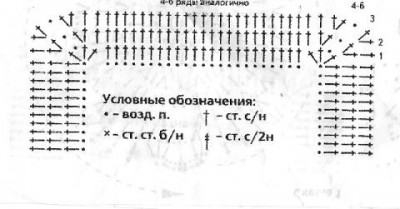
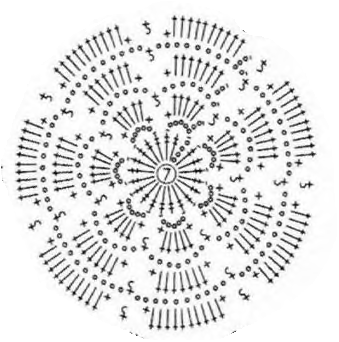
Schemes, but unfortunately, they do not all fit. Here, for example the main highlights of the scheme set – surround the flower, it is not suitable. By this, I tied on a picture his version, as for me, it is no different. Nevertheless, the attached chart, which gave the author:
Just say that the pictures I have in the process of working out very much. In this workshop I will make parts. So:
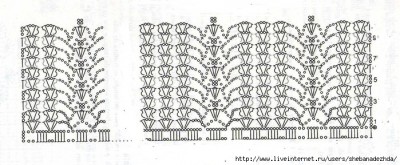
Part I – knit yoke dresses and skirts the main pattern.
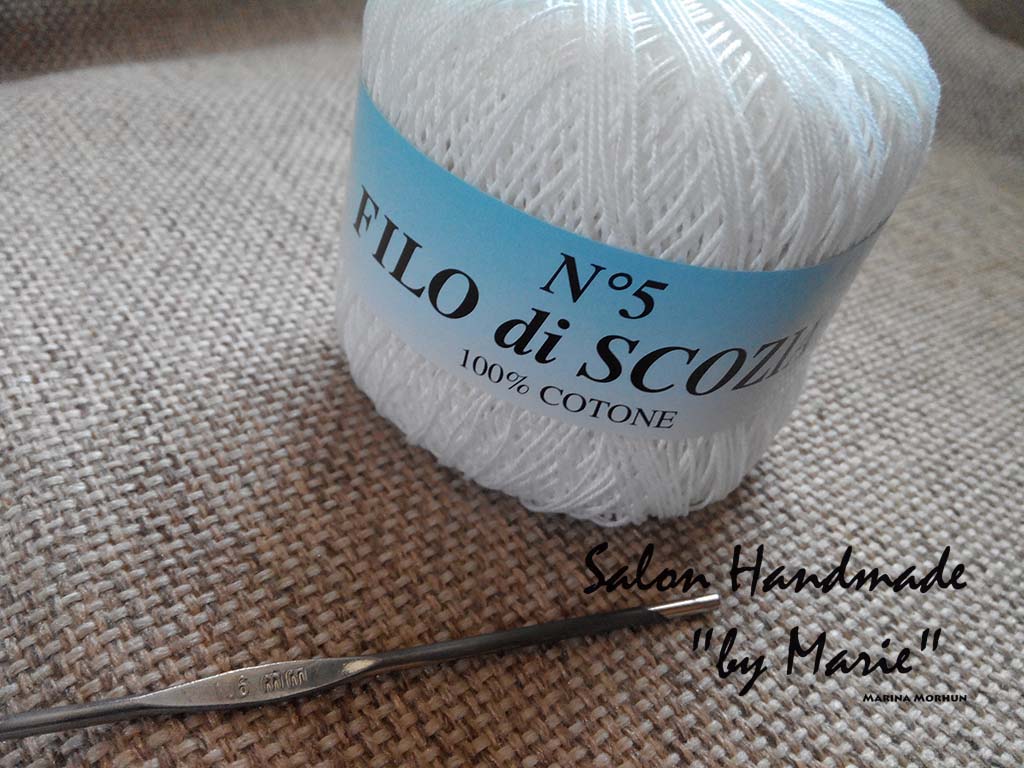
For his set I picked up the thread of white Italian manufacturer. In my opinion it will look more festive. In addition, to find the right color yarn, which would have liked, I still could not.
His set I was knitting for my daughter at the age of 5 months, and intends to make the dress and booties little more to put even though a couple of times in the future.
For knitting you will need: 400 grams of yarn Filo Di Scozia № 5 white color, which included 100% cotton, the meter 226 meter 50 grams, as well as the hook number 1.6 and ribbons for ornaments.
Dress
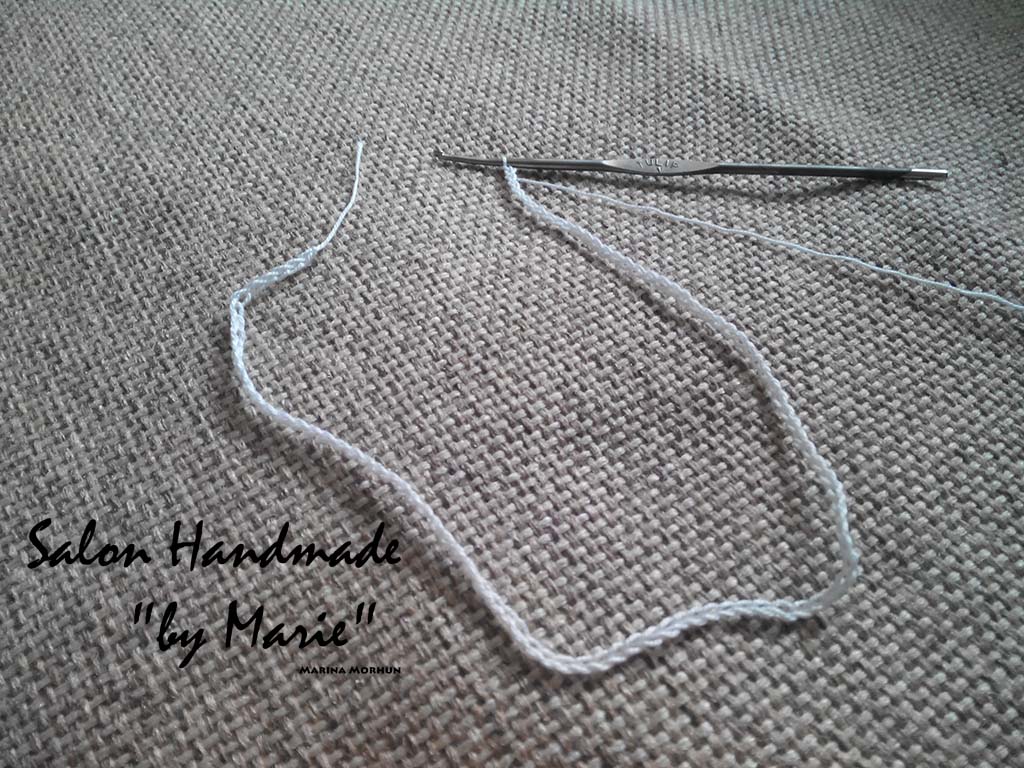
We begin to knit with yoke. Gaining 100 stitches.
Then do the three air lift loop and knit 11 more columns with nakida (12)
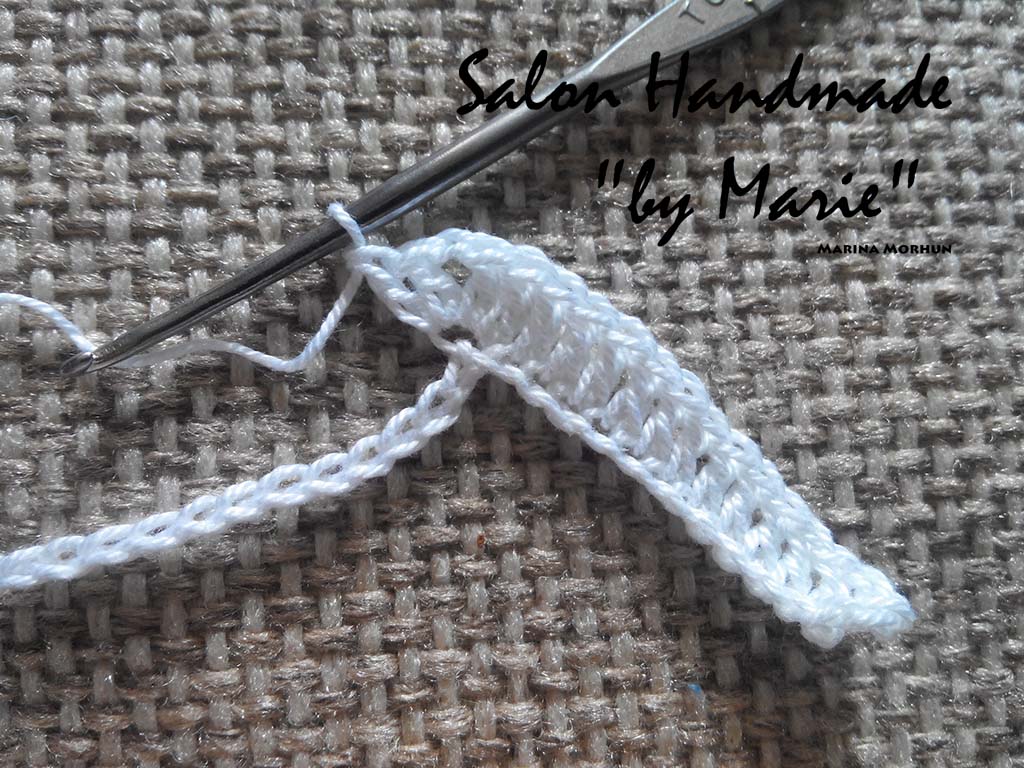
In the 13th loop of knit 2 column with * nakida, 1 air loop, 2 column with nakida *

For the column with 24 nakida, and again from * to *
So repeat 2 more times, then, binds the remaining 12 columns with loops nakida. The first row is ready.
The second series also knit columns with nakida. Only now they have more. First, knit 14 columns with nakida, then in the hole of the previous row knit from * to *. Then we continue in the same spirit.
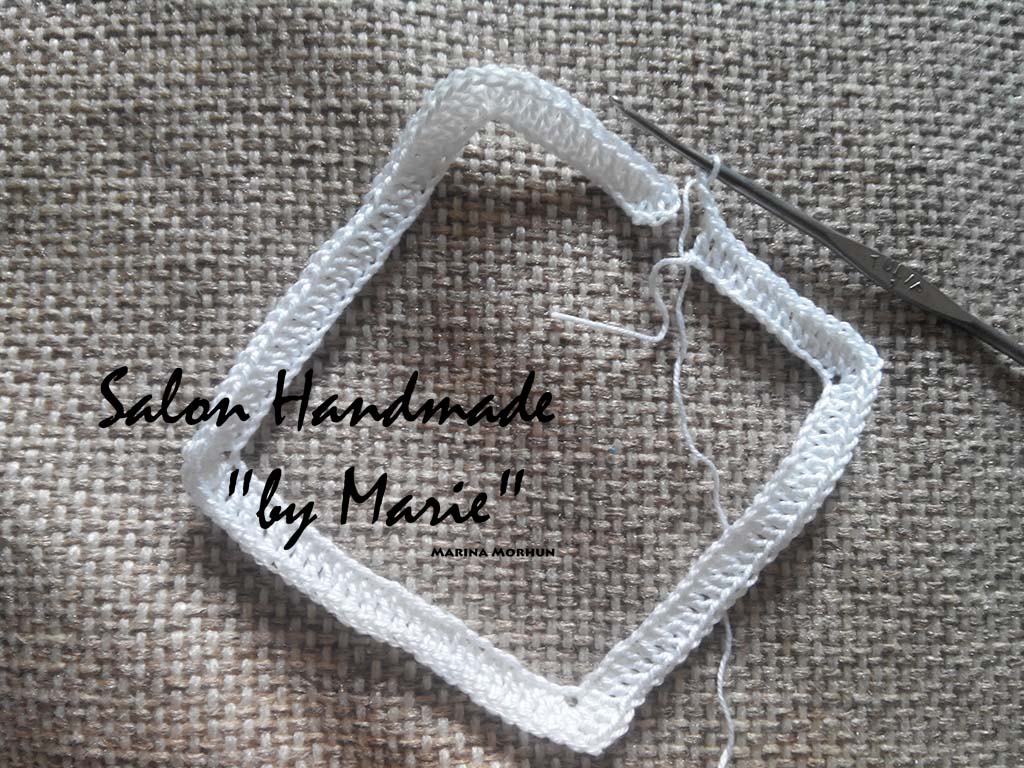
There should be obtained 6 rows of columns with nakida.
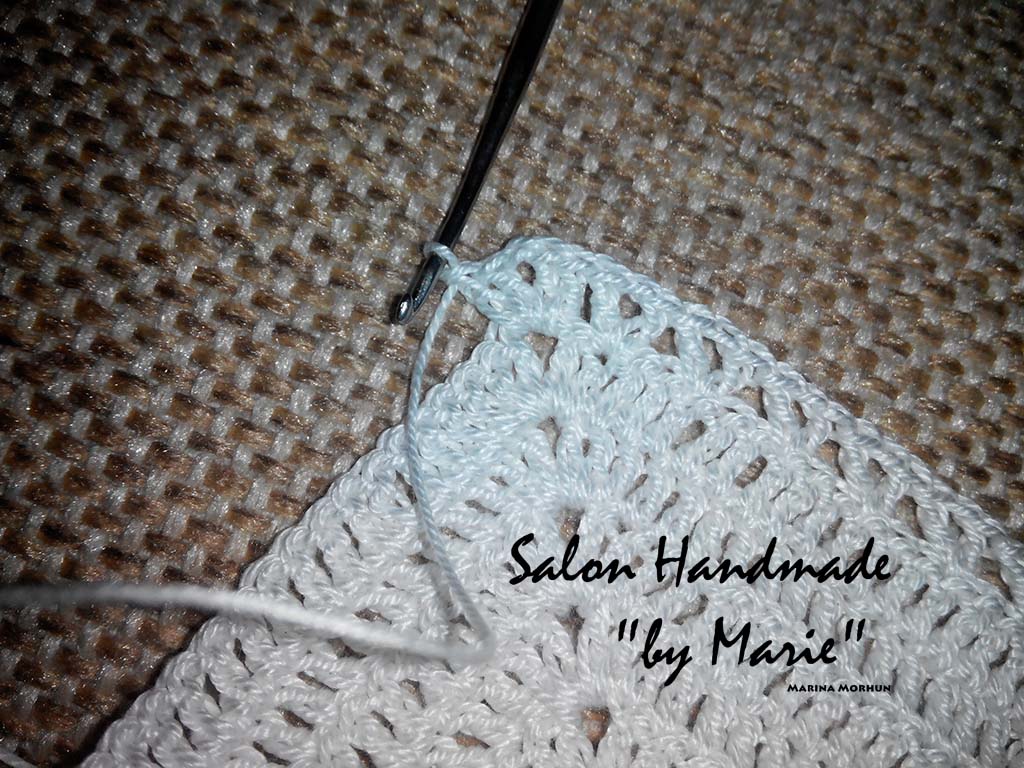
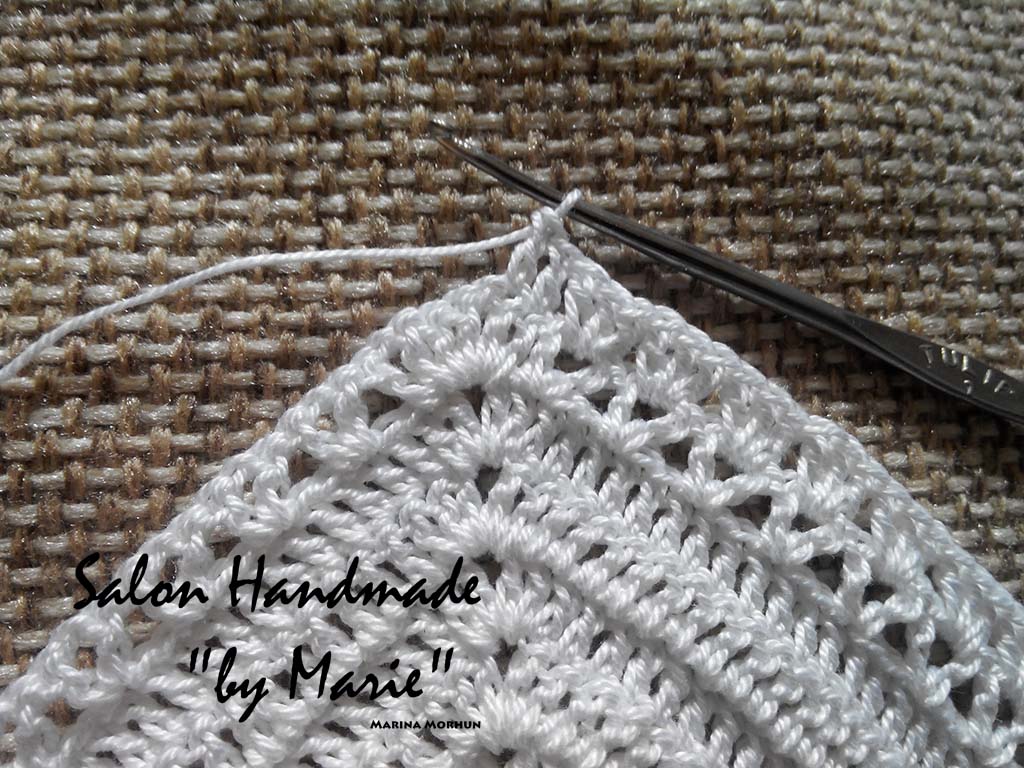
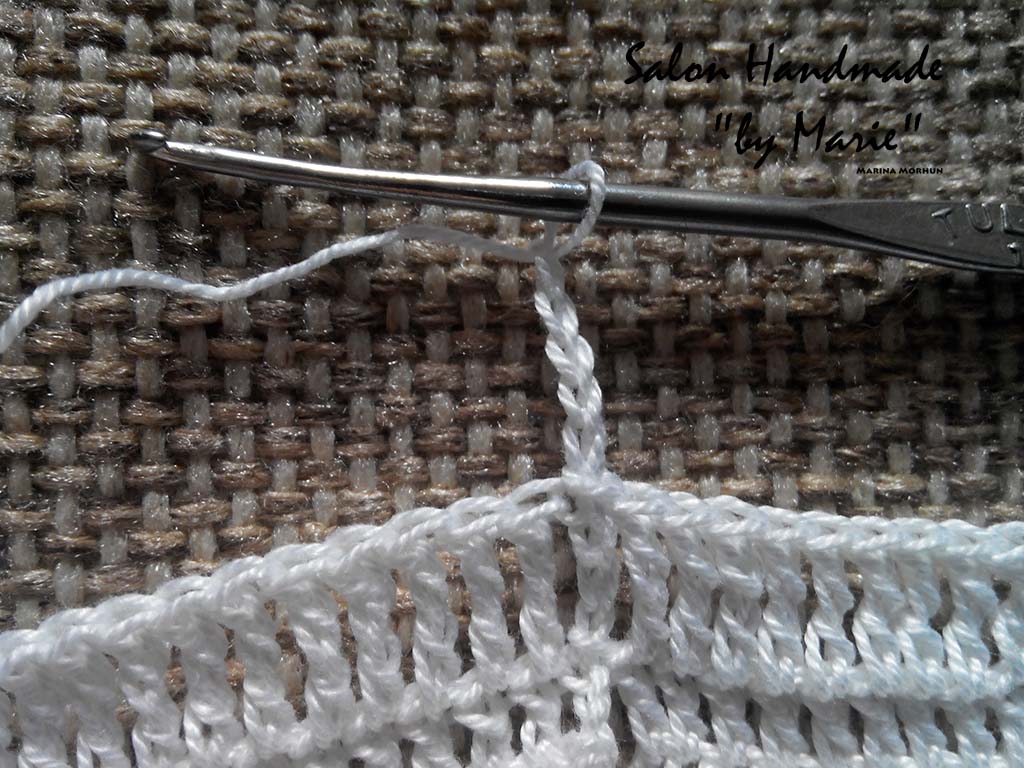
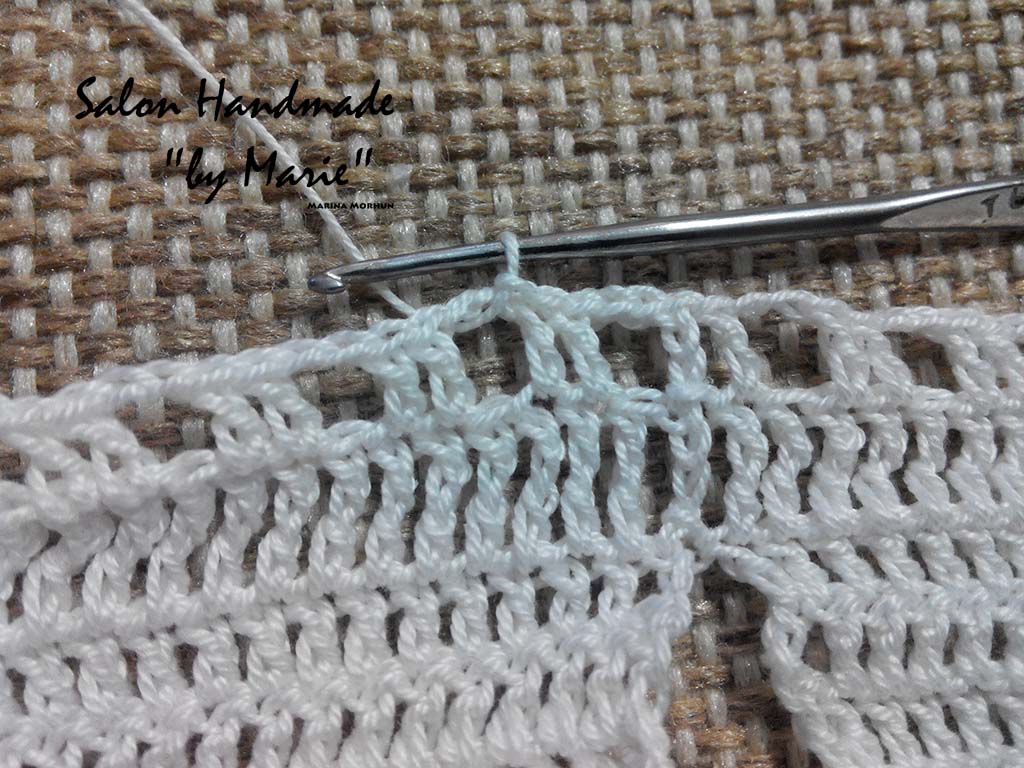
In the seventh row slightly change the pattern. So, the two lifting loops, then two more nedovyazannyh column with nakida that eventually connect all together.
Then knit one post with nakida through one loop of the previous row, then one aerial loop.
And nakida column with the same loop before. series. Then again, the column with nakida only after two loops of the previous row.
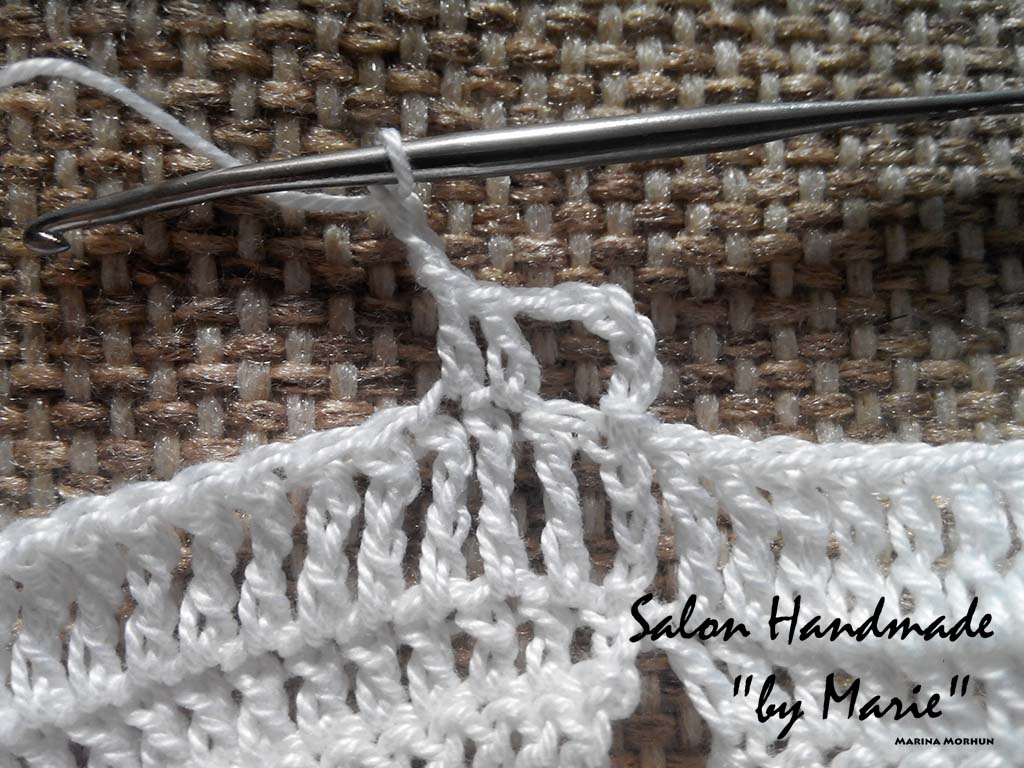
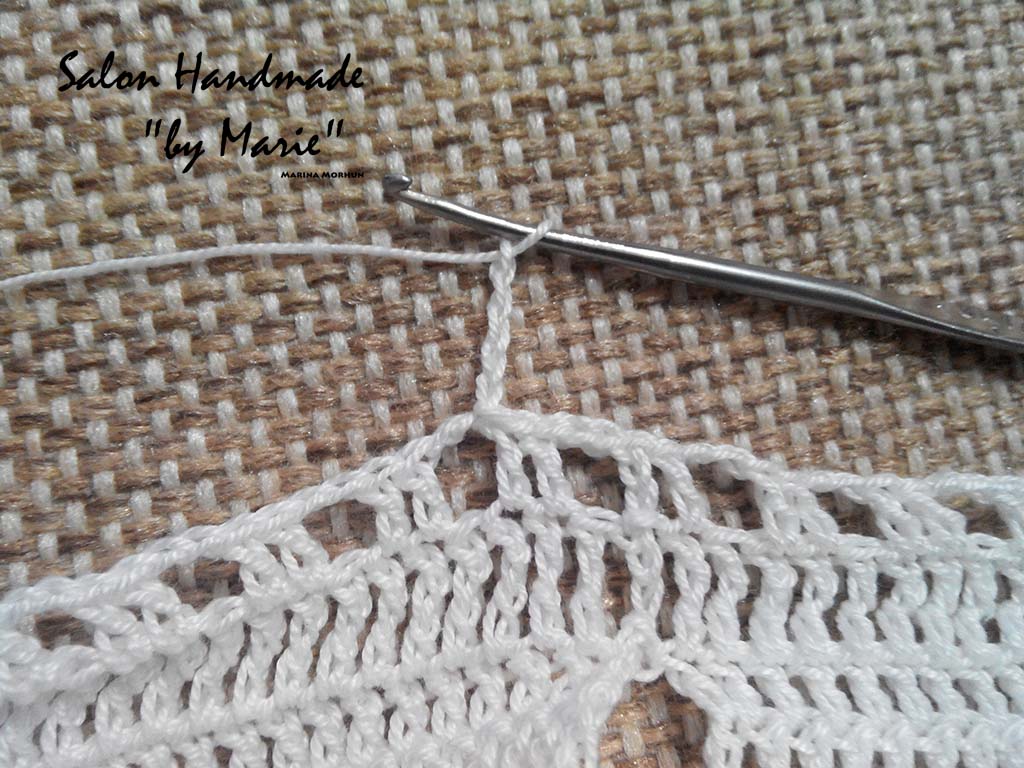
Air loop and a column with nakida the same loop of the previous row.
Then we continue to knit these ticks every two loops of the previous row.
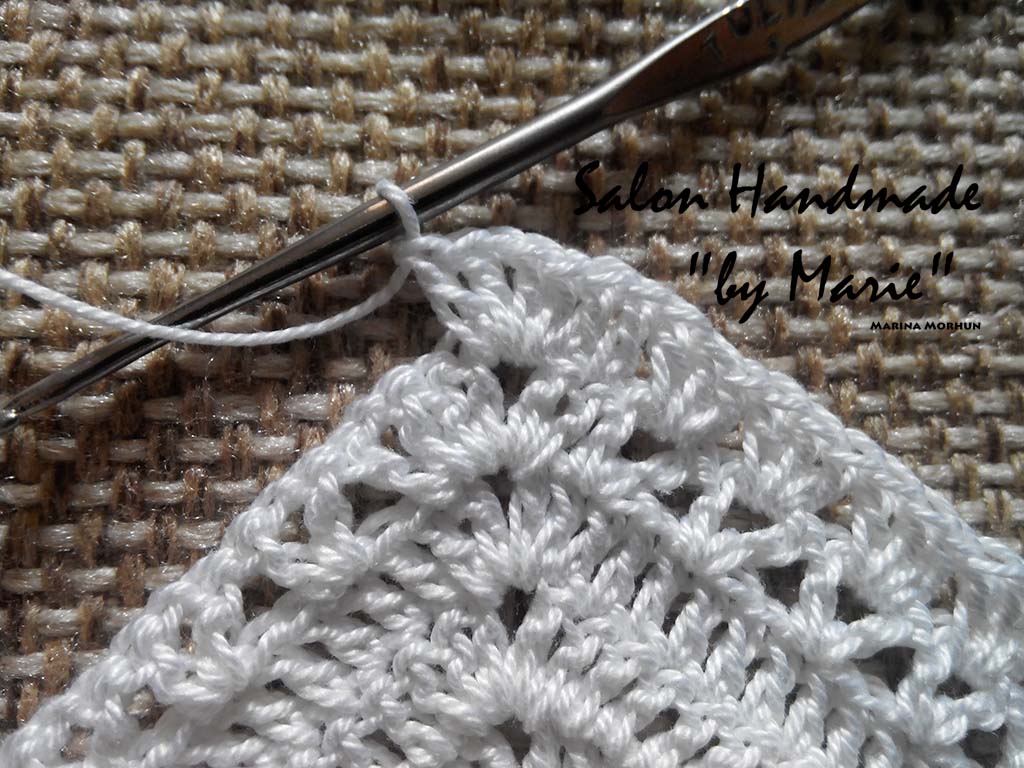
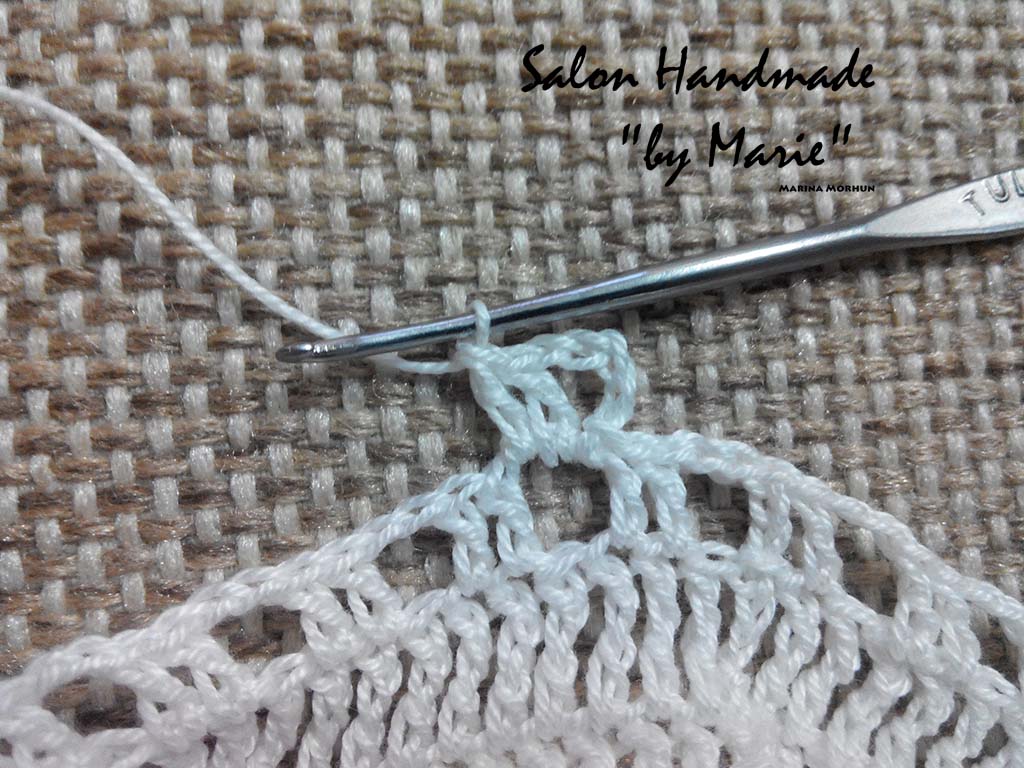
The hole at the corner of snovo knit from * to *
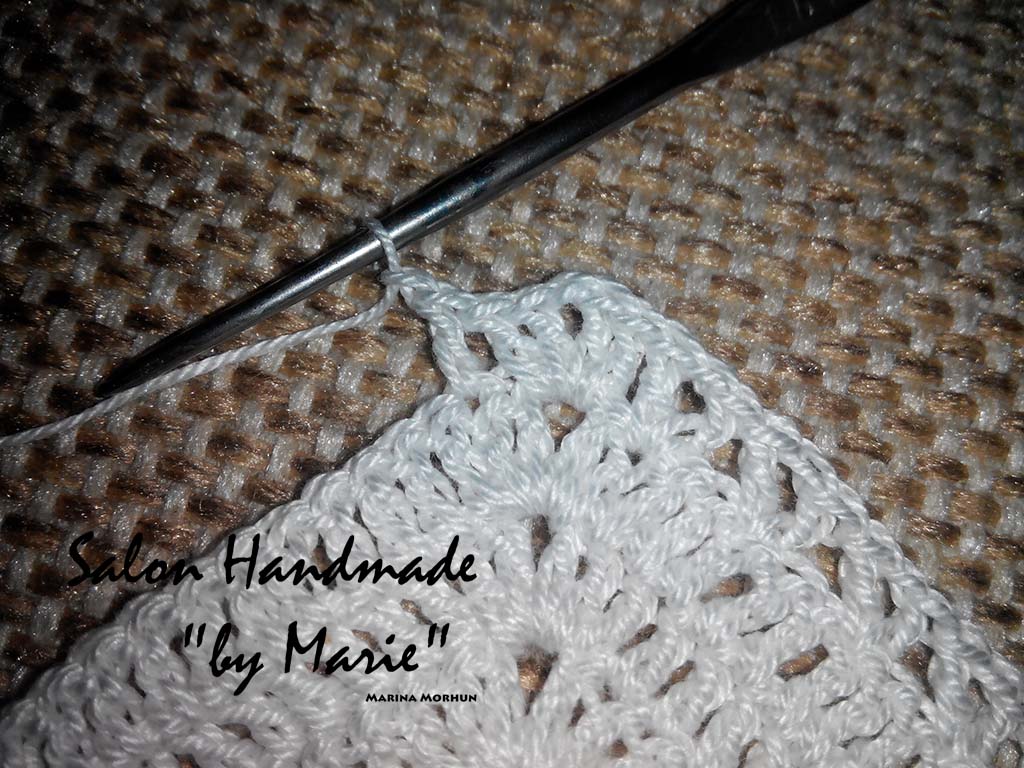
Then we continue to knit all the same tick – the first knit through one loop of the previous row.
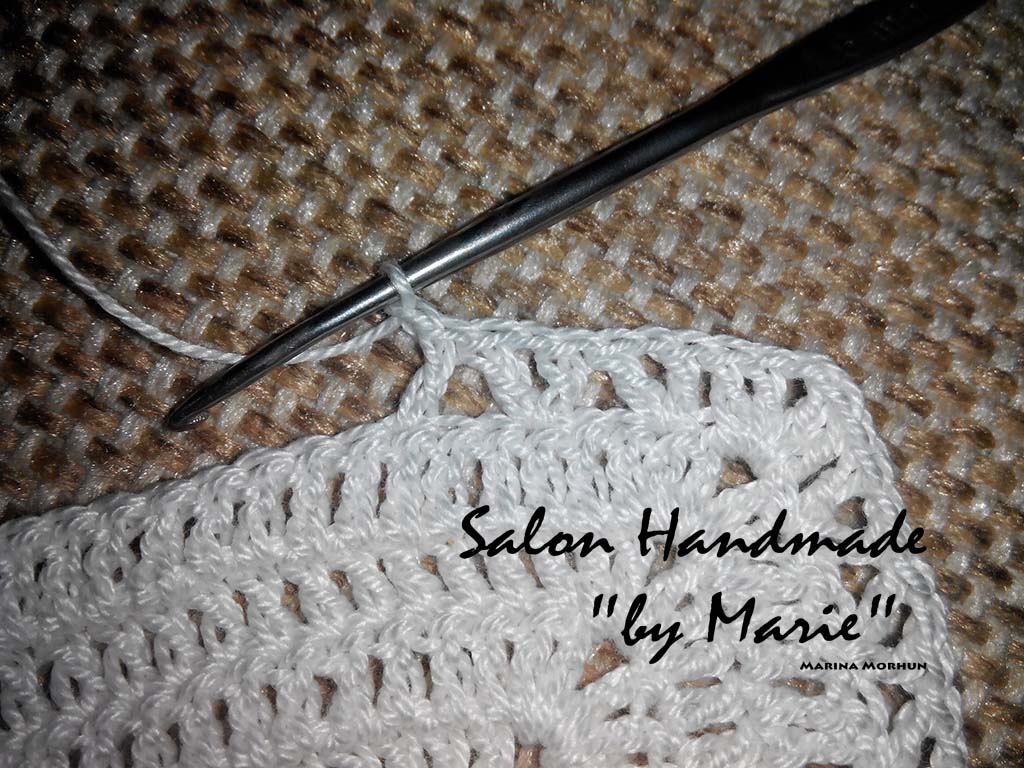
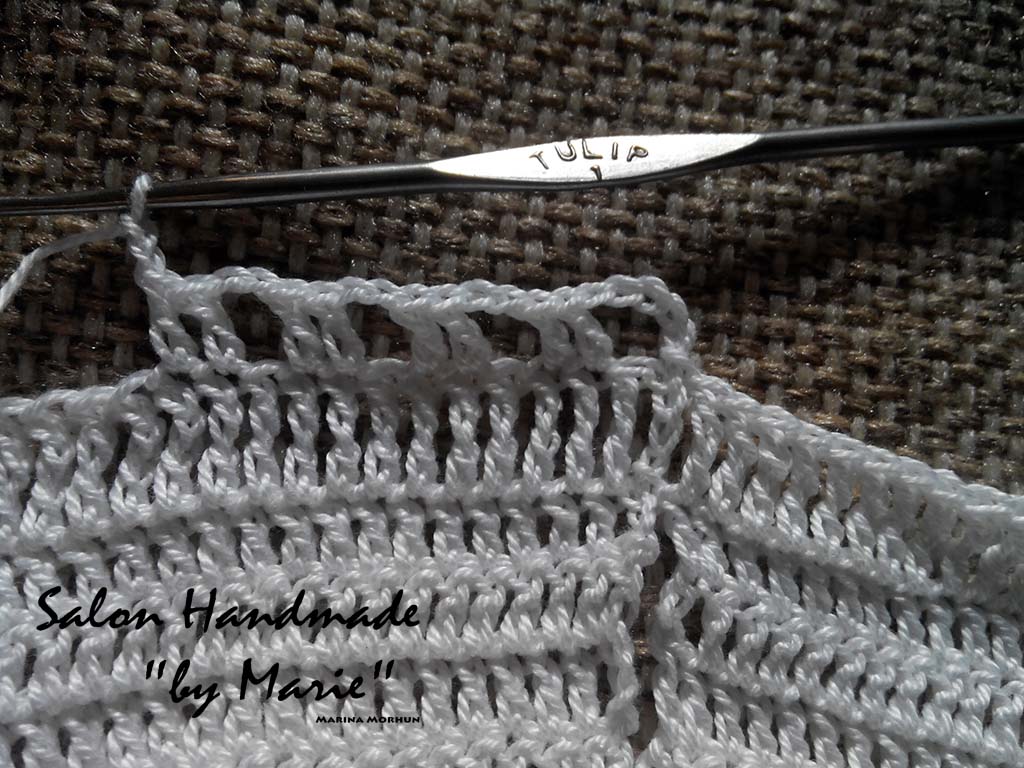
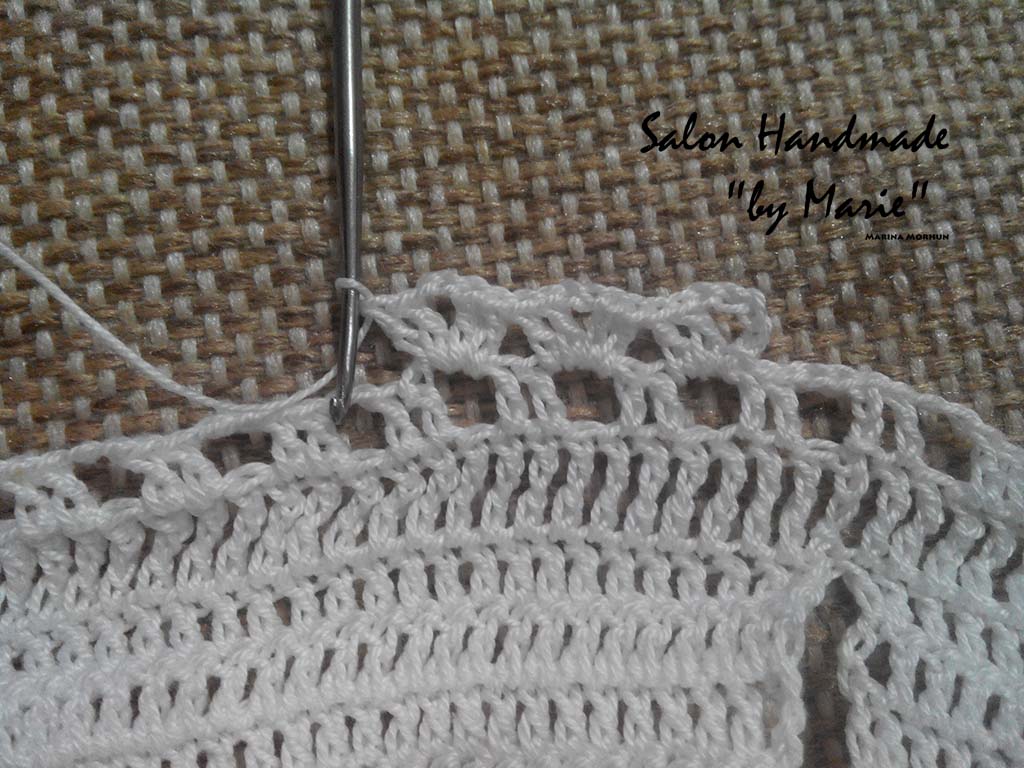
And then again in two. Thus dovyazyvaem number until the end.
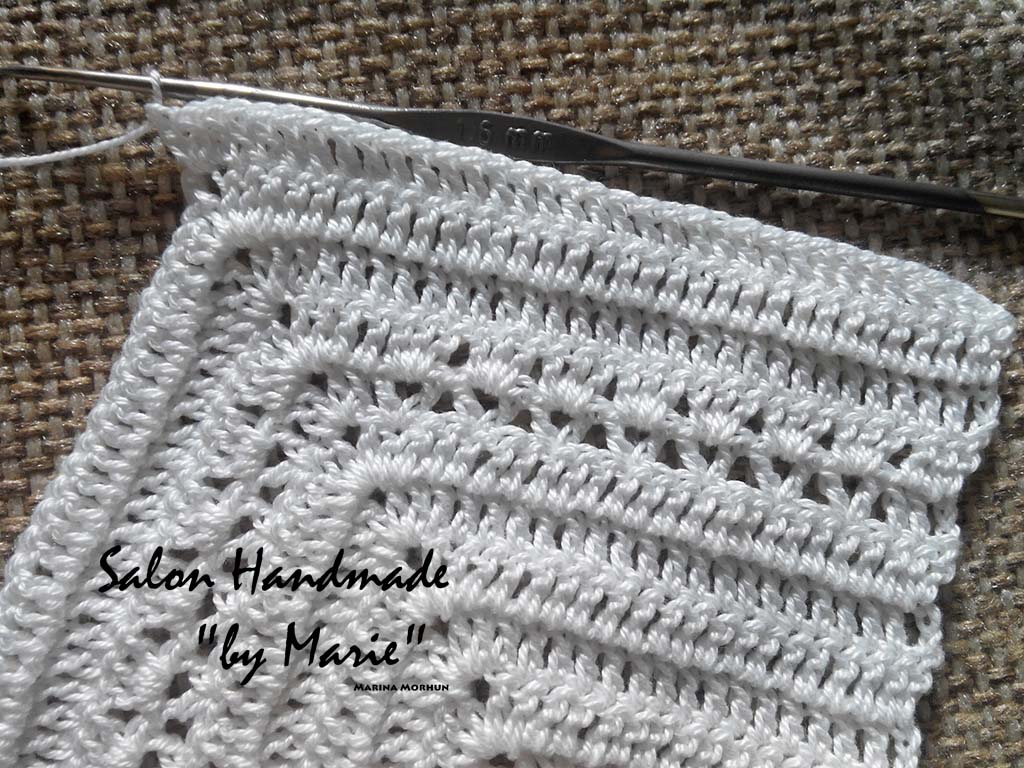
Started eighth row, in the future there will be threaded satin ribbon. Three lifting loops, three columns with nakida, and then check in the previous row knit two columns with nakida. Then, each tick of the previous row knit on three columns with nakida. The beginning and end of the 7th and 8th rows, as well as at the corners have to alter in order to maintain the desired number of loops in the row.
Corner of the eighth series of knit as follows: two columns with nakida in the loop of the previous row of columns, and then into the hole from * to *, and again the 2 column with nakida in the loop of the previous row of columns.
Next in ticks of the previous row knit snovo by three columns with nakida, so until the end of the series. The very end – the beginning of a number of knit mirror.
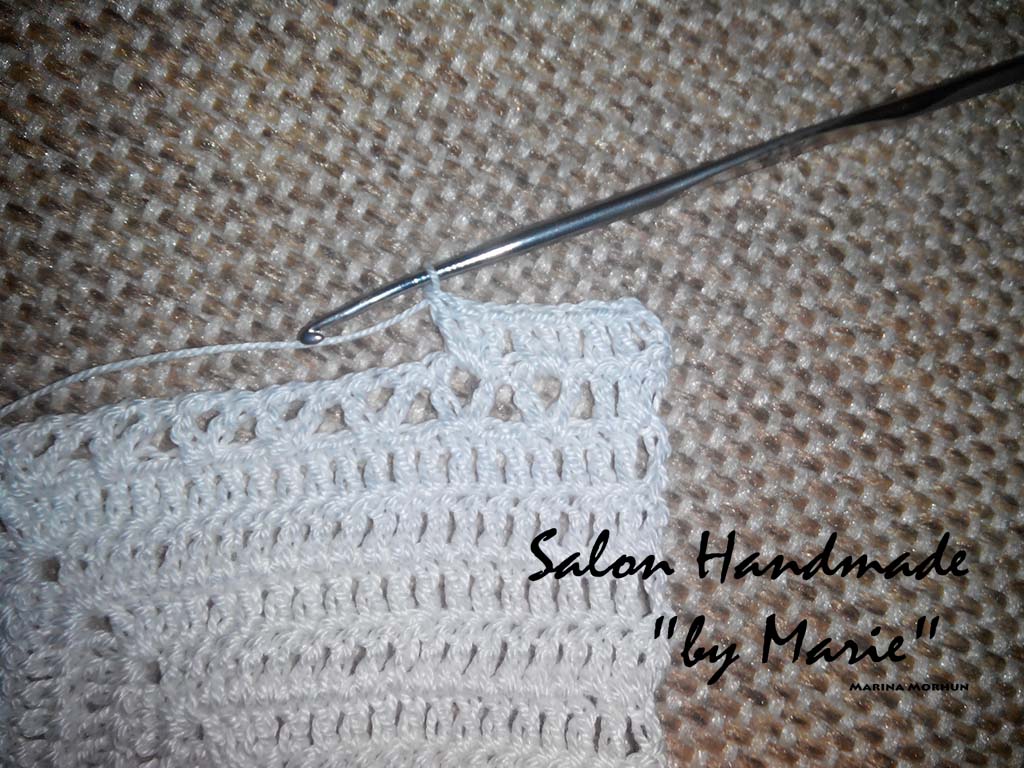
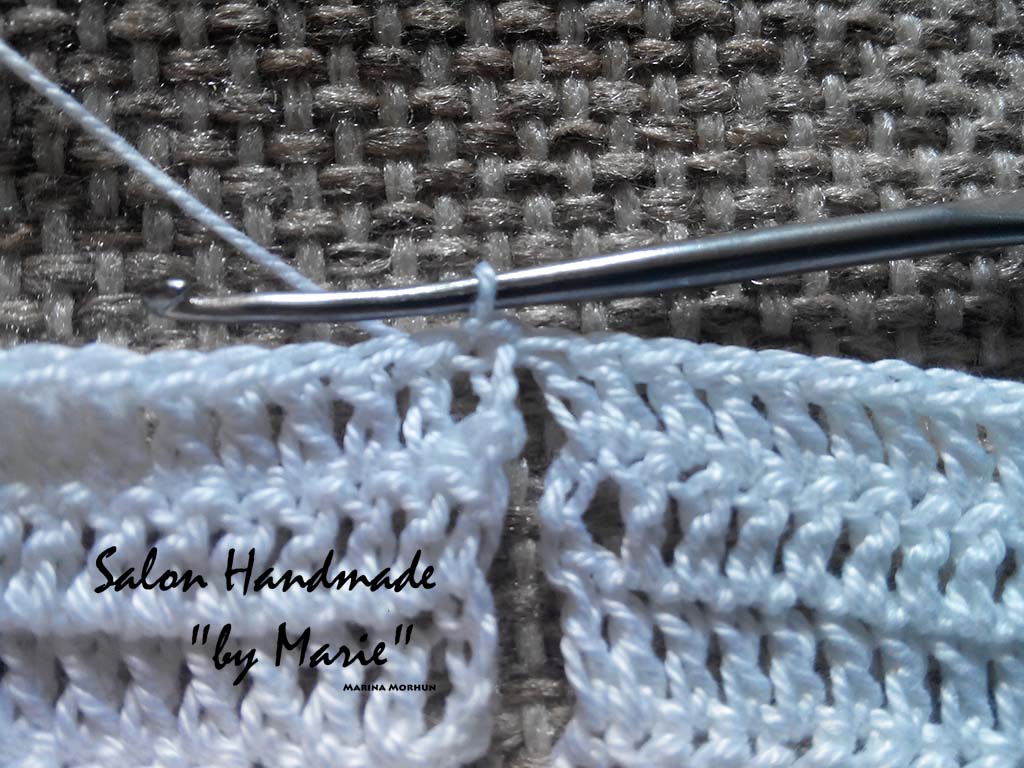
Thereafter provyazyvaem two more series of columns with nakida, then as columns and knit the next row, and dovyazav corner to begin to carry out the time from * to air loops, ie provyazyvaem two columns with nakida hole in the next row, and then proceed as follows:
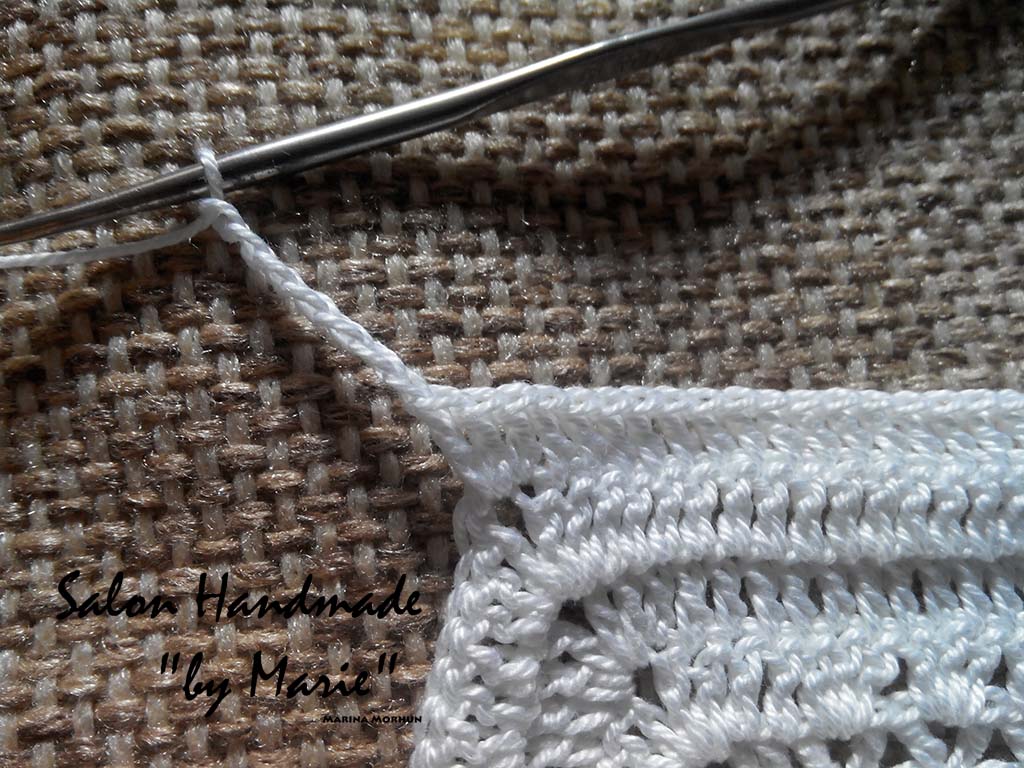
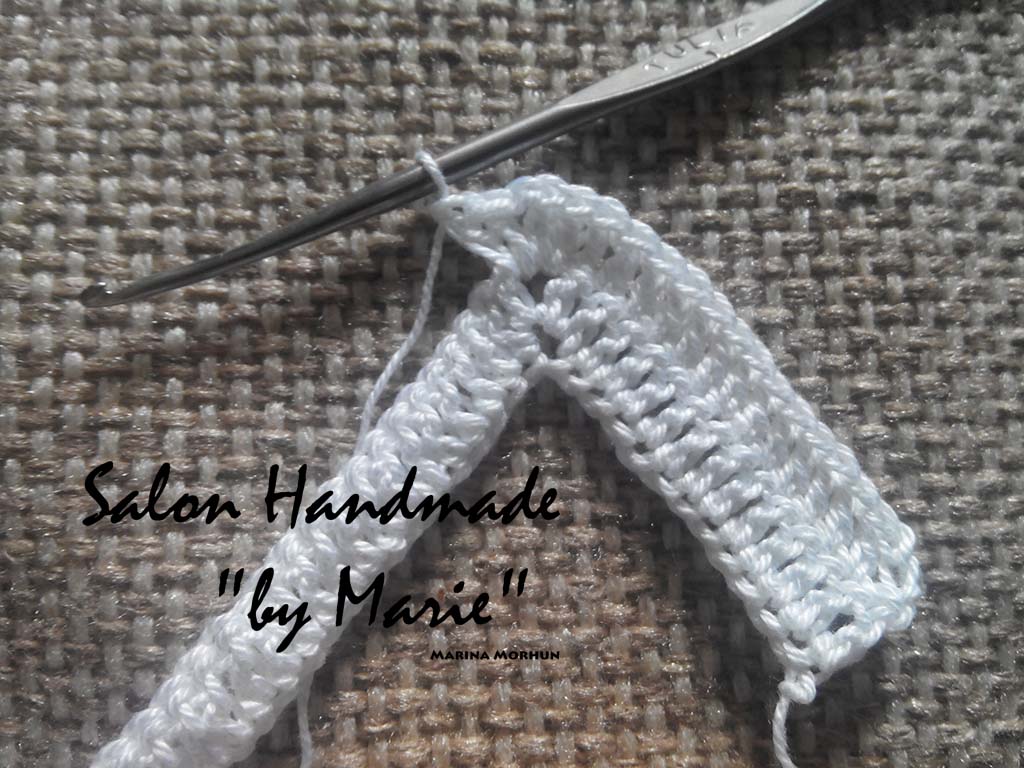
Knit 7 stitches (it will be like for armhole sleeves, as well as missing the loop for the main pattern of the hem of the dress).
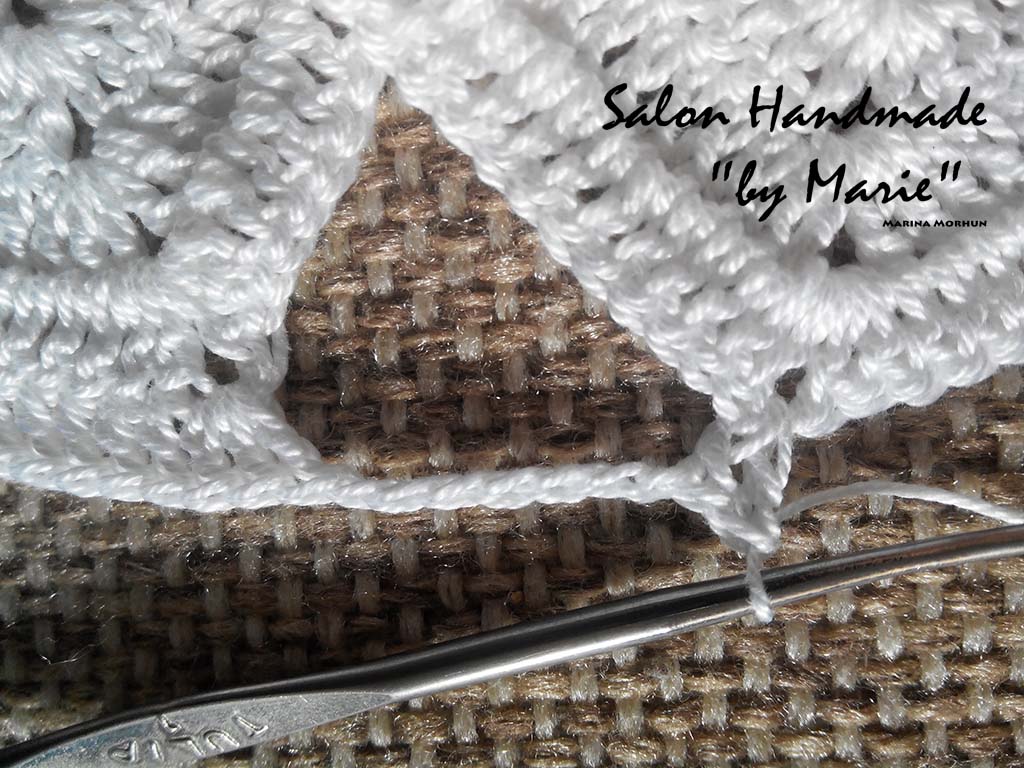
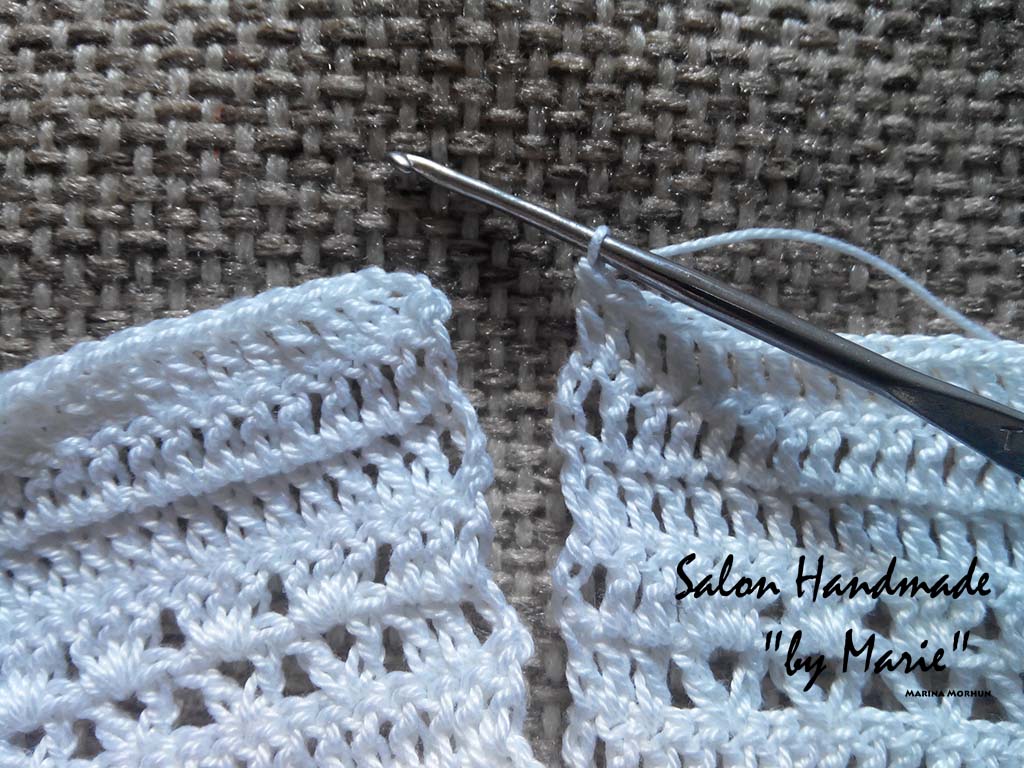
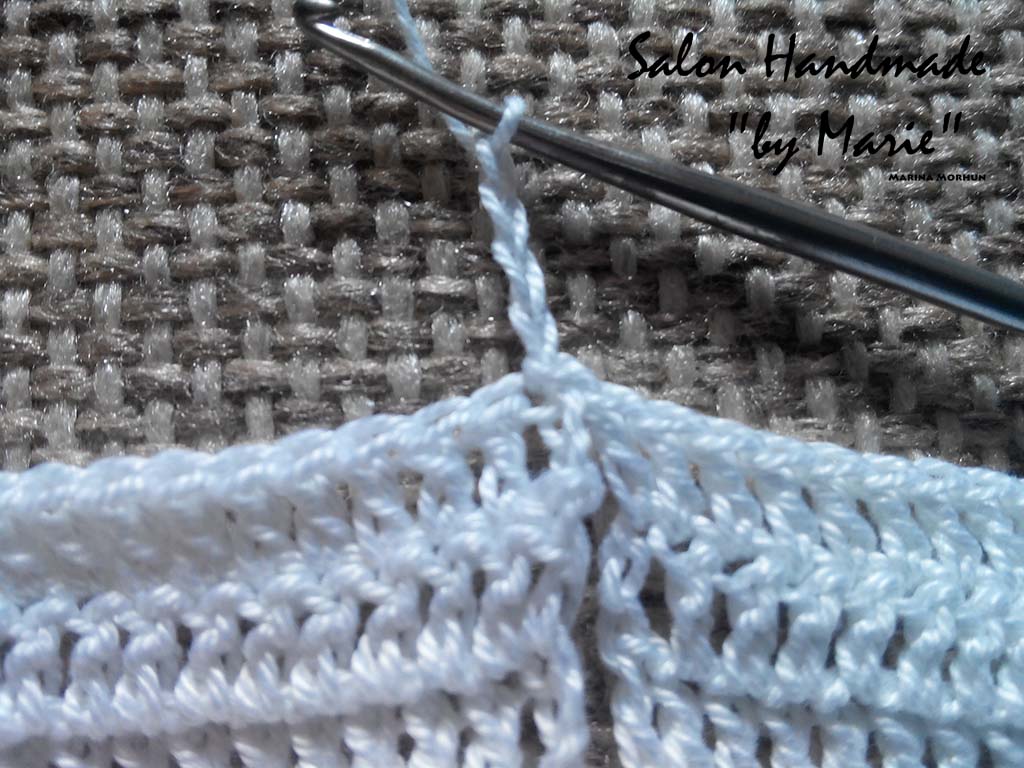
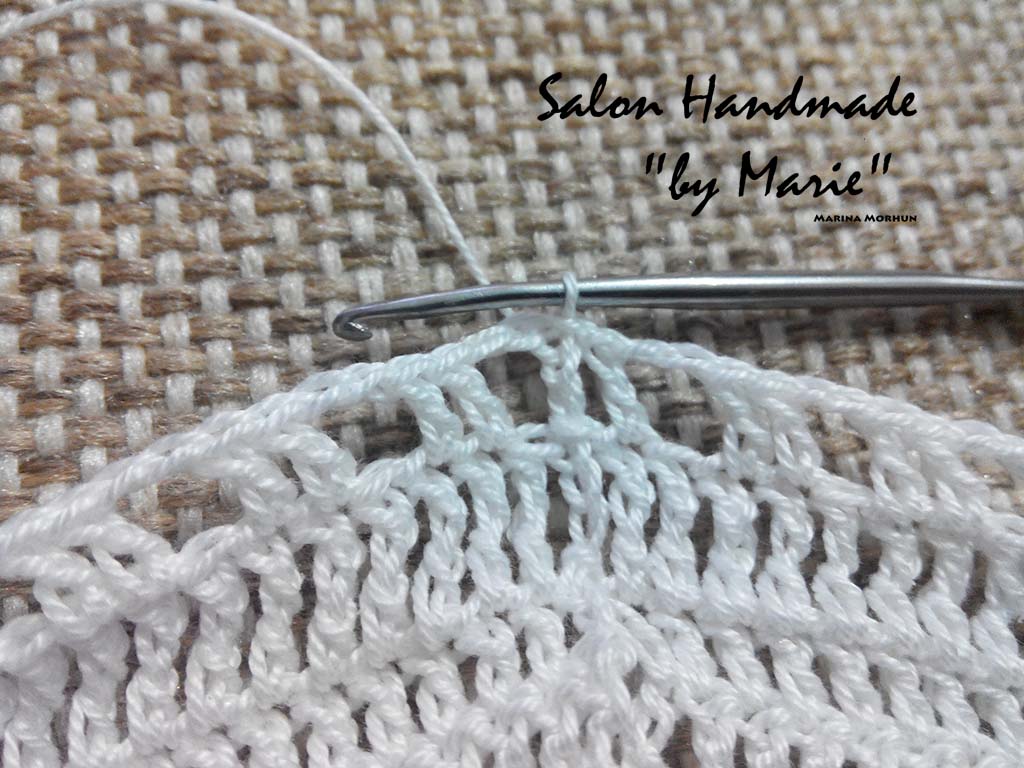
The next two columns with nakida knit in the other (following) hole of the previous row, thus connecting the two corners and fold in half coquette.
That’s how it should look.
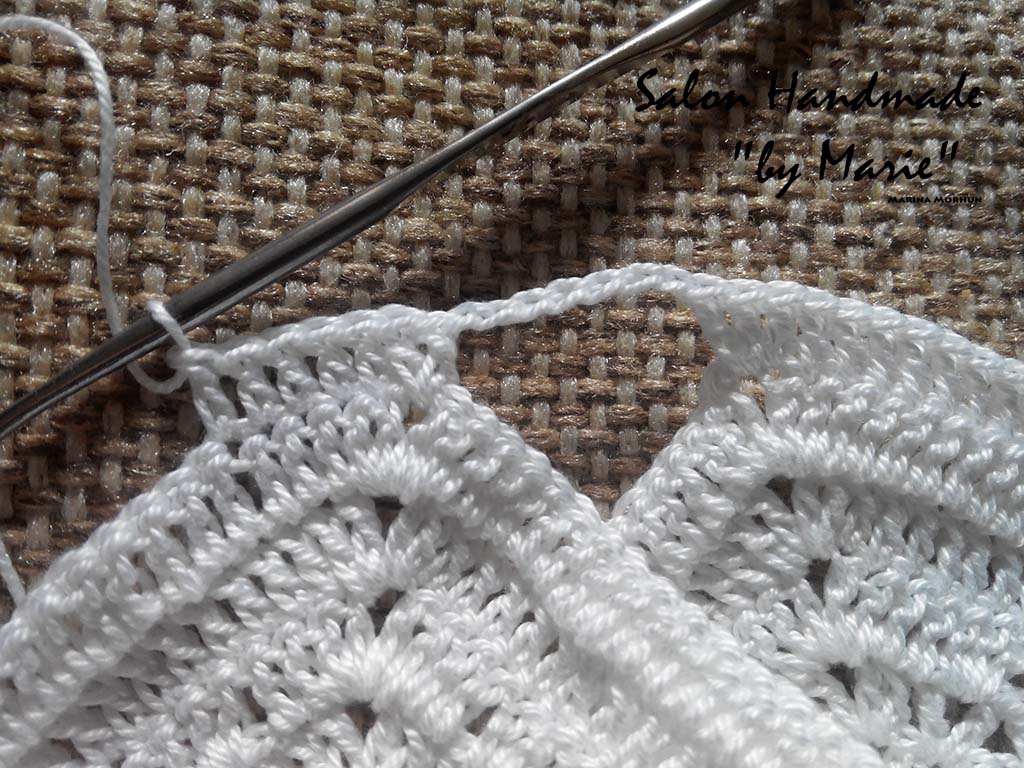
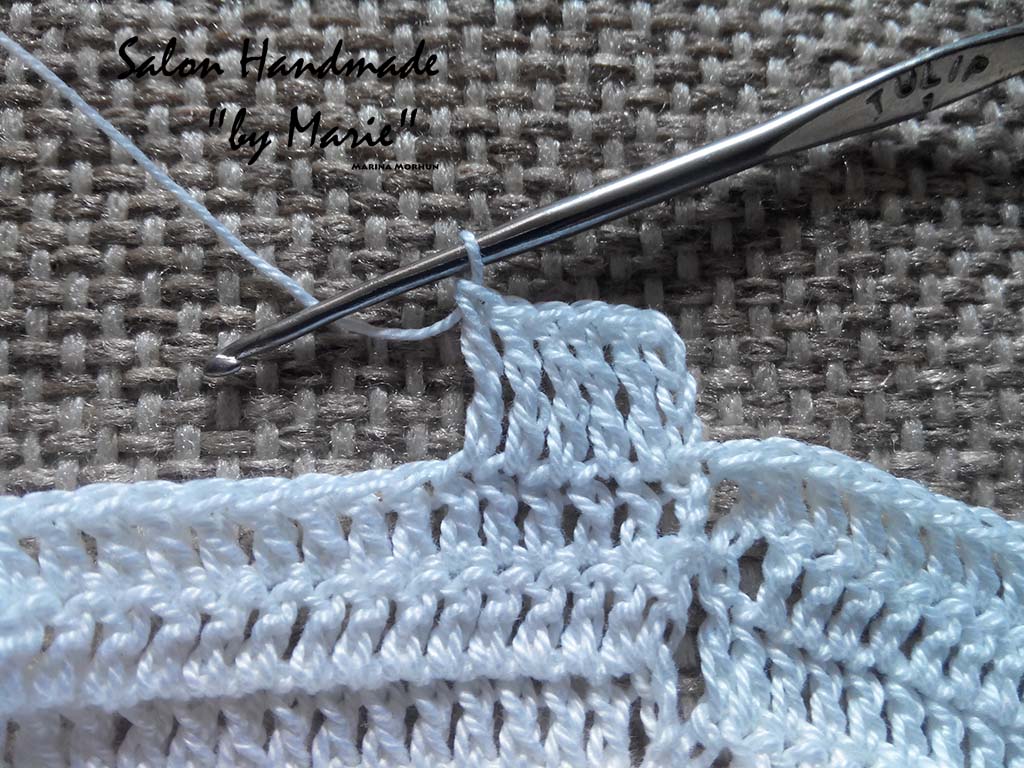
And then we continue to knit columns with nakida to the next hole of the previous row – repeat all the same as in the previous case.
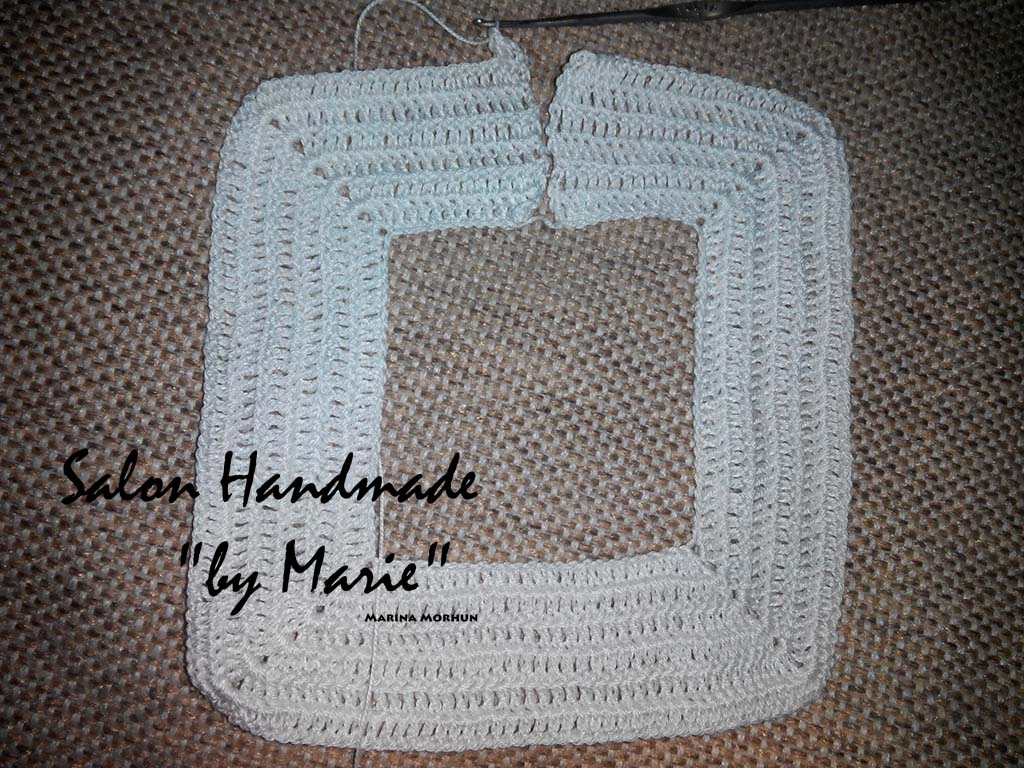
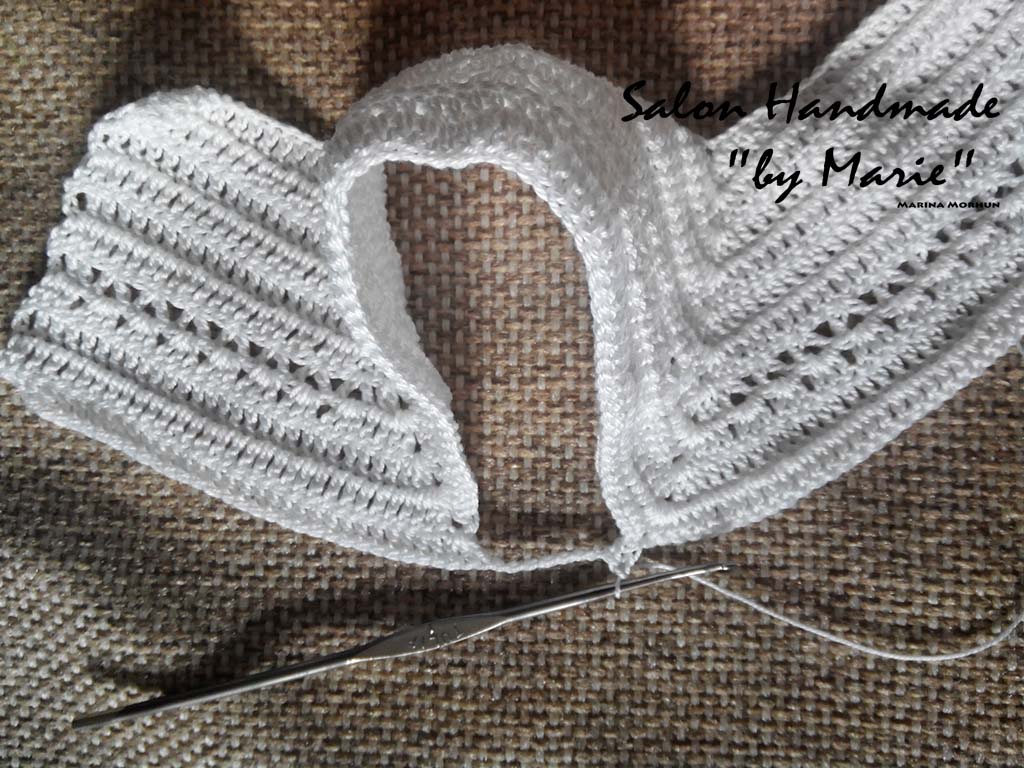
Dovyazat to the end of the series to connect the two ends of the yoke of the future dress.
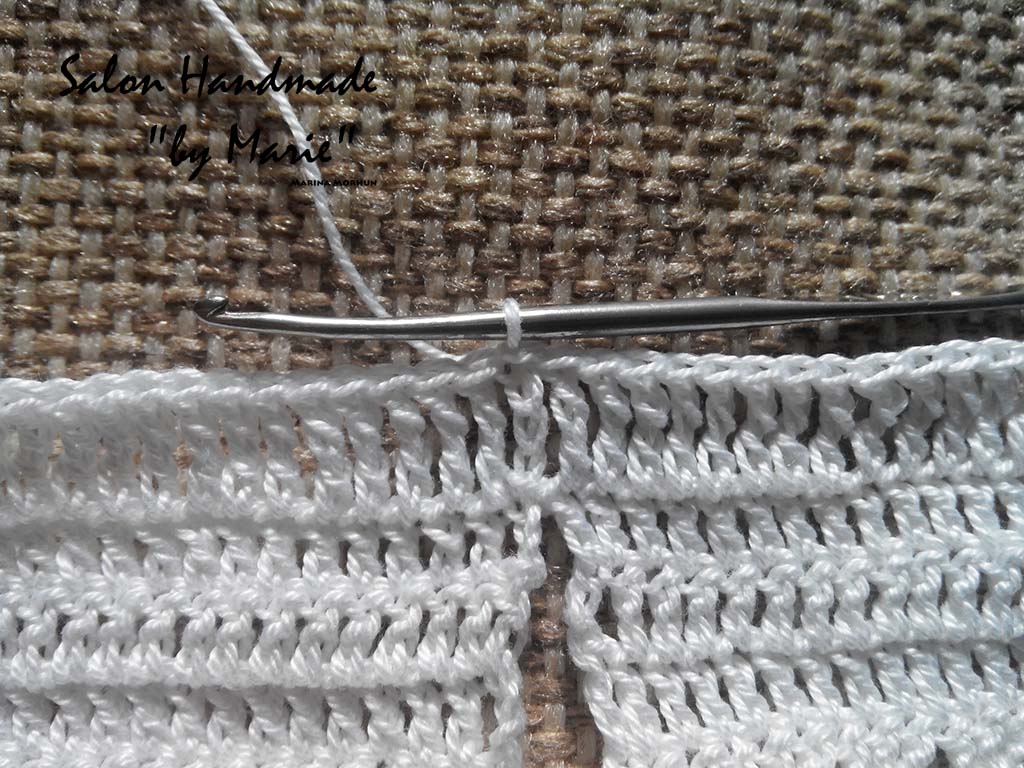
Manipulations are carried out with the help of the connecting column.
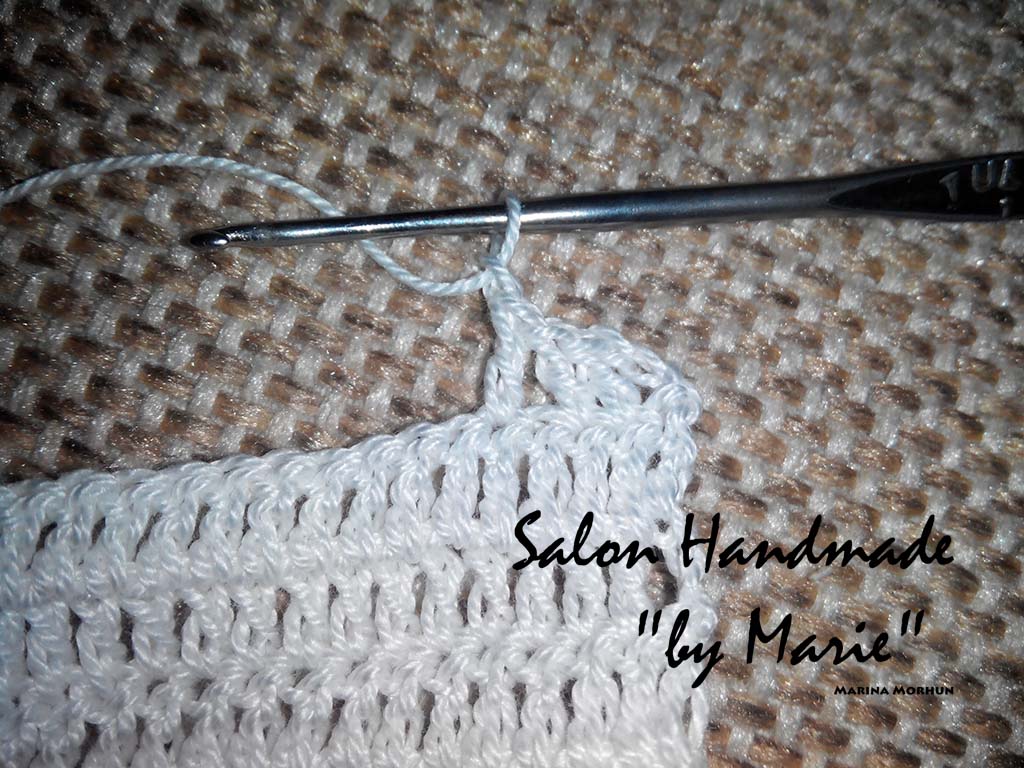
Then we make 4 aerial lifting loops and knit a number of columns with two nakida.
In the future, there will also be threaded satin ribbon.
At the end of series connect.
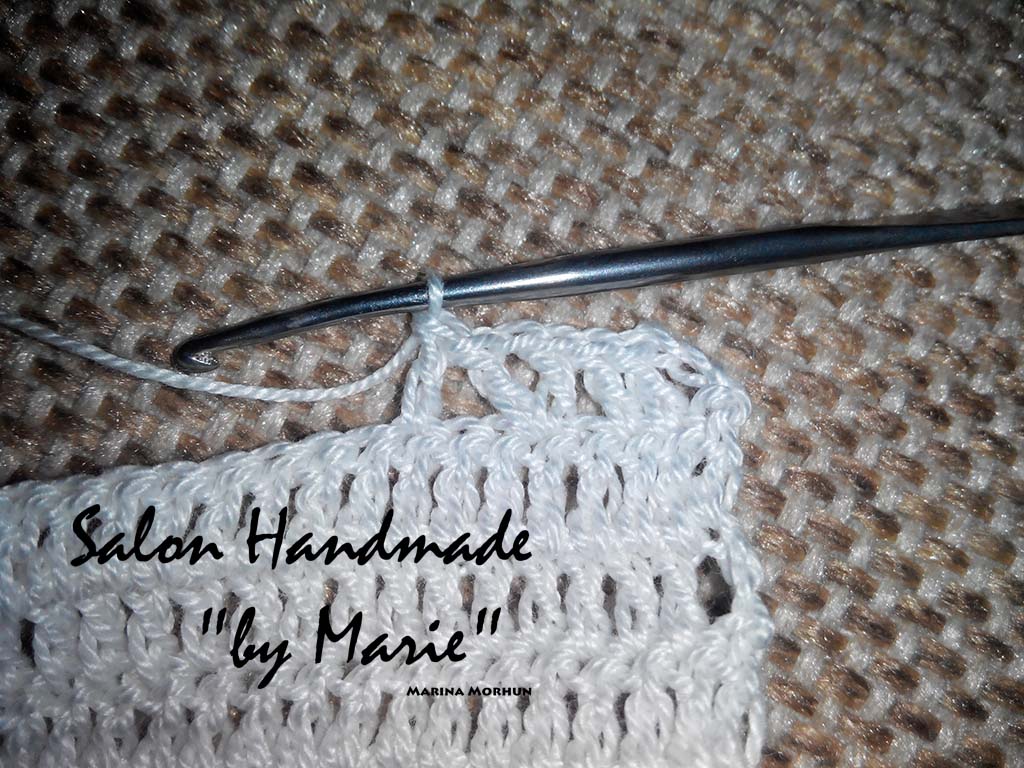
And then do three lifting loops and two air loops – all 5
And knit two columns with nakida through one loop of the previous row, and then again after two air loops.
So we continue to alternate until the end of the series – two columns with nakida through one loop of the previous row, two air loops.

Finish row with one column nakida.
Connect it to a three lifting loops.
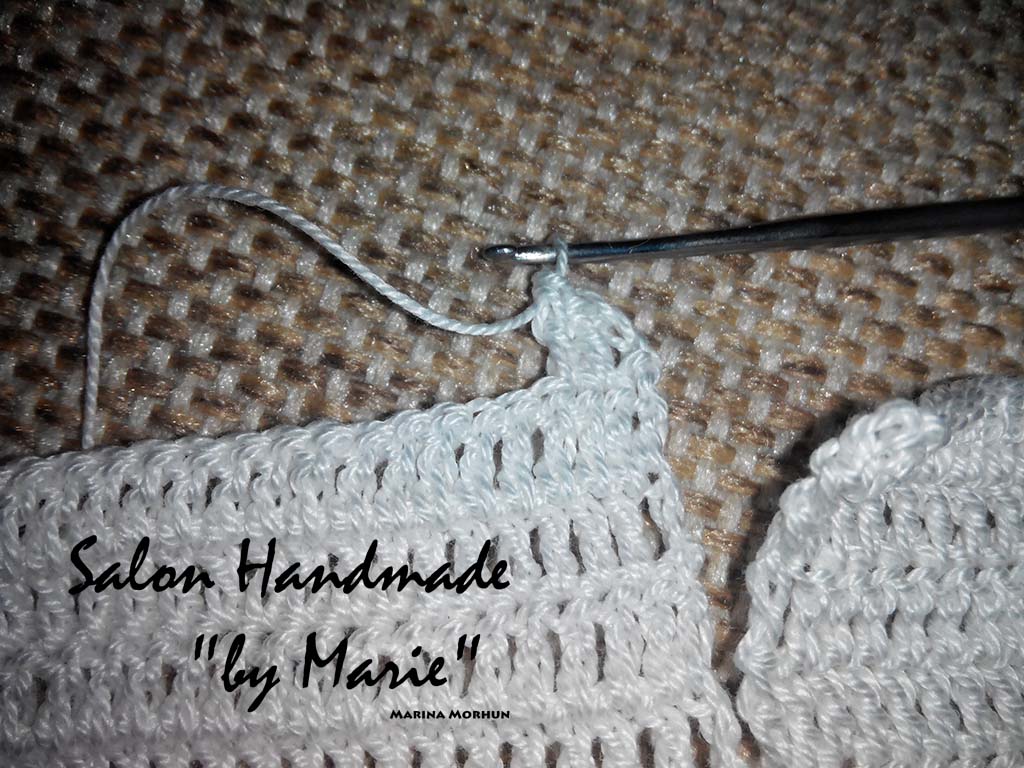
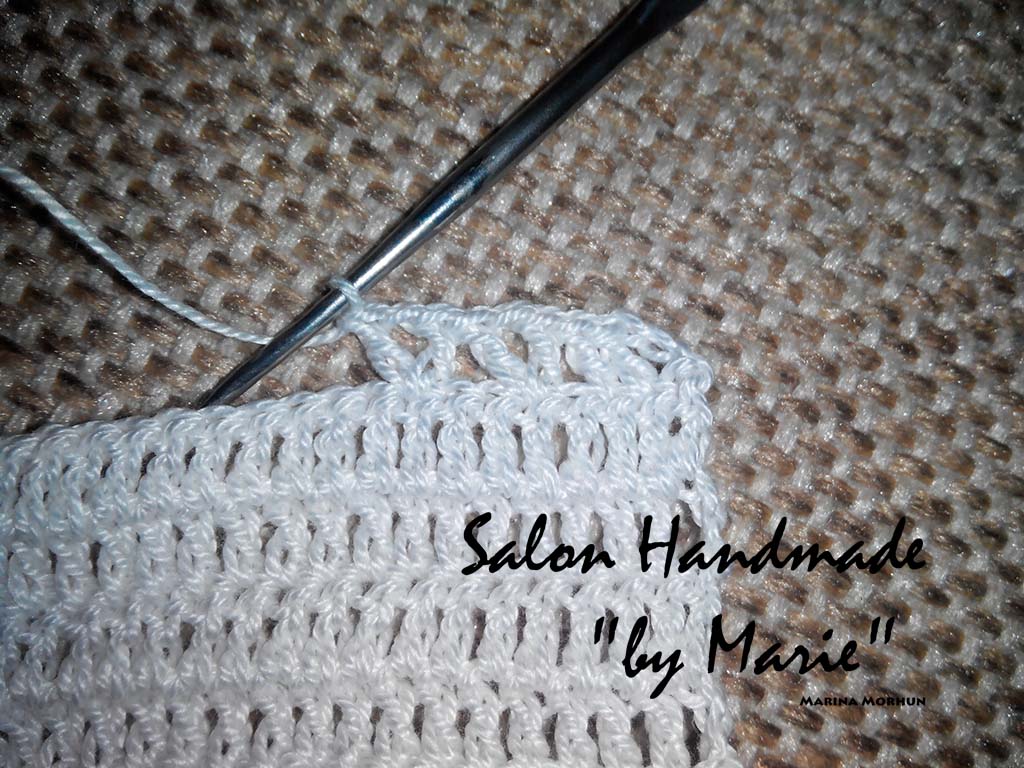
And then the connecting bars are moving to the next two columns with nakida to reach the arches (holes) of the two air loops (just do 5 connecting bars plus the first, which we ended the previous row). This manipulation was performed in order to report that the pattern in the middle of the dress was.
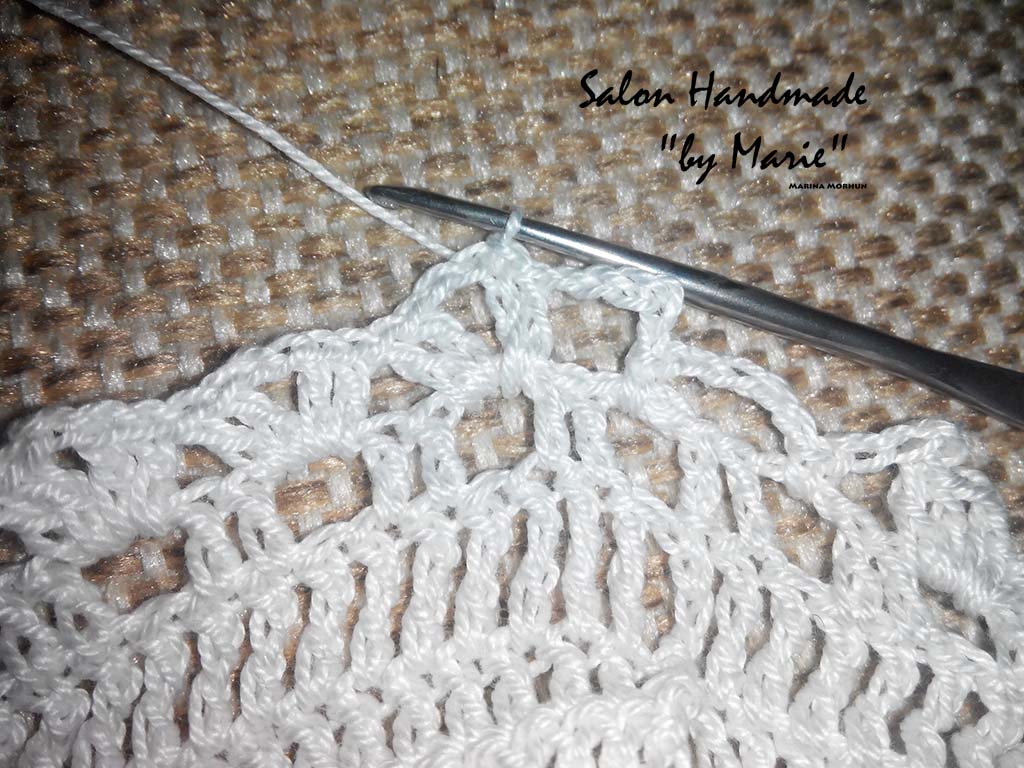
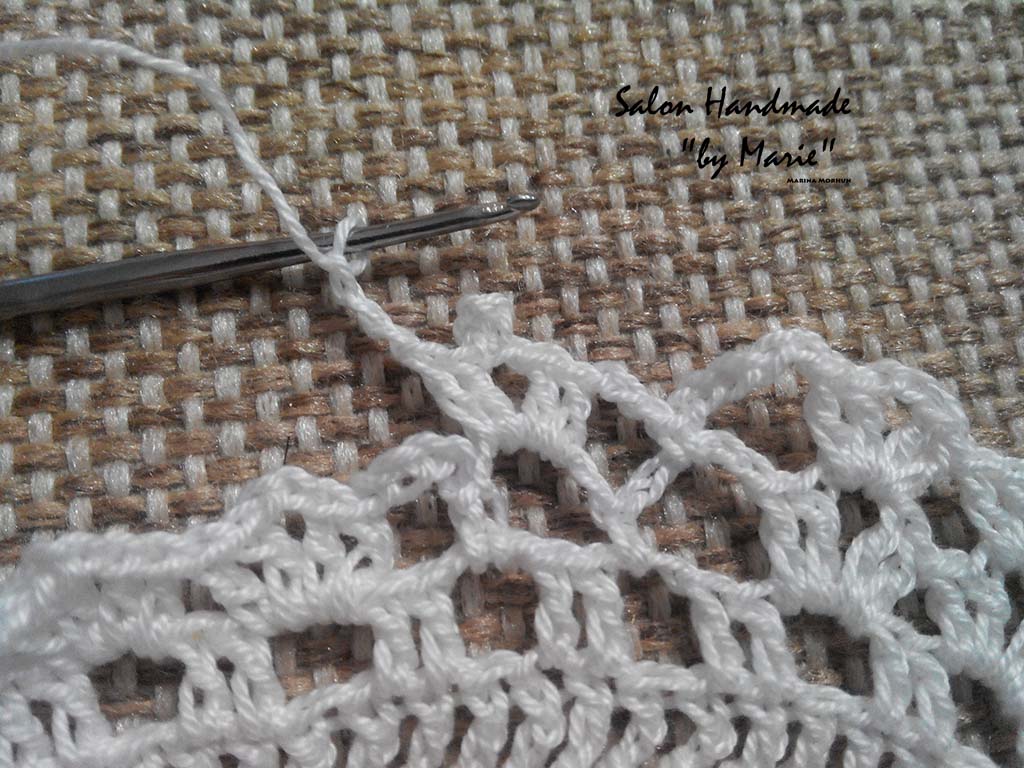
We begin knitting basic pattern of five air loops.
Now knit two columns with the same nakida arches.
The next two columns arches knit with nakida, then two air loops and snovo two columns. Over the next arches repeat the same thing.
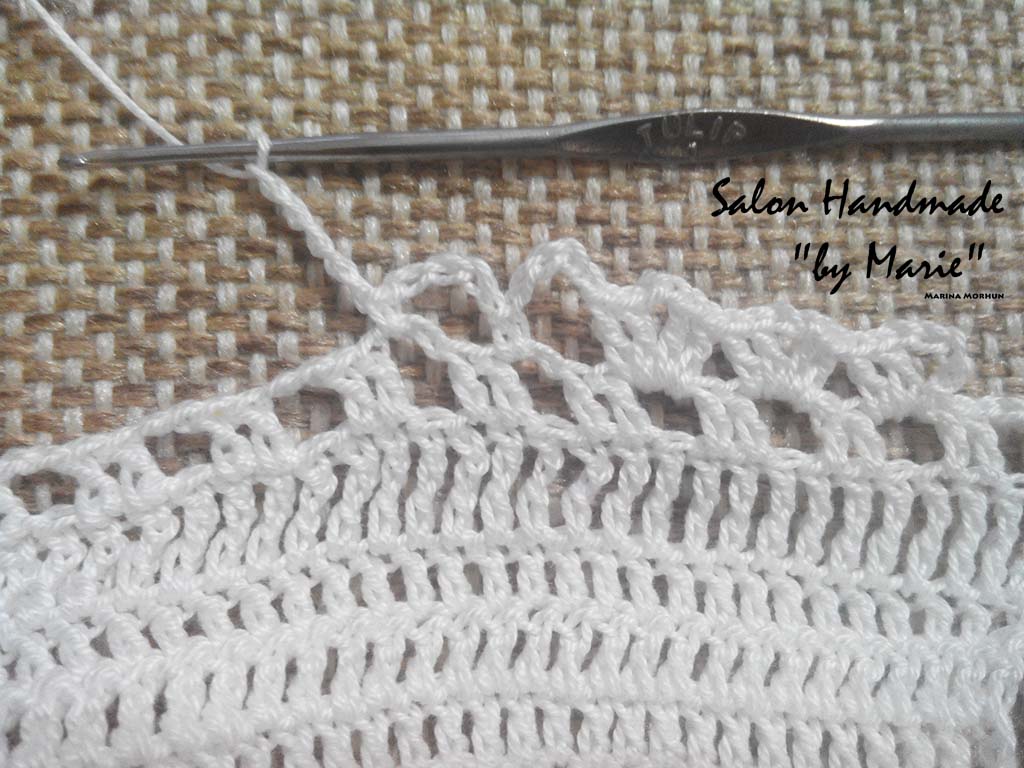
Next knit five stitches, then the column without nakida the next arch, over five air loop and a column without nakida the next arch, and another five stitches, then repeat two columns with nakida in arches, two air loops, over two columns and so three consecutive arches.
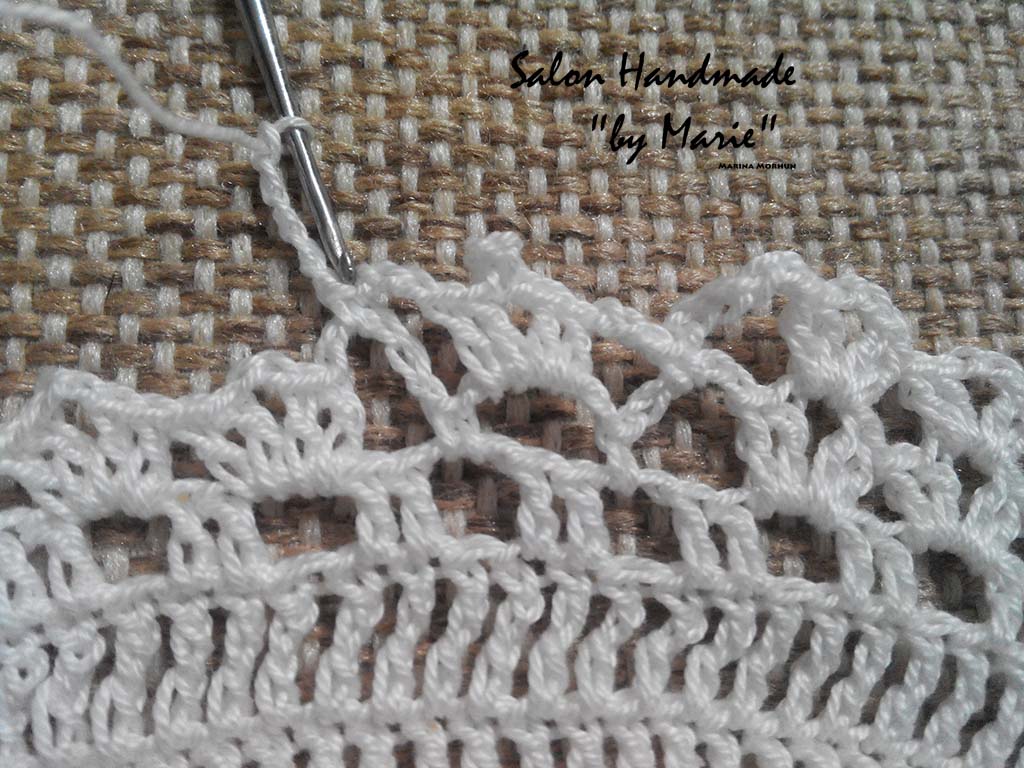
This is how you should get.
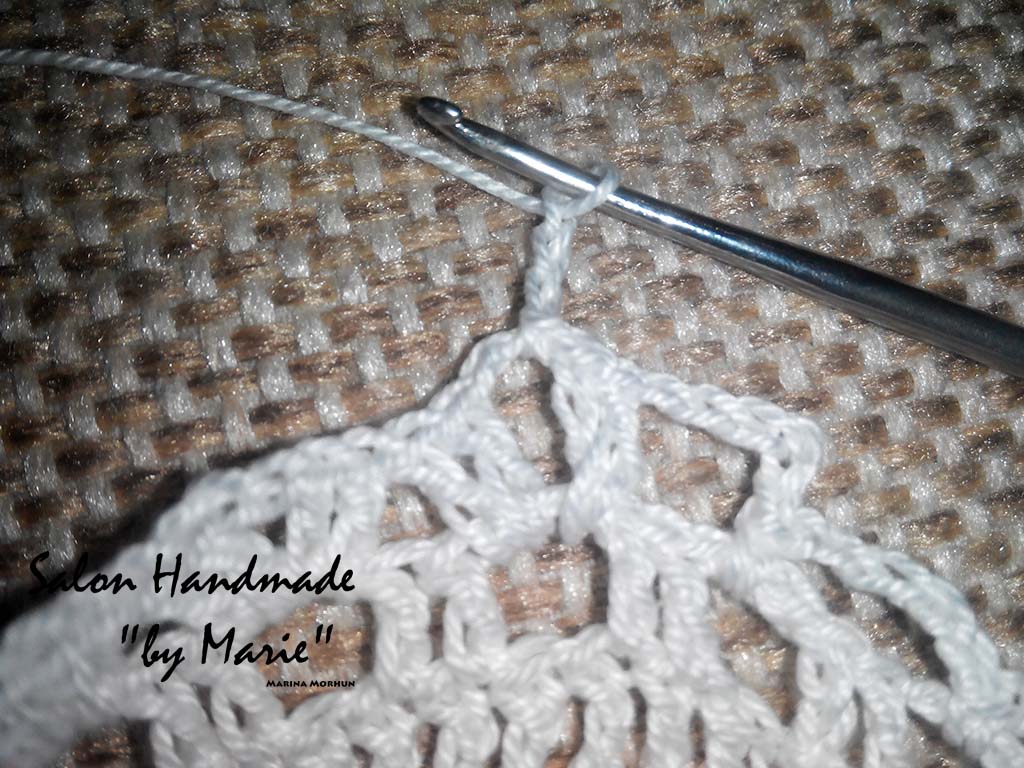
We end the series of five air loop and a column with nakida the arch, from which began to knit this series.
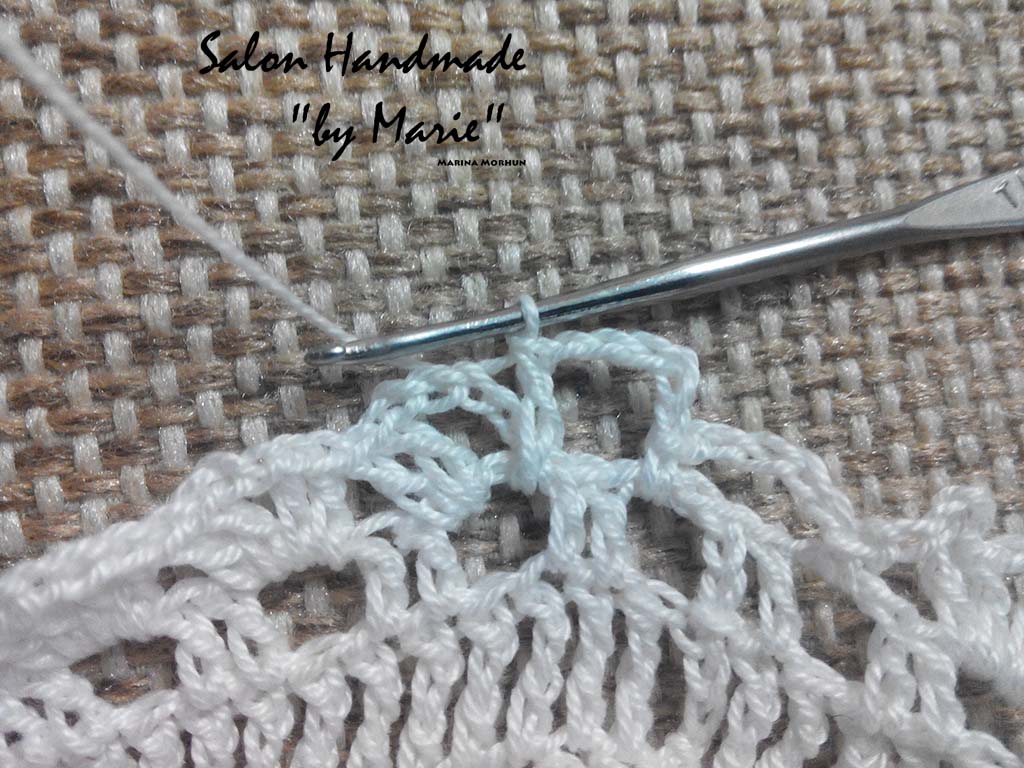
We connect the column with three lifting loops.
And on again connecting column moving to the hole of the two air loops from which to start the next row.
We make three air lift loop.
Then repeat the pattern as in the previous row until with air loops.
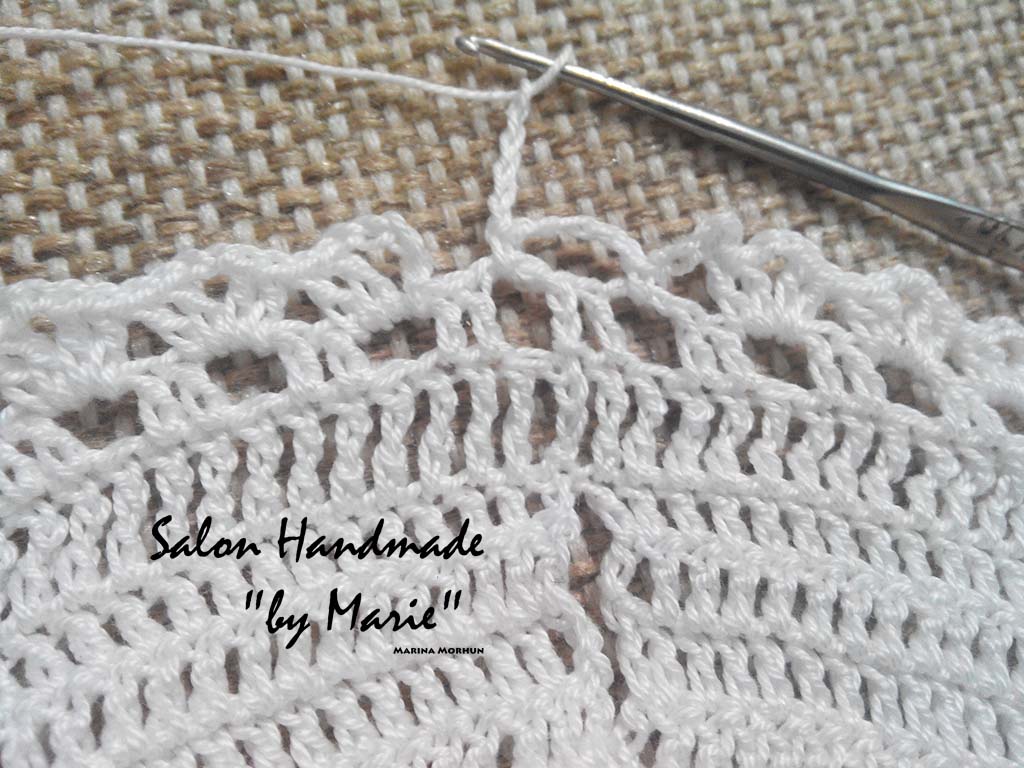
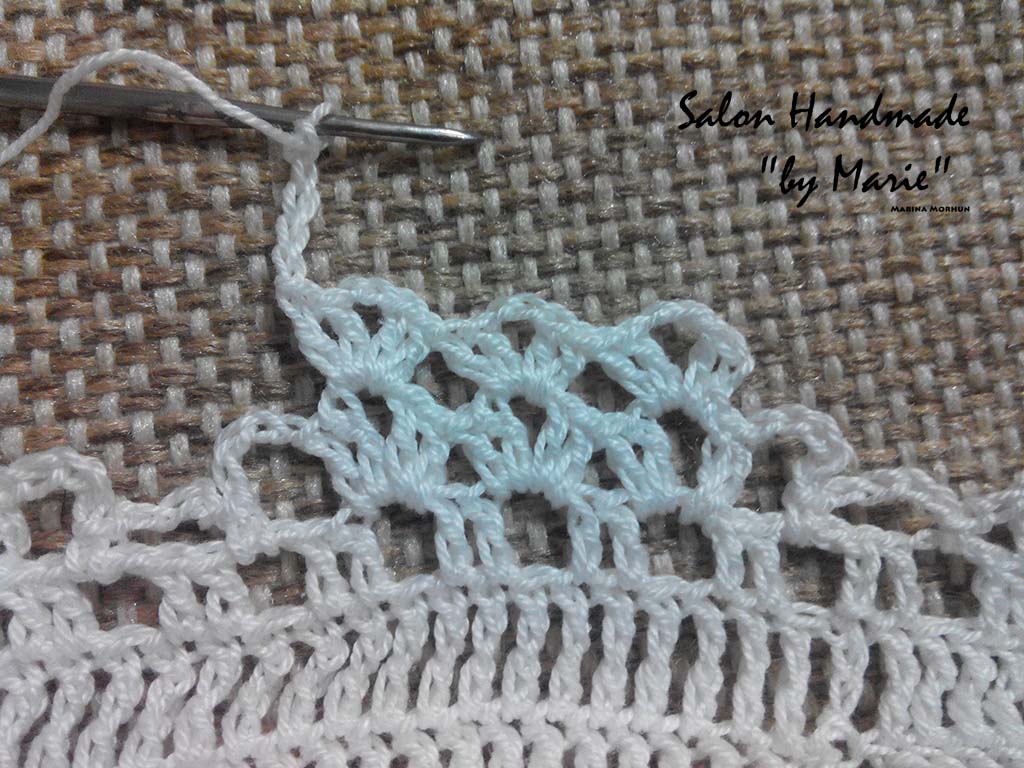
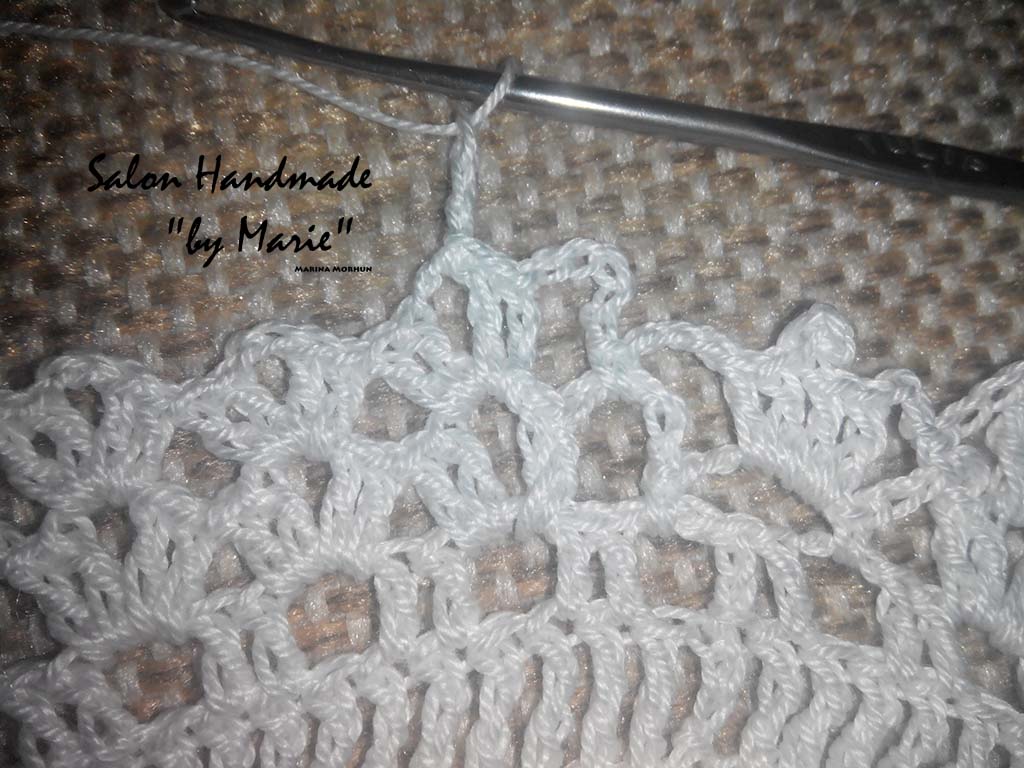
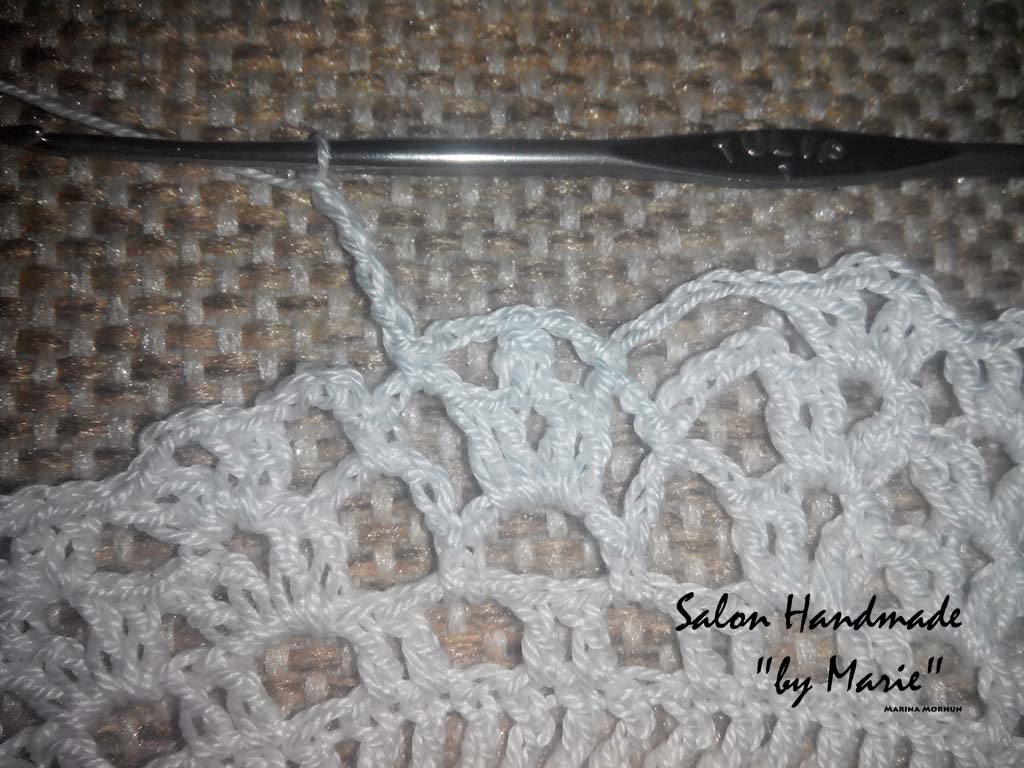
Make five stitches, then with a column nakida for the first arch of the previous row of five air loops on three air loop.
And in the next arch of the previous row of five stitches knit with two columns nakida, then pico four air loops and again two columns with nakida. Then fasten the three air loop column without nakida the free arches of five air loop of the previous row.
Knit five stitches and repeat the pattern of the previous row until the next moment of arochok air loops that repeat as the previous one.
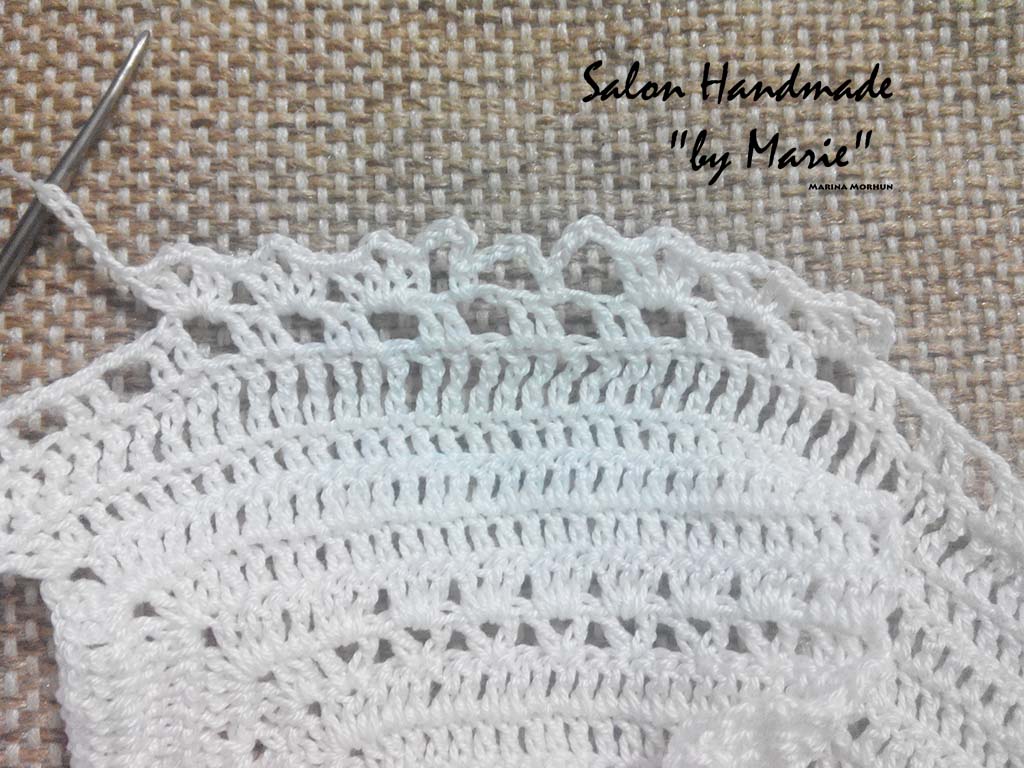
We finish the series, just as the previous one, do the three air lift loop and knit next.
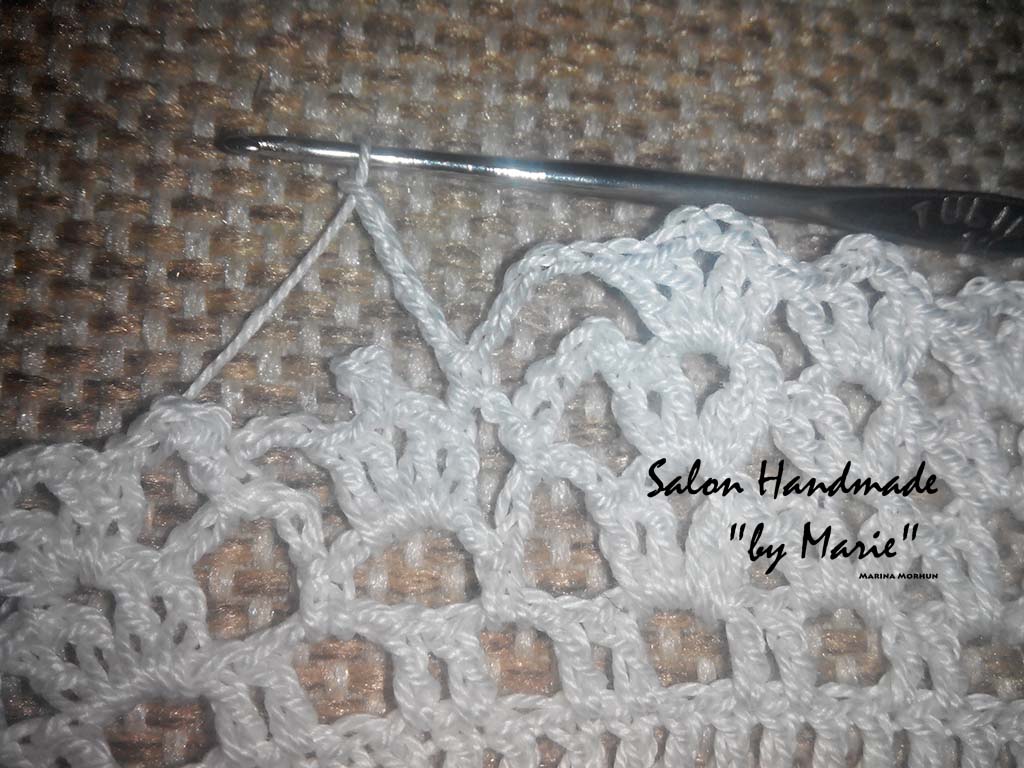
We reach the moment with air loops, knit five stitches, the column without nakida arches in the previous row of three air loops, then five stitches again without nakida column in the arch of three air loops.
Another five stitches, and on continuing pattern as in the previous row until the next time the arches, which, you guessed it, knit in the same way as the previous one.
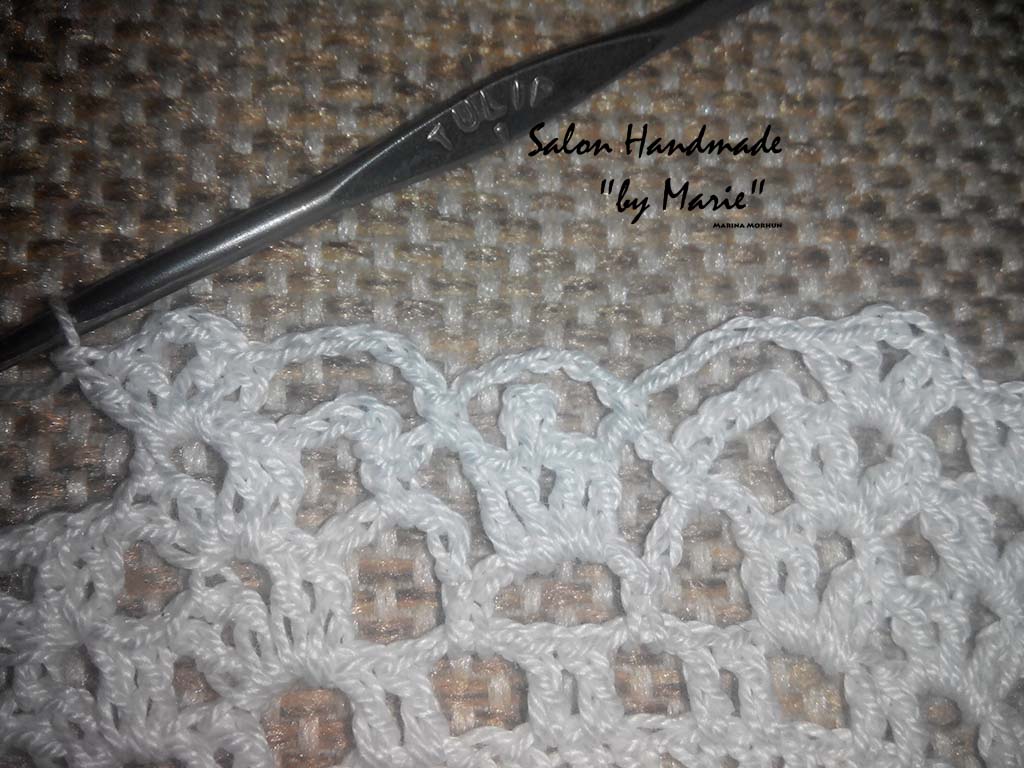
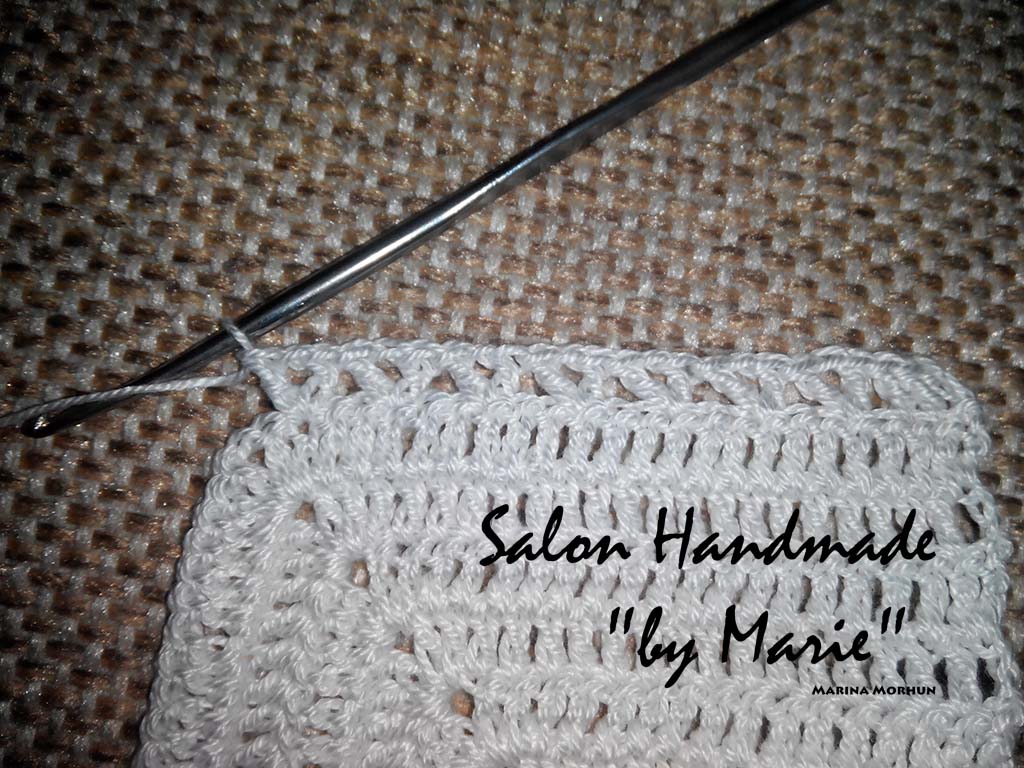
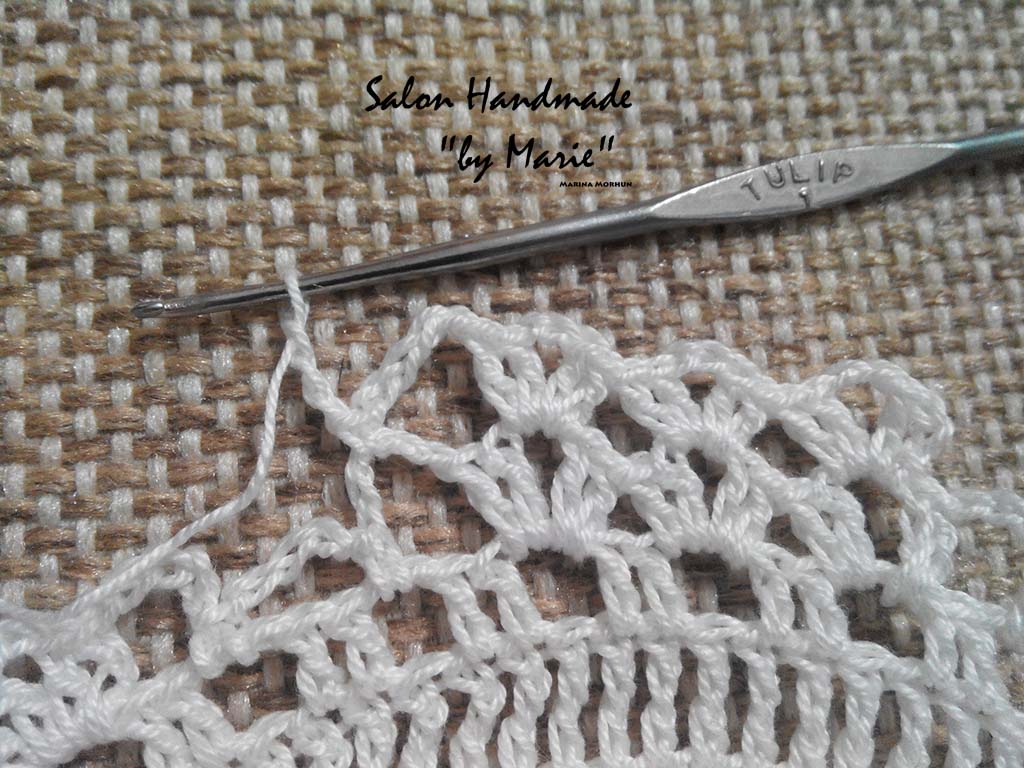
Here is such a pattern is obtained.
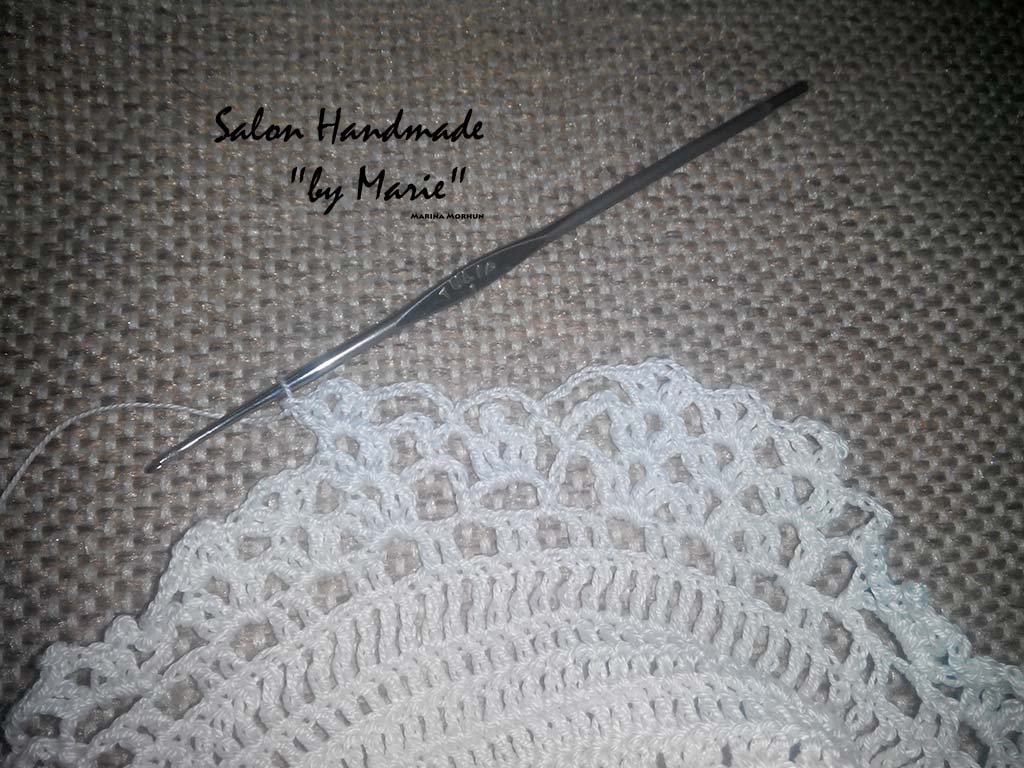
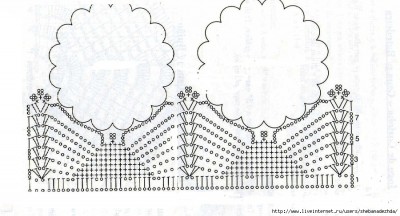
Then we continue to alternate between the second and third row and knit this way to the desired length. Not forgetting that the bottom will be more flowers and quilling.
I got more rows than the main pattern from the author. I wanted to dress completely covers the legs of my baby. And with the growth she has no problems, like mom))
To be continued. Follow us нашей группе ВК, instagram

 (25 оценок, среднее: 4.76 из 5)