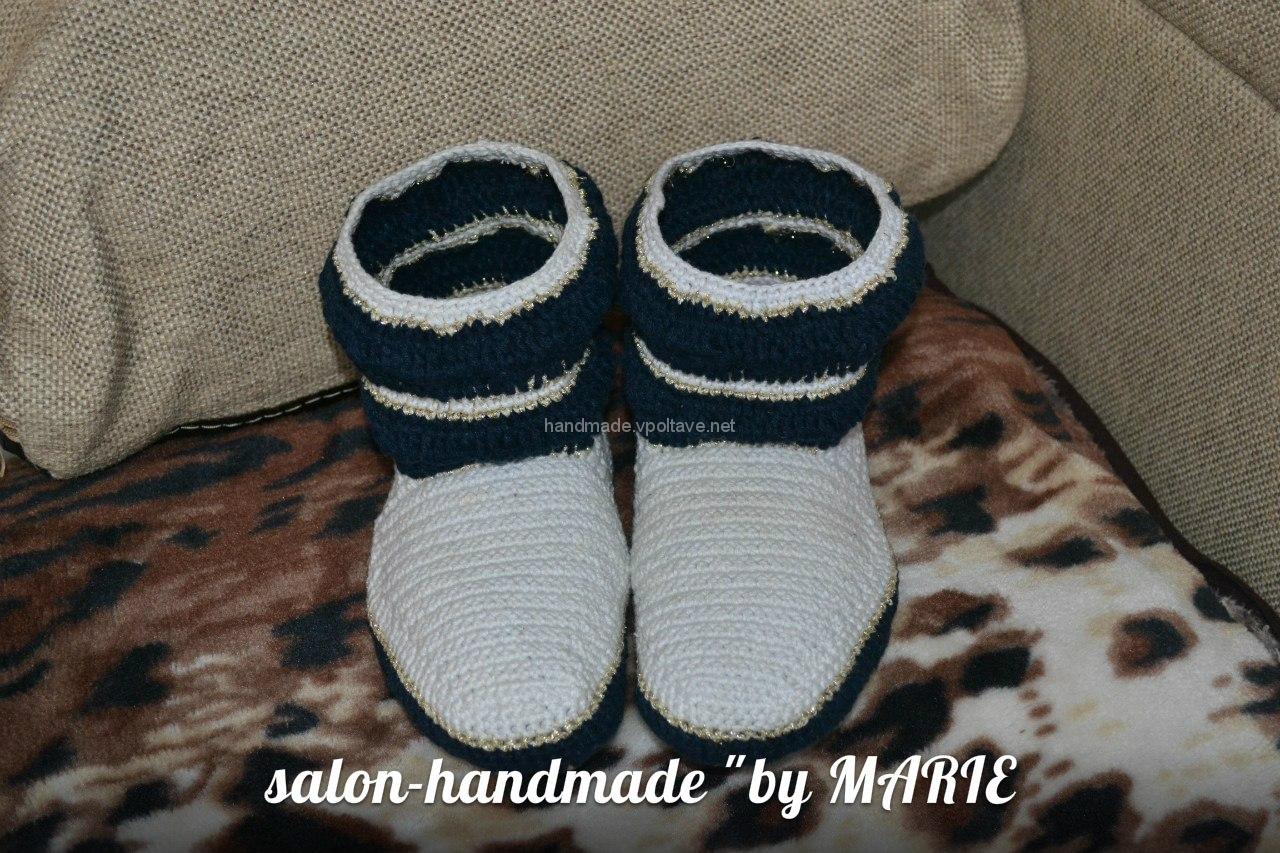
 Another version of knitted boots for the home. They are very comfortable and warm, you will feel very comfortable in them. And after reading this article, you can become the owner of the same at home. Here I did a detailed workshop on their knitting. Welcome! =))
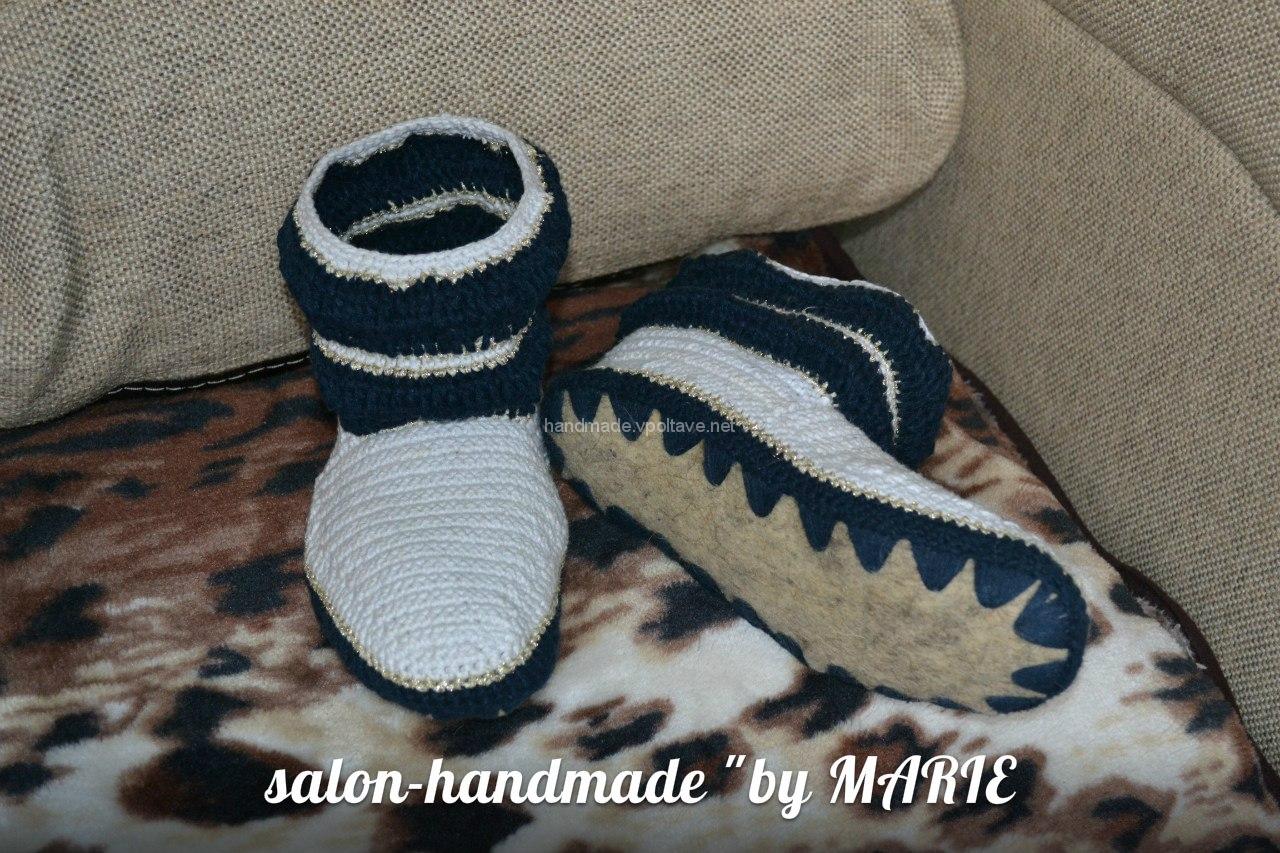 For knitting these boots, I used yarn from an old unnecessary sweater that I dismissed. This is a big plus, since you do not need to spend money on expensive yarn in the store. But if you want to bind yourself a more festive option, then take the yarn in the composition of which wool is present, about 50%. The yarn will need three colors. I also needed hook No. 2.3 and No. 3.5, and you pick the hooks that fit your yarn. For the sole, I used felt, I had it at home, but you can buy it, or buy ready-made insoles of your size. Also plyabitsya awl, for piercing holes in the felt. And so, we start:
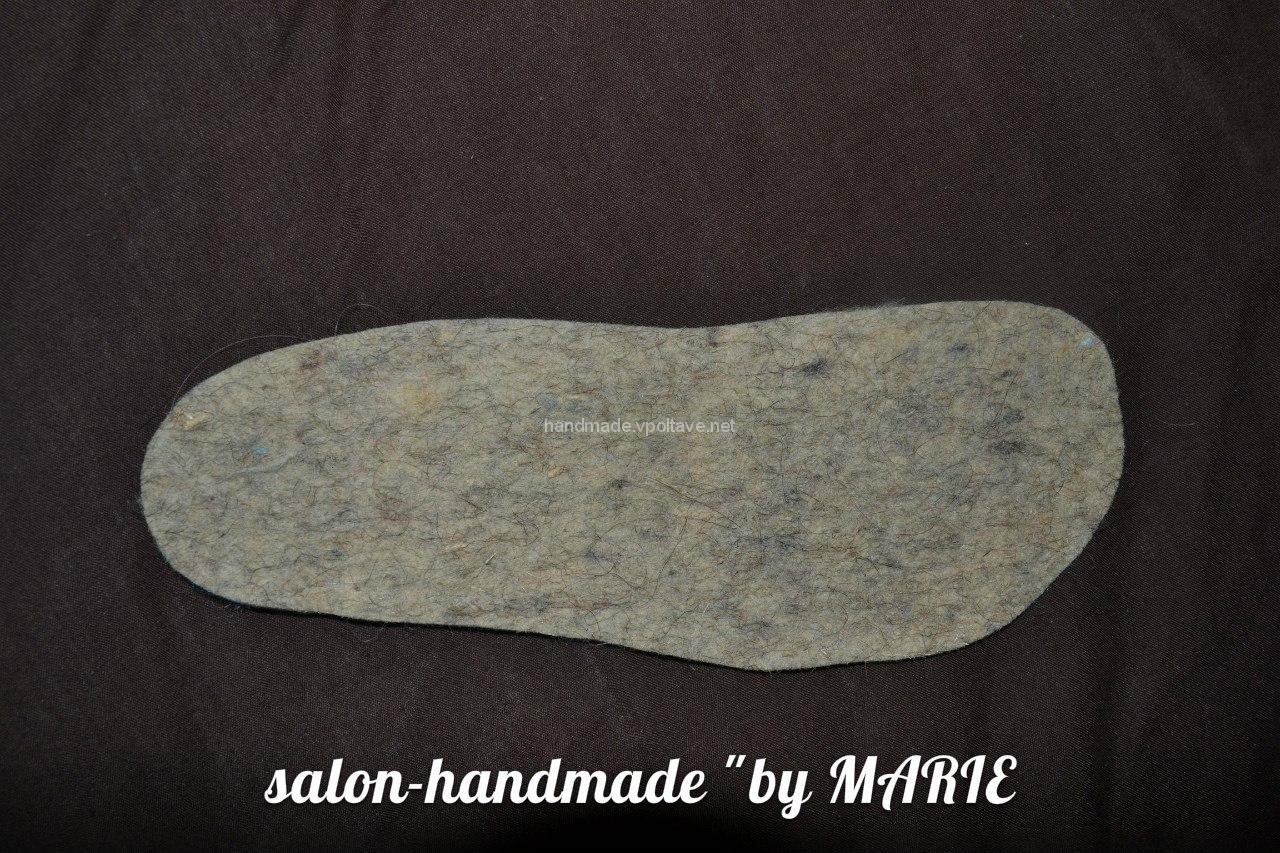
Cut the insole out of felt. It is IMPORTANT that it was strictly on the sole of your foot, we do not add anywhere, otherwise the boots may turn out great.
Getting strapped insoles. To simplify the robots, I pierced one hole into which I knit 5 loops each. This cuts the robot with an awl, and makes it easier to count the loops around the insole. Use hook number 2.3 and blue threads.
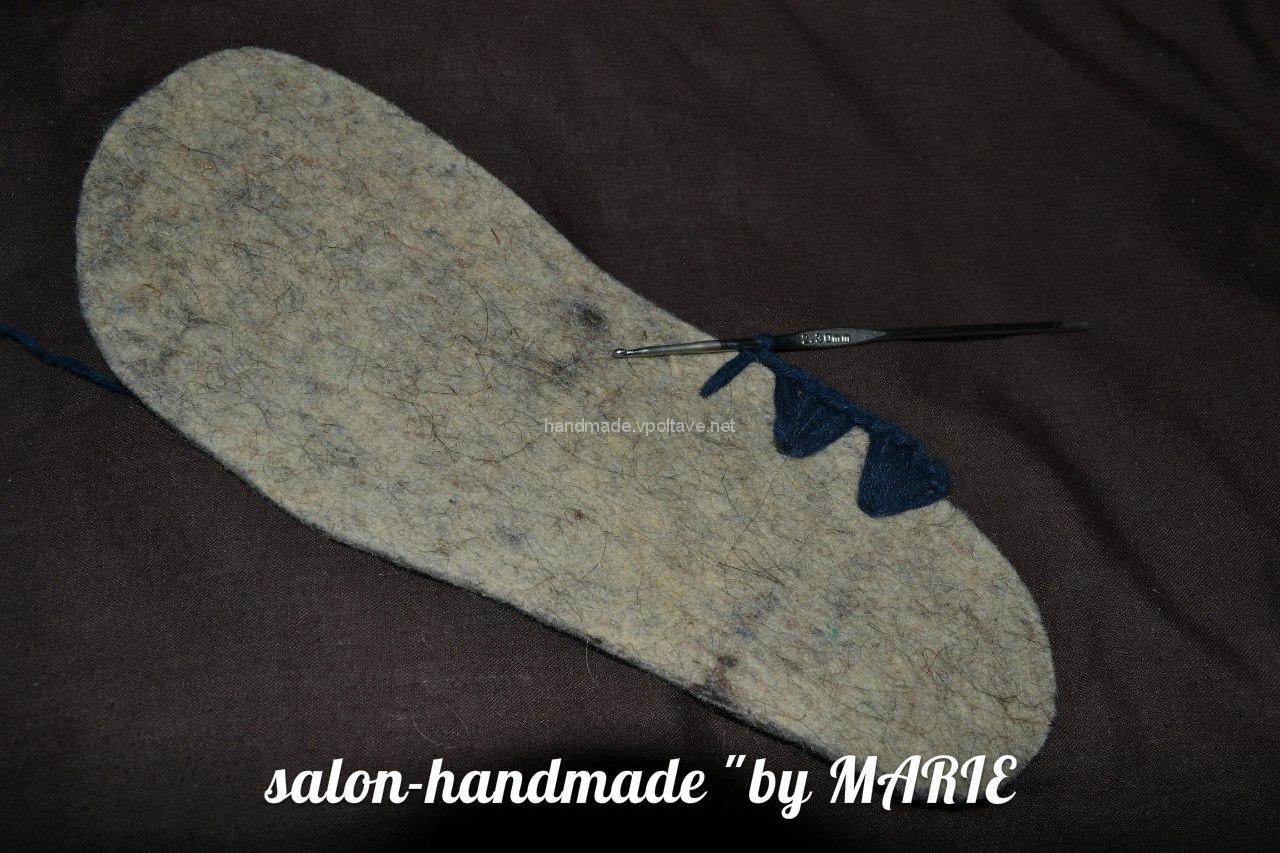 This is how I pierced the holes with the help of awls, the distance between the holes is about 2 cm, and about 1 cm near the heel and toe.
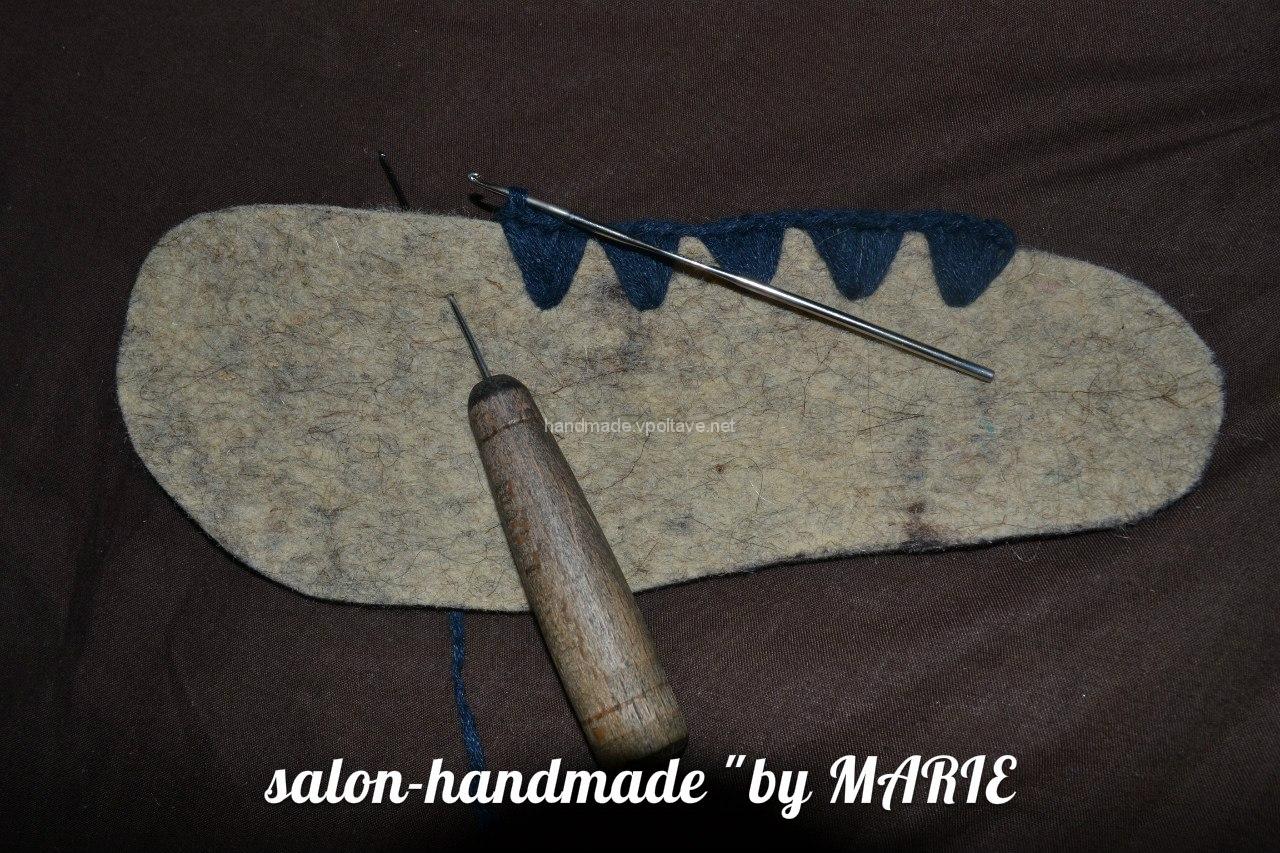
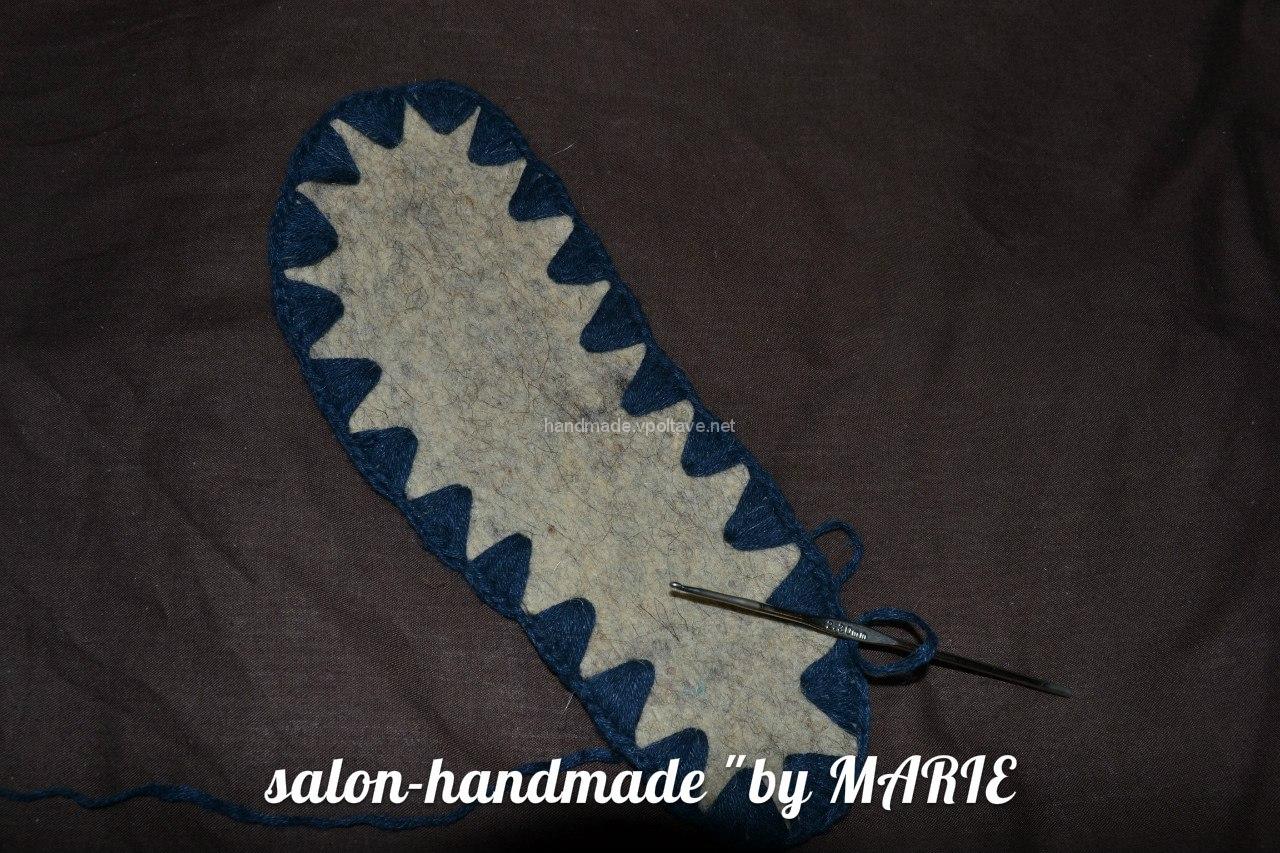 That turned out to be already tied insole. Next, start the first row of knitting. I turned the insole upside down, for a more beautiful look of the sole of the boot in the future. We knit the first row with single crochets, clinging to the inner side of the loops. This is done in order to knit up and was more noticeable transition from the insole to the walls of the boot to give it the desired shape.
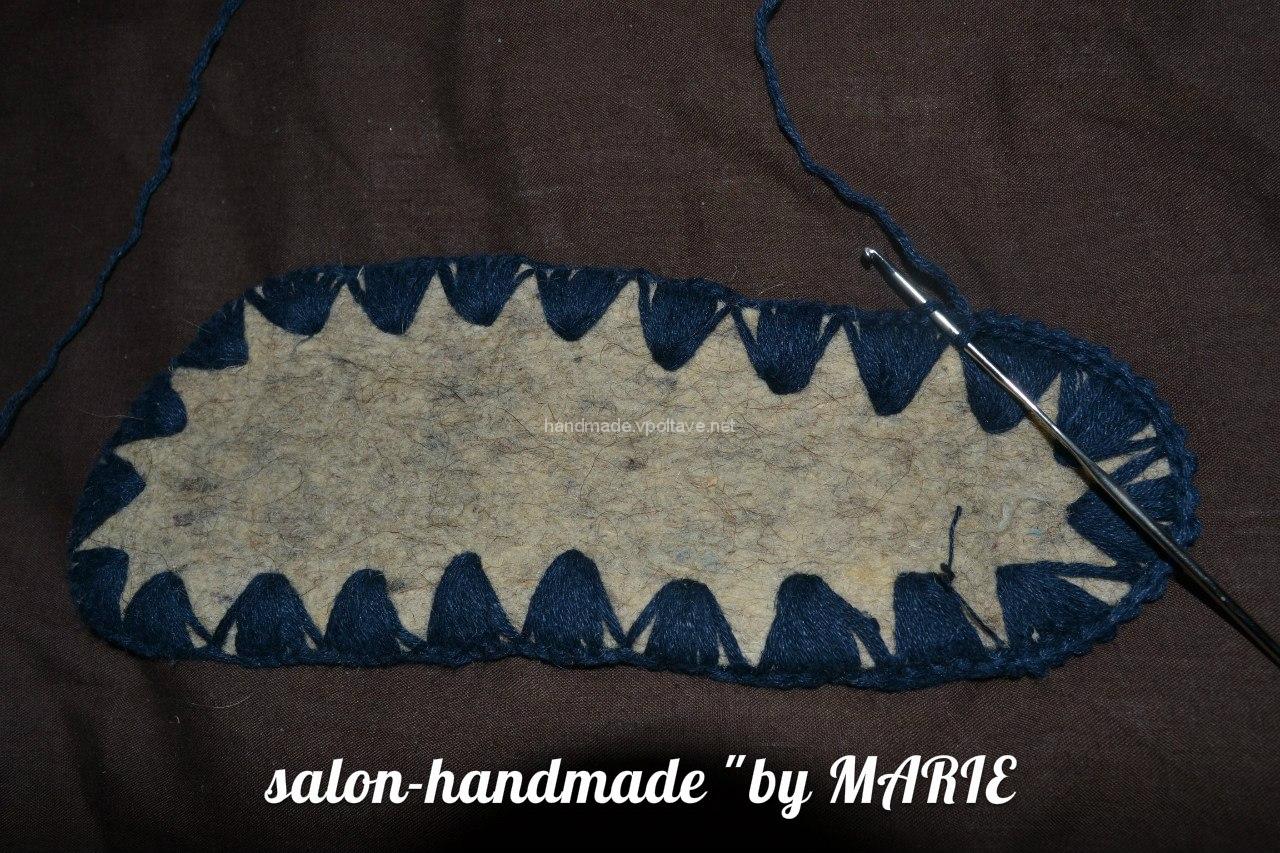 We knit the second row in the same way, with single crochets, but already clinging to both loops of the previous row.
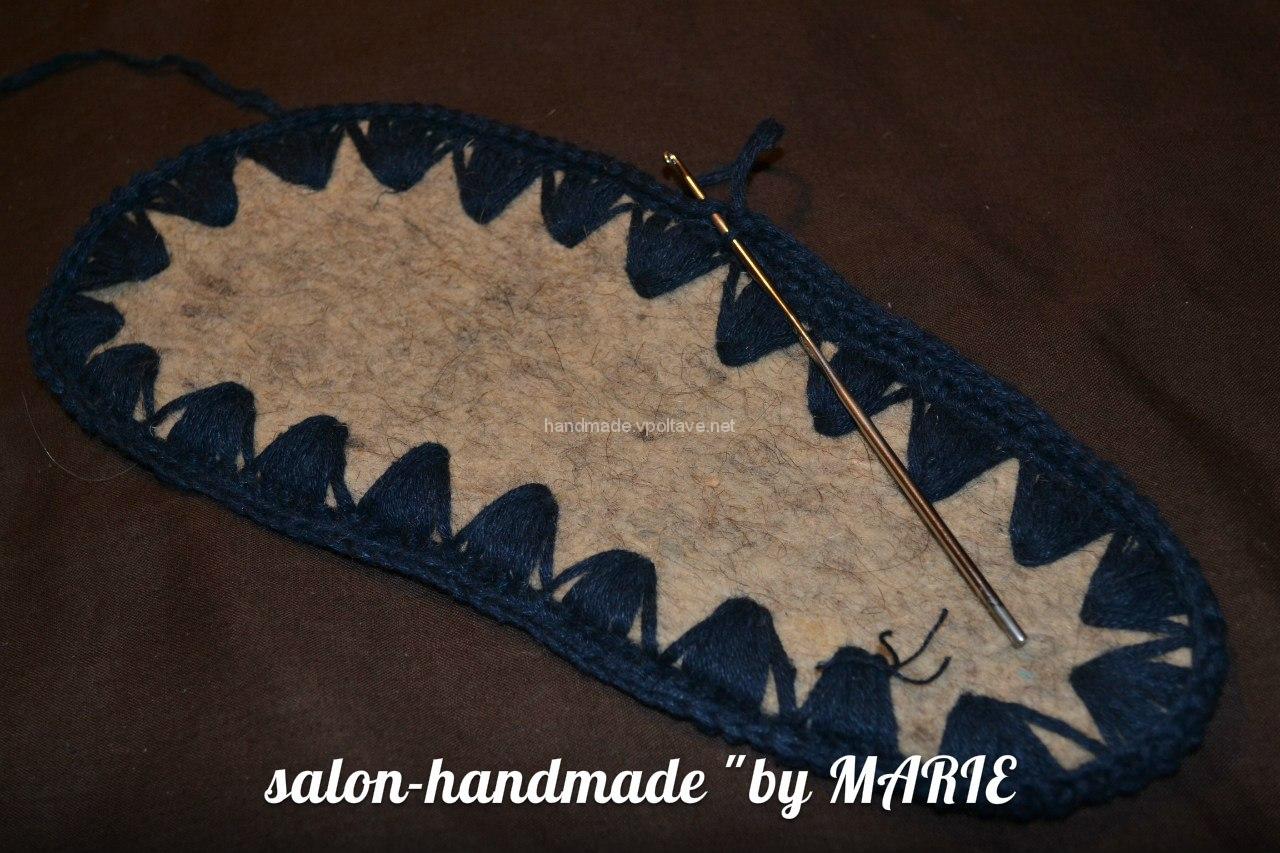
We knit the third row in the same way as the second, only changing the color of the thread. I had it golden.
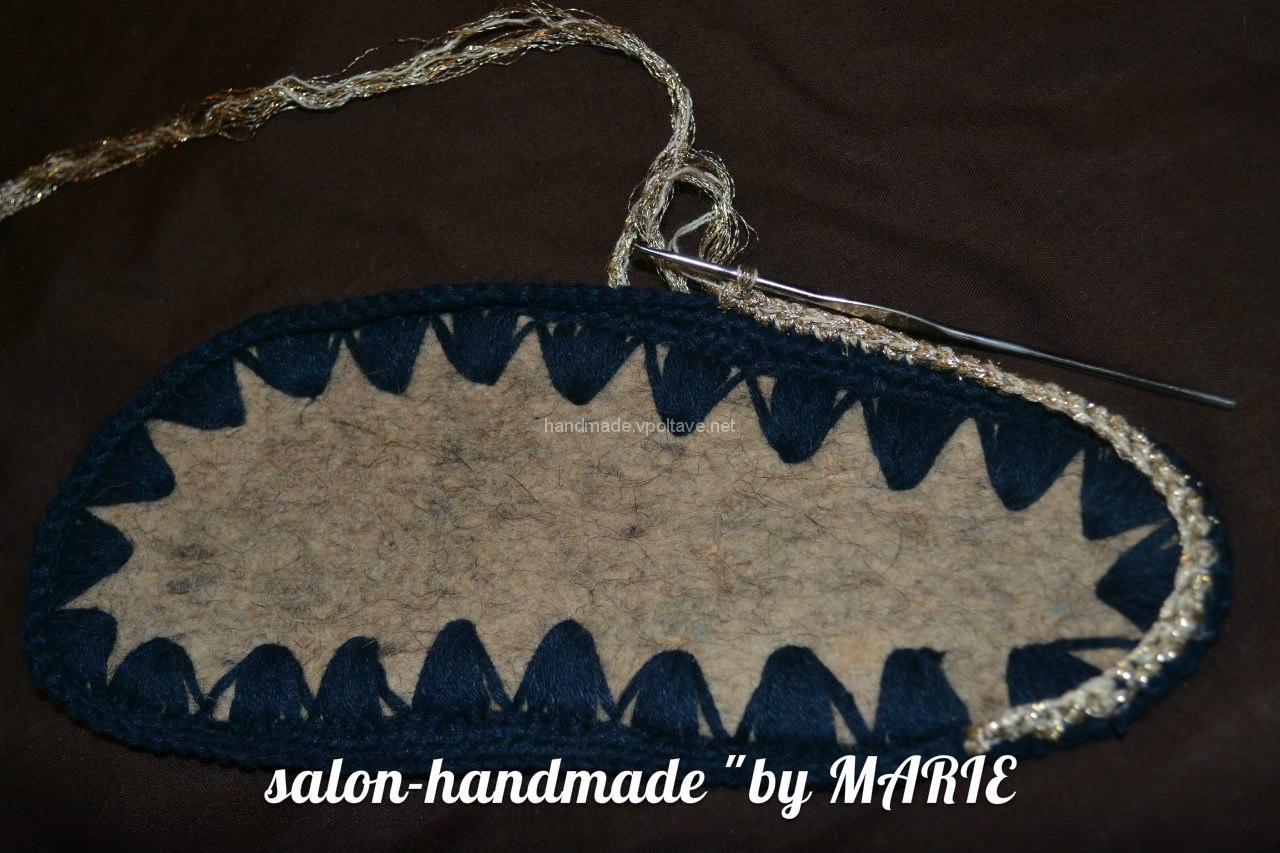
4 – 5 rows knit with single crochets with white threads. At the end – we cut the thread.
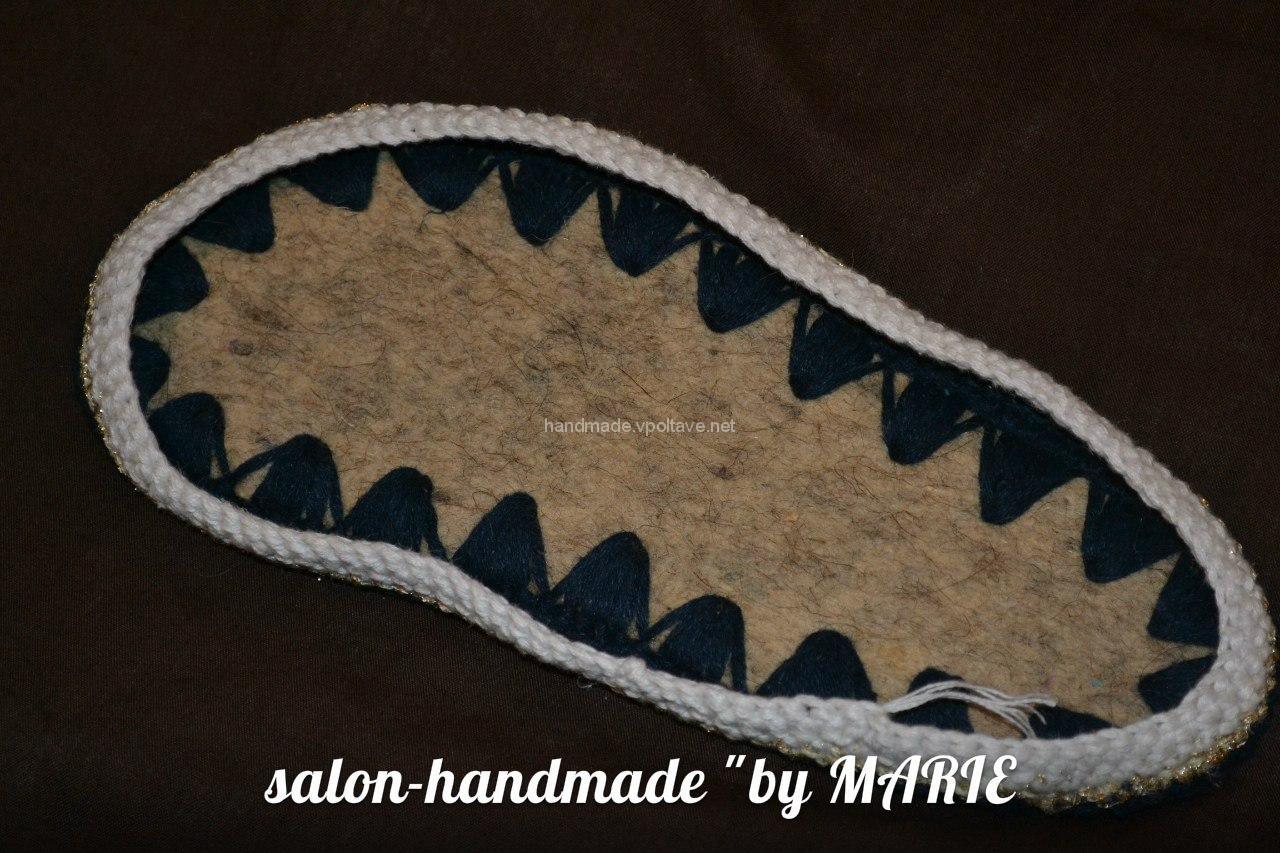
We find the middle of the sock. We knit there 7 posts without nakida, so that they were in the middle. In the 8th hole, we knit an anchoring column, so we finish knitting the first row. And in order to start knitting the second – we knit the same column in the 9th hole, unfold the knitting and knit the second row, which should have already 8 loops.
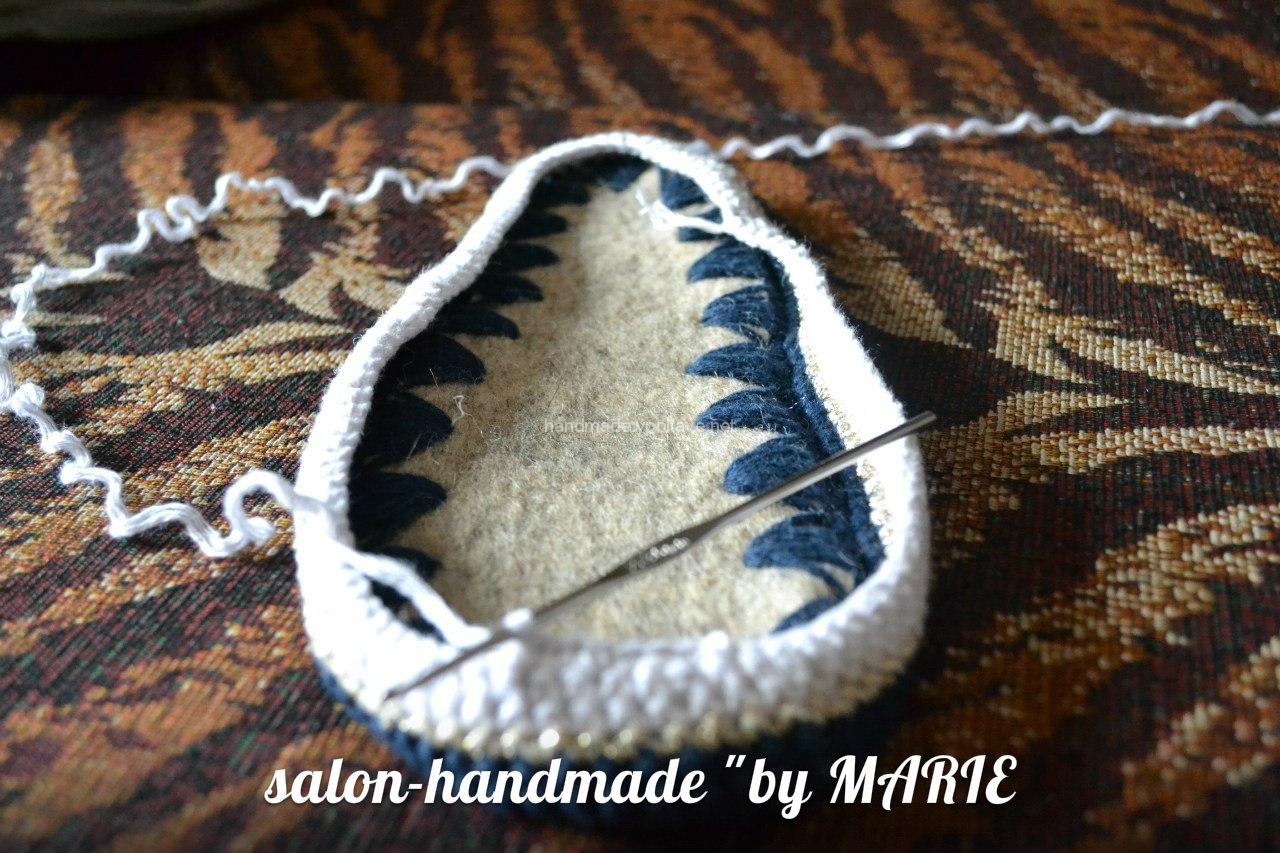
At the end of the second row of the binding posts we knit by sticking a hook from the top (outside), the seam will be less noticeable. We develop, and knit the 3rd row – 9 loops.
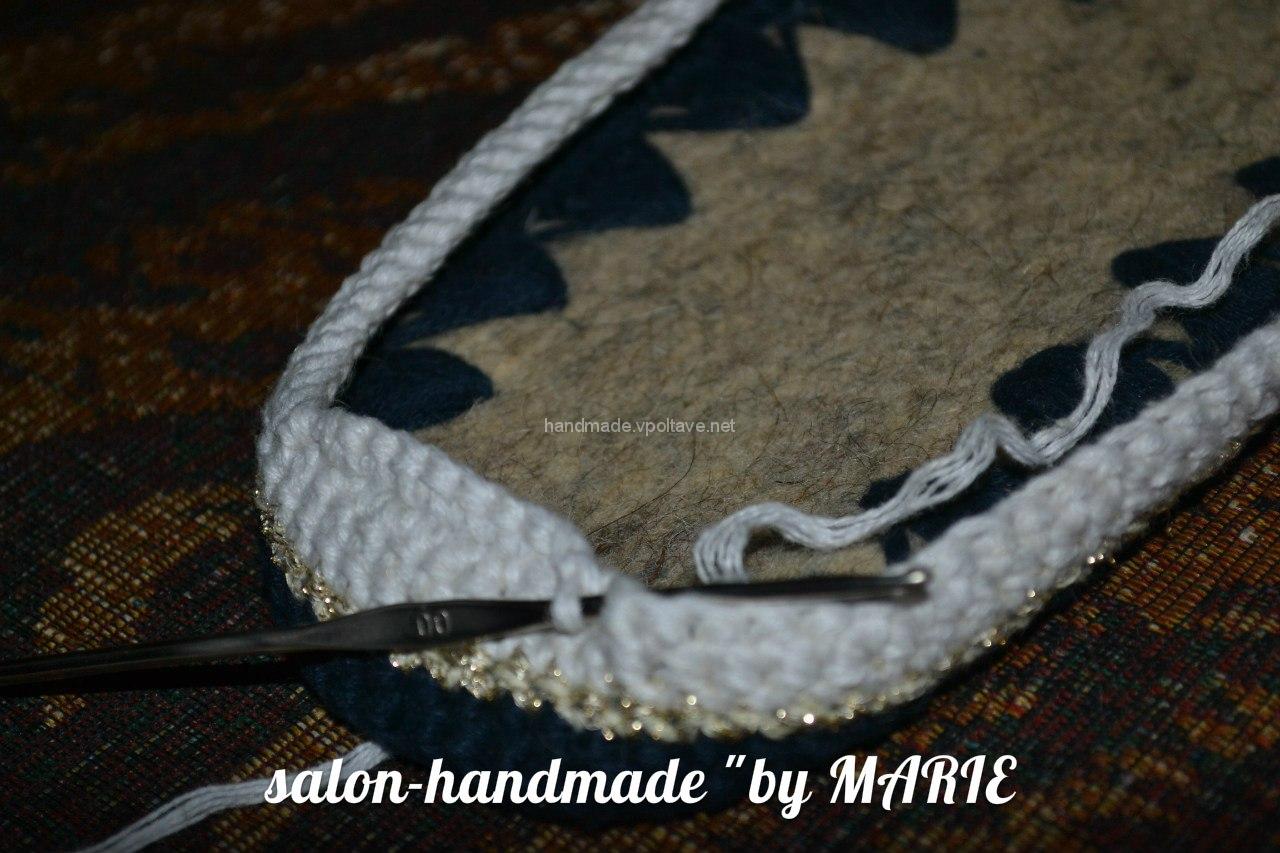
Thus, we knit further until the sum of loops in one row reaches 27. As you already understood, the inner row will knit a pair of loops, the outer one – unpaired.
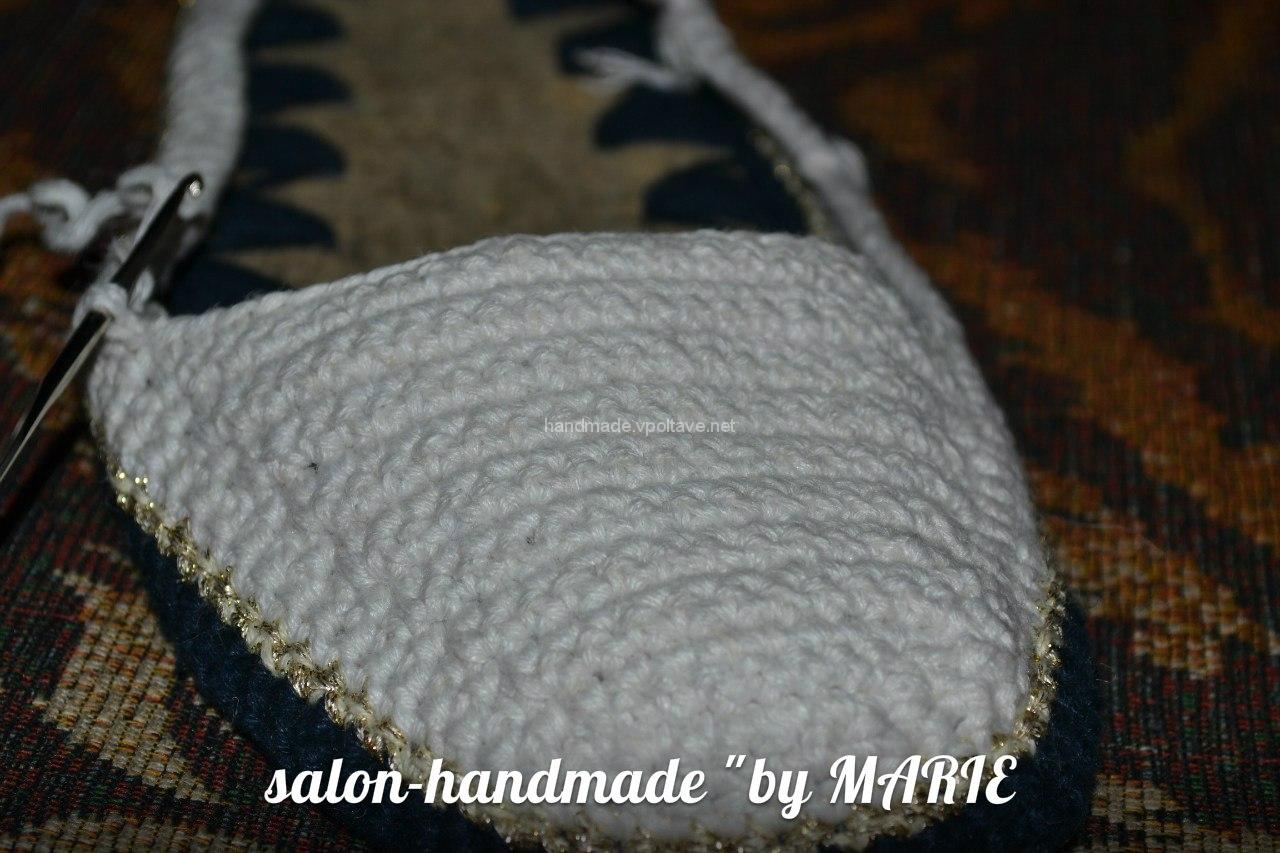
Having tied up to a row in which there are 27 loops, we continue to knit without increasing the number of loops in the row. Thus we knit 10 more rows. Having finished knitting, we should get a total of 31 rows.
In the 31 row continue knitting on the side of the boot. Having tied the row until the end we cling to the front part of the boot with the connecting posts, unfold the knitting, and knit the second row. So we knit back and forth only 6 rows, while the number of loops in a row is NOT increasing.
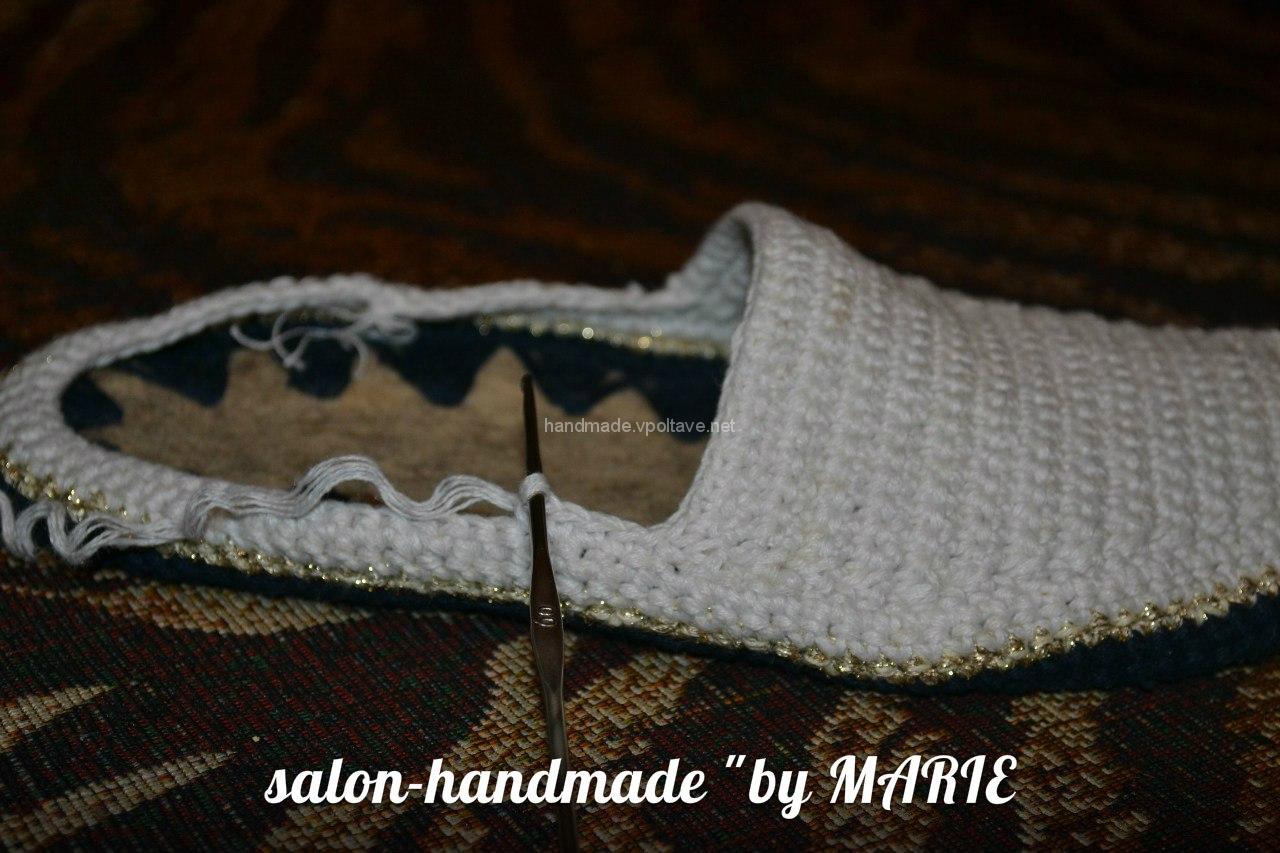
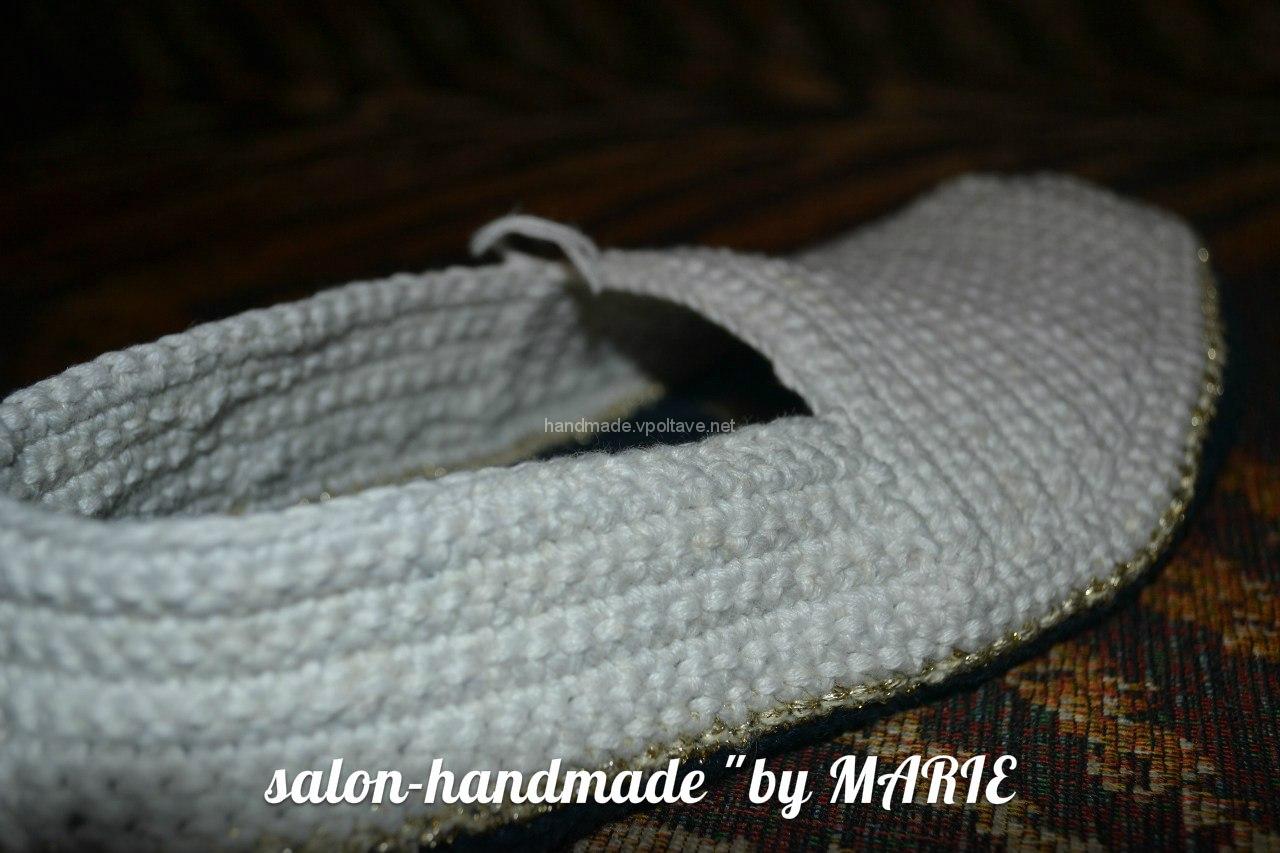
Then we tied with a golden thread in a circle.
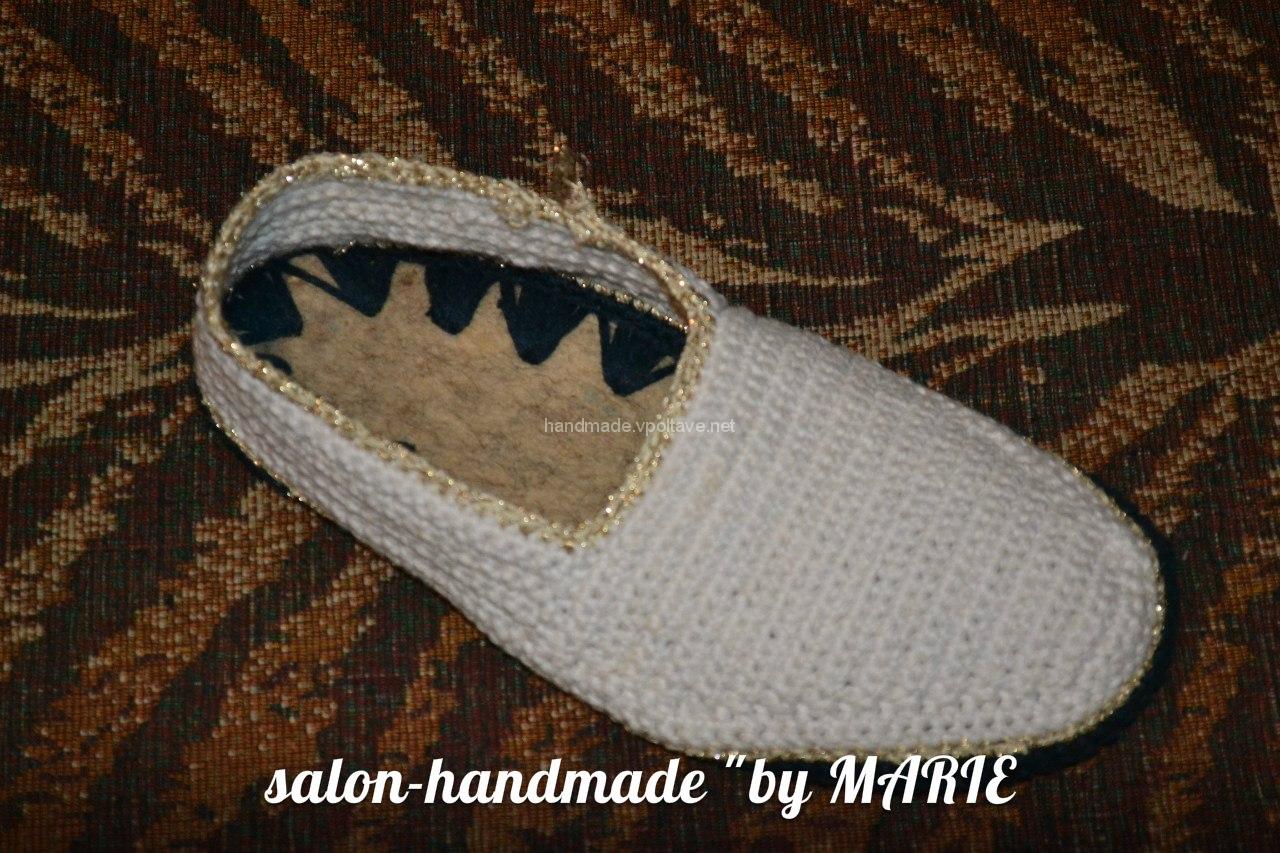
For the next row, we take a bigger hook, I have No. 3.5 and knit with double crochets with blue threads.
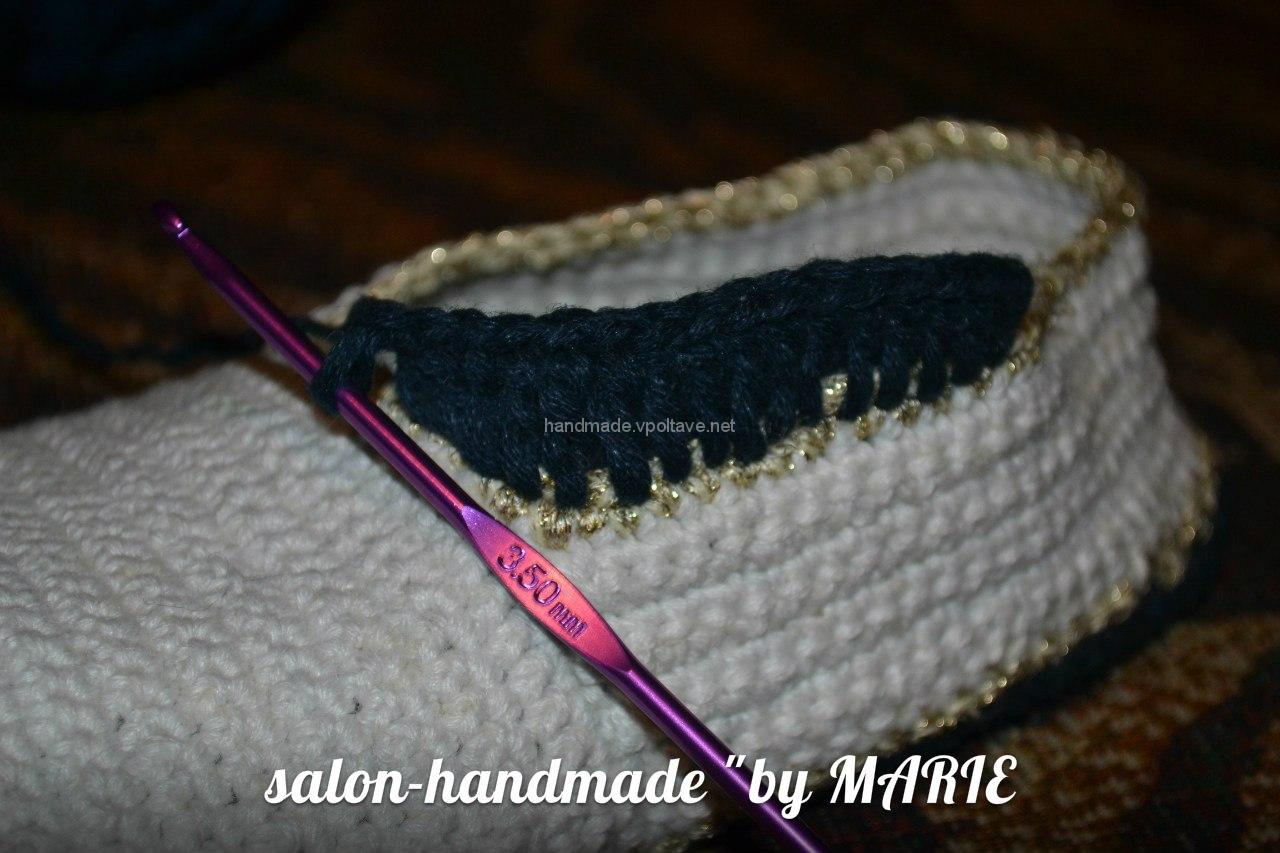
We repeat one more row with double crochets (only two), then change the hook to No. 2.3 and knit the row with single crochets with golden threads.
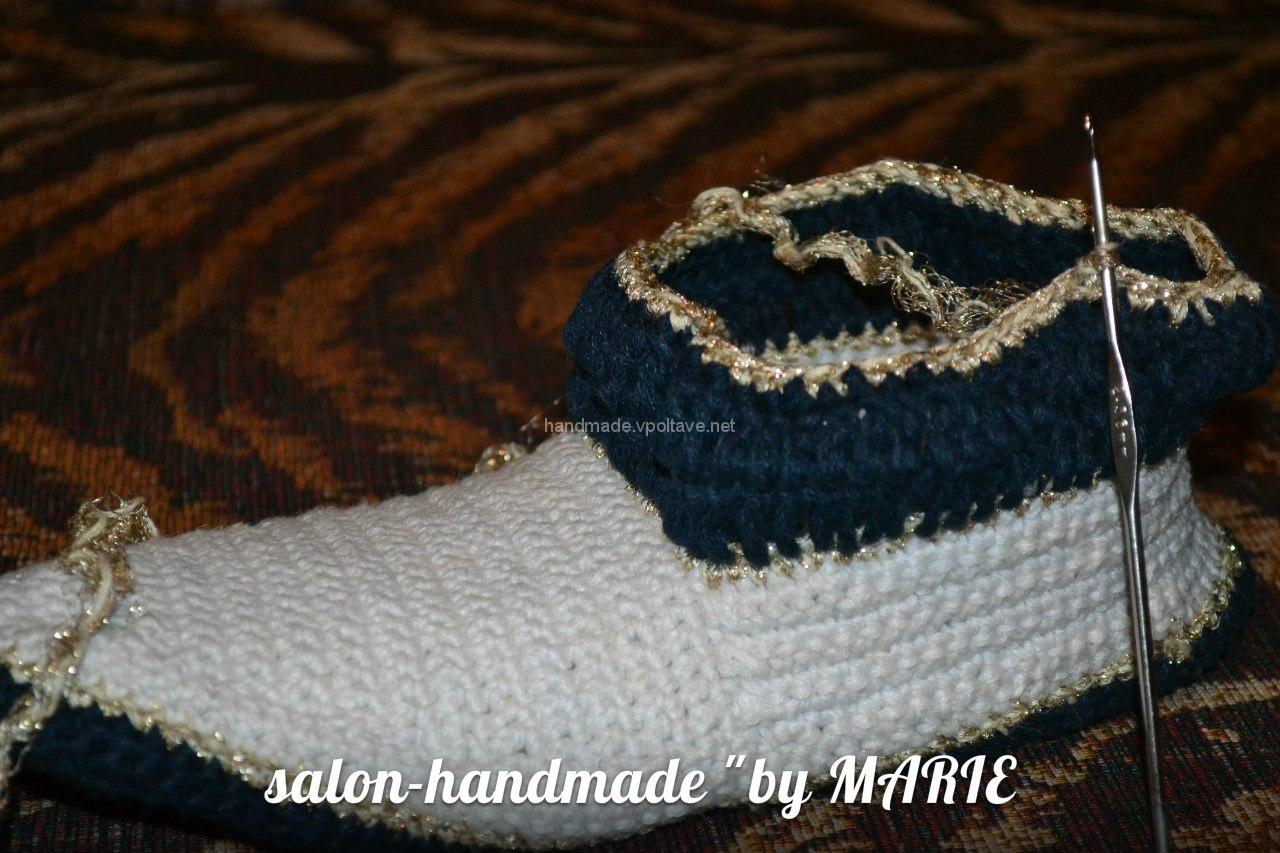
The next row we continue knitting art. without nakida white threads, then again golden, then change the hook to the number 3.5 and again knit 2 happy columns with double crochet blue threads. Again we change the hook to No. 2.3, we knit a row with single crochets with golden threads, the next row with white threads. This is the penultimate row, which knit alternating: 3 tbsp. without nak., then 2 together a column without nakida, and again 3 tbsp. without nakida Thus we narrow the top of the boot.
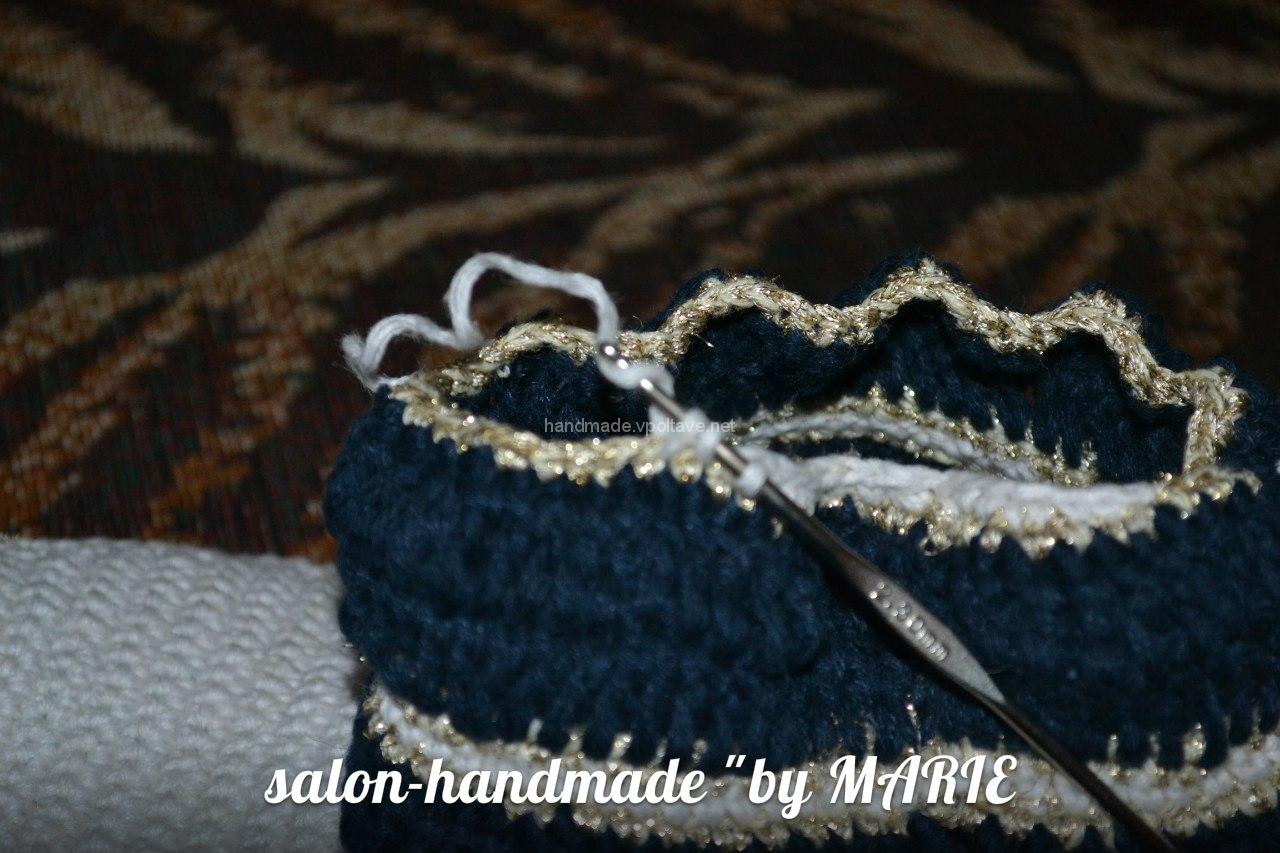
We conclude the final row with single crochets with white threads, cut the thread.
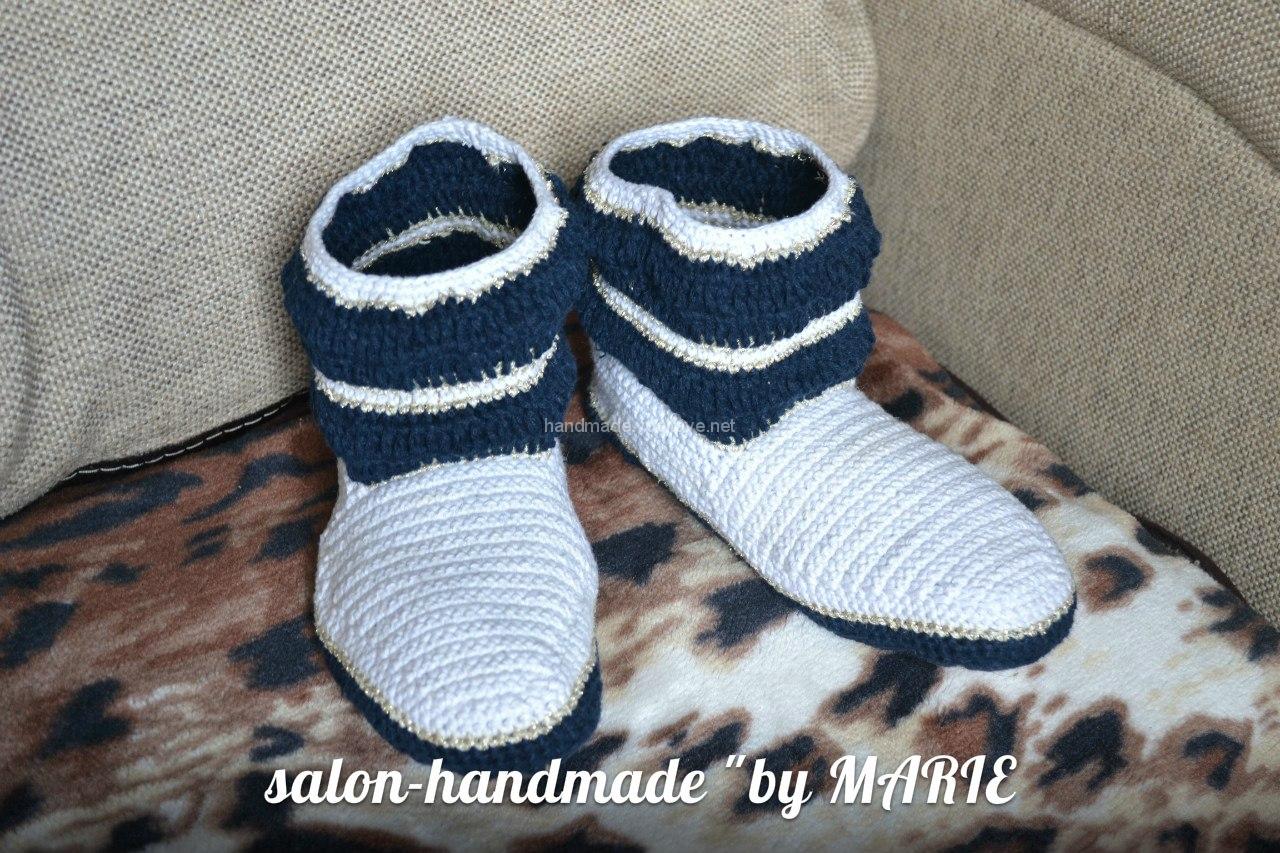
That’s all. If something is not clear, ask questions in the comments.
What would be better to consider the picture – click on it.
Do not forget to leave feedback =))
© I draw your attention to the fact that this is an authoring robot, so when copying, be sure to post a link to the sitehttps://handmade.vpoltave.net


 (6 оценок, среднее: 4.33 из 5)
Спасибо за такое подробное описание! Очень понравился МК. Нужно обязательно воспользоваться.
Пожалуйста, пользуйтесь на здоровье!))
Спасибо так всё понятно написано
За статью премного благодарен, все по делу, достаточно много кто это использует
Подписался на RSS, буду следить =)
Огромное ВАМ С П А С И Б О !!! Именно это искала . Удачи ВАМ ,здоровья .Храни ВАС Бог . Спасибо ВАМ ,что вселили смелость ,а то я все как то боялась . УДАЧИ ВАМ!!!
Вот это пост! Сильно. Спасибо.
Спасибо за МК.по подошве.Только у меня был связан верх тапочек (у меня были кеды) и я привязала его к подошве по Вашему описанию .Получилось очень хорошо .Выставила бы фото ,,,,но не умею (((((((( Вязала кеды на 36 размер ,для внука.Еще раз спасибо .
Пожалуйста! Мне очень приятно, что я кому-то помогла!!! Приходите ещё к нам))